How to use evidx: capture, organize, and annotate
A step-by-step guide to capturing tamper-evident web archives, organizing them into Collections, and annotating captures as evidence in evidx.
evidx captures web pages as signed, tamper-evident WACZ archives — not screenshots — so the chain of custody starts the moment you hit capture, not after an editor or a court asks you to prove it. This guide walks through the full workflow: capturing a page, organizing it into Collections your team can access, and annotating it to build the record around what you found. For why that distinction matters, see Your screenshot won't survive a legal challenge.
1. How to capture
Every investigation starts with a Capture: a full, verifiable archive of the page as it existed at that moment, not just an image of it.
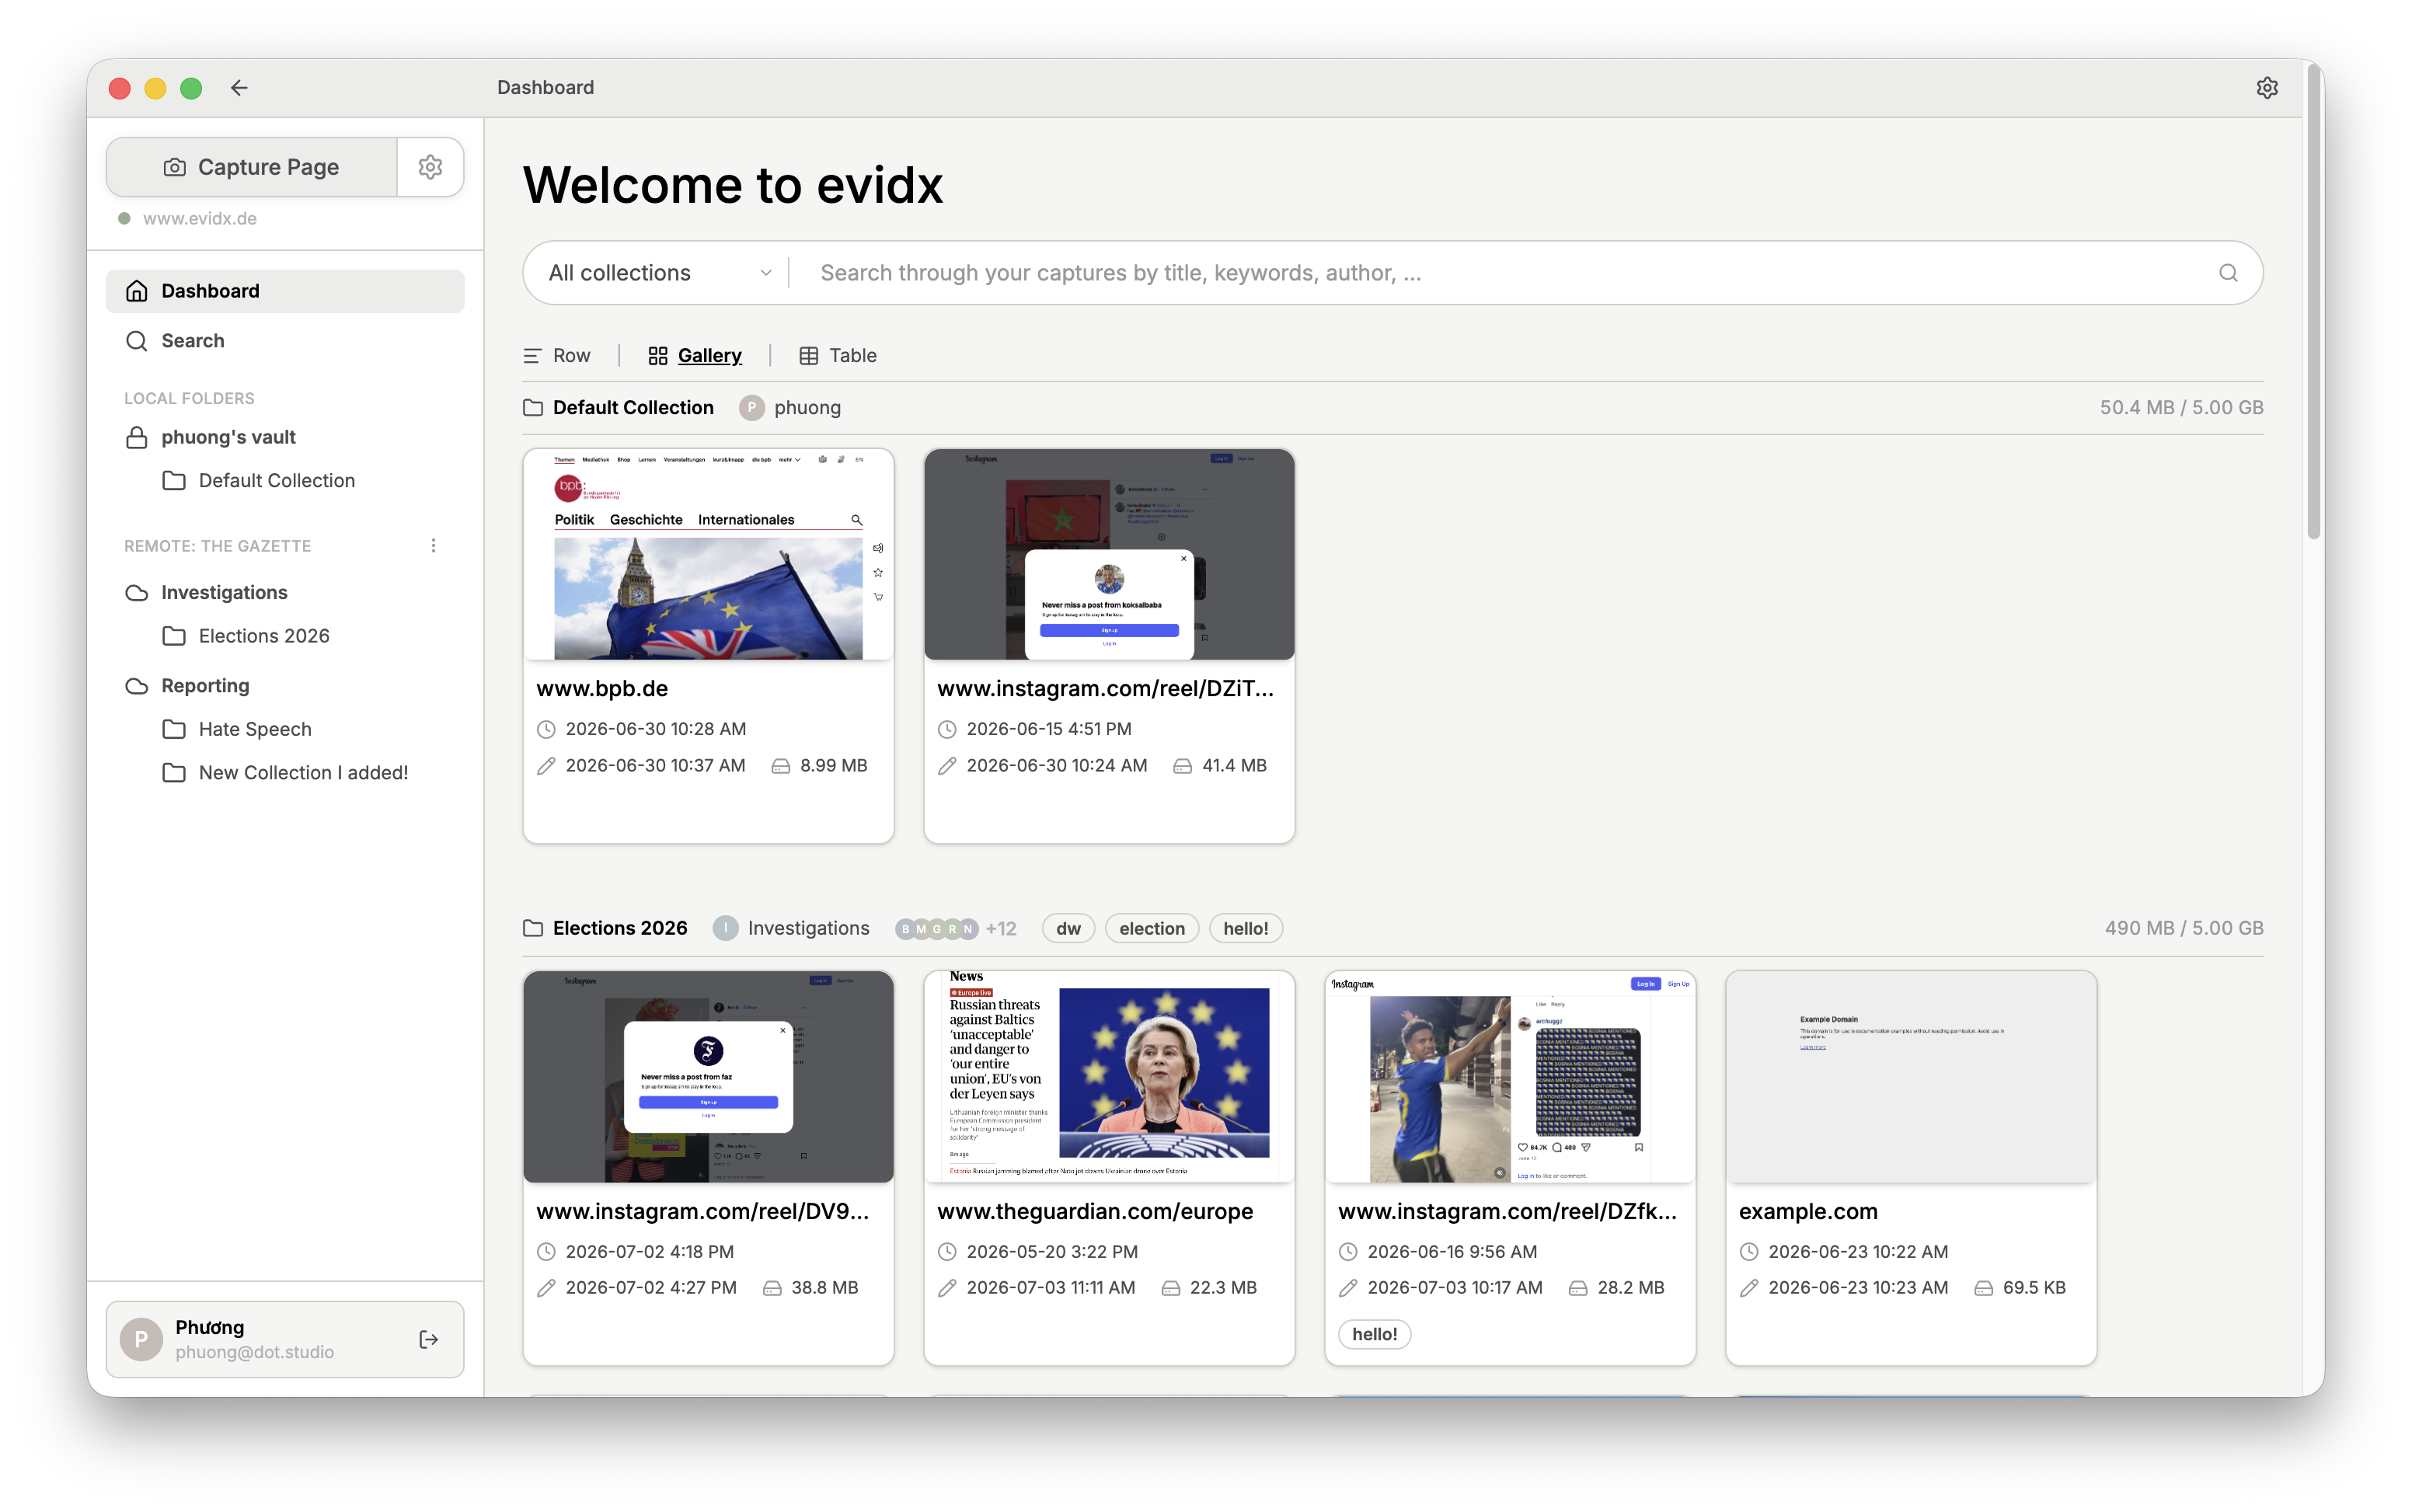
In the sidebar, click Capture Page to launch the browser.
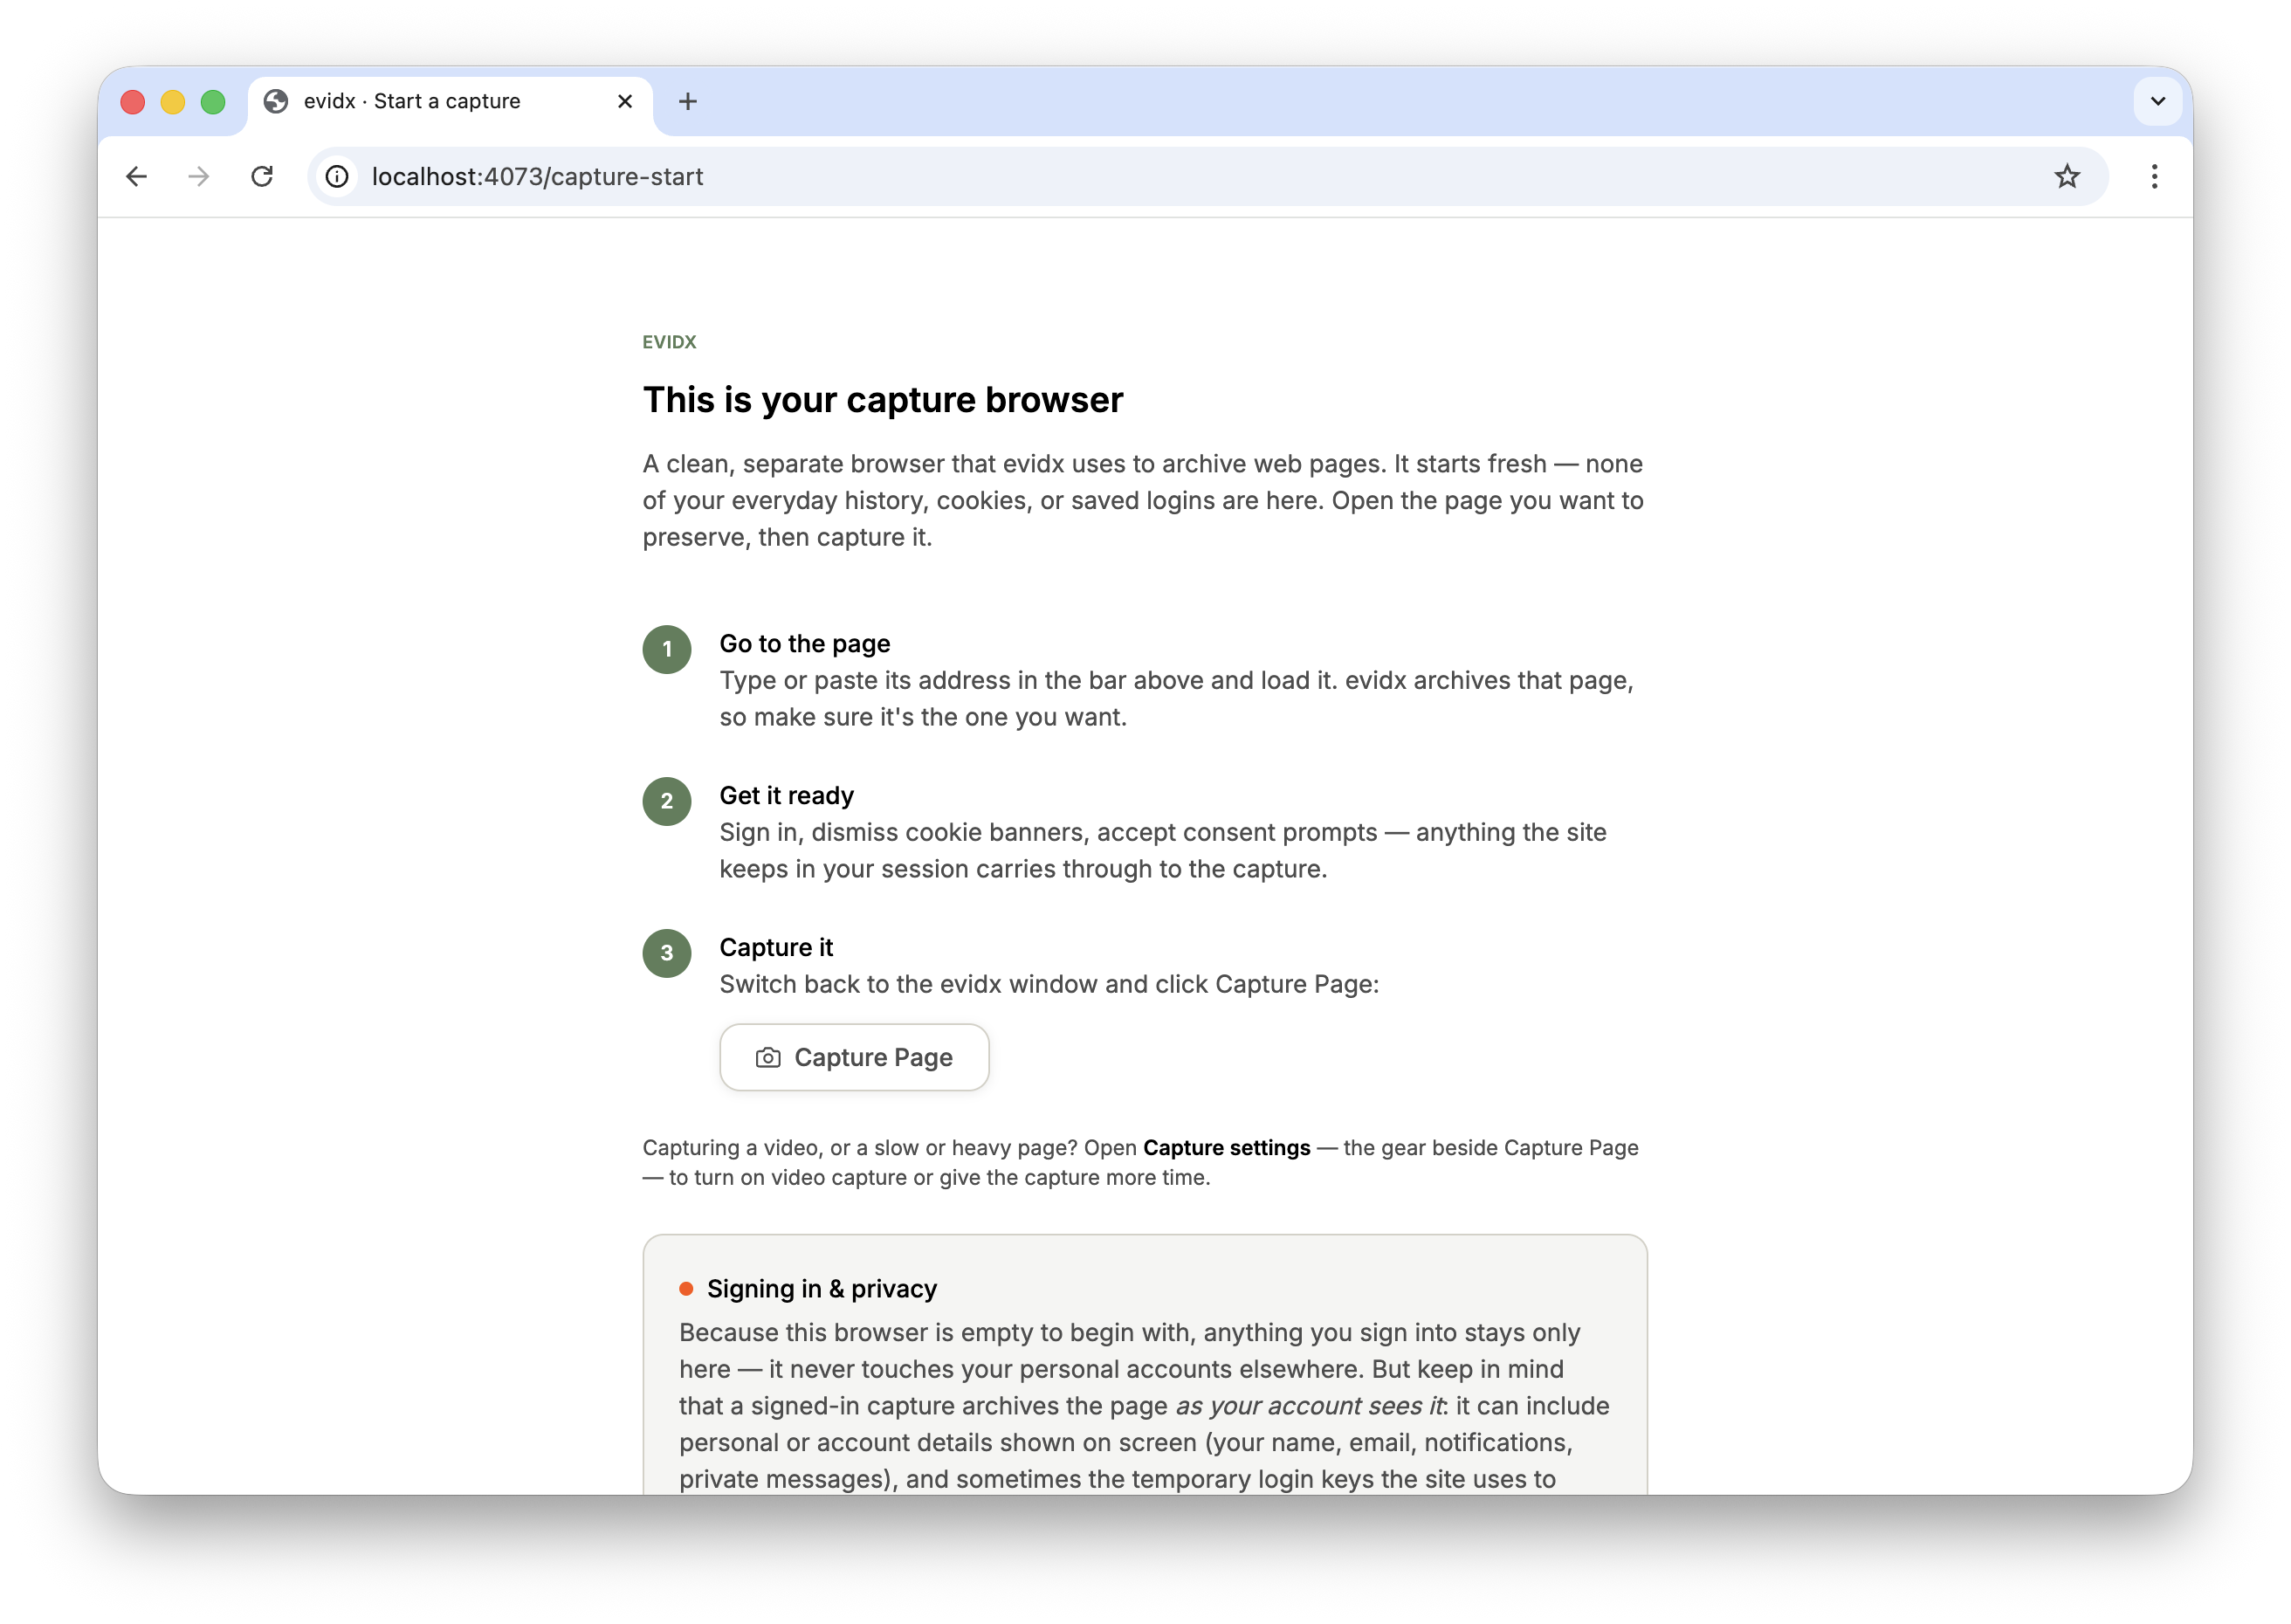
Now start your research as you would in any other application.
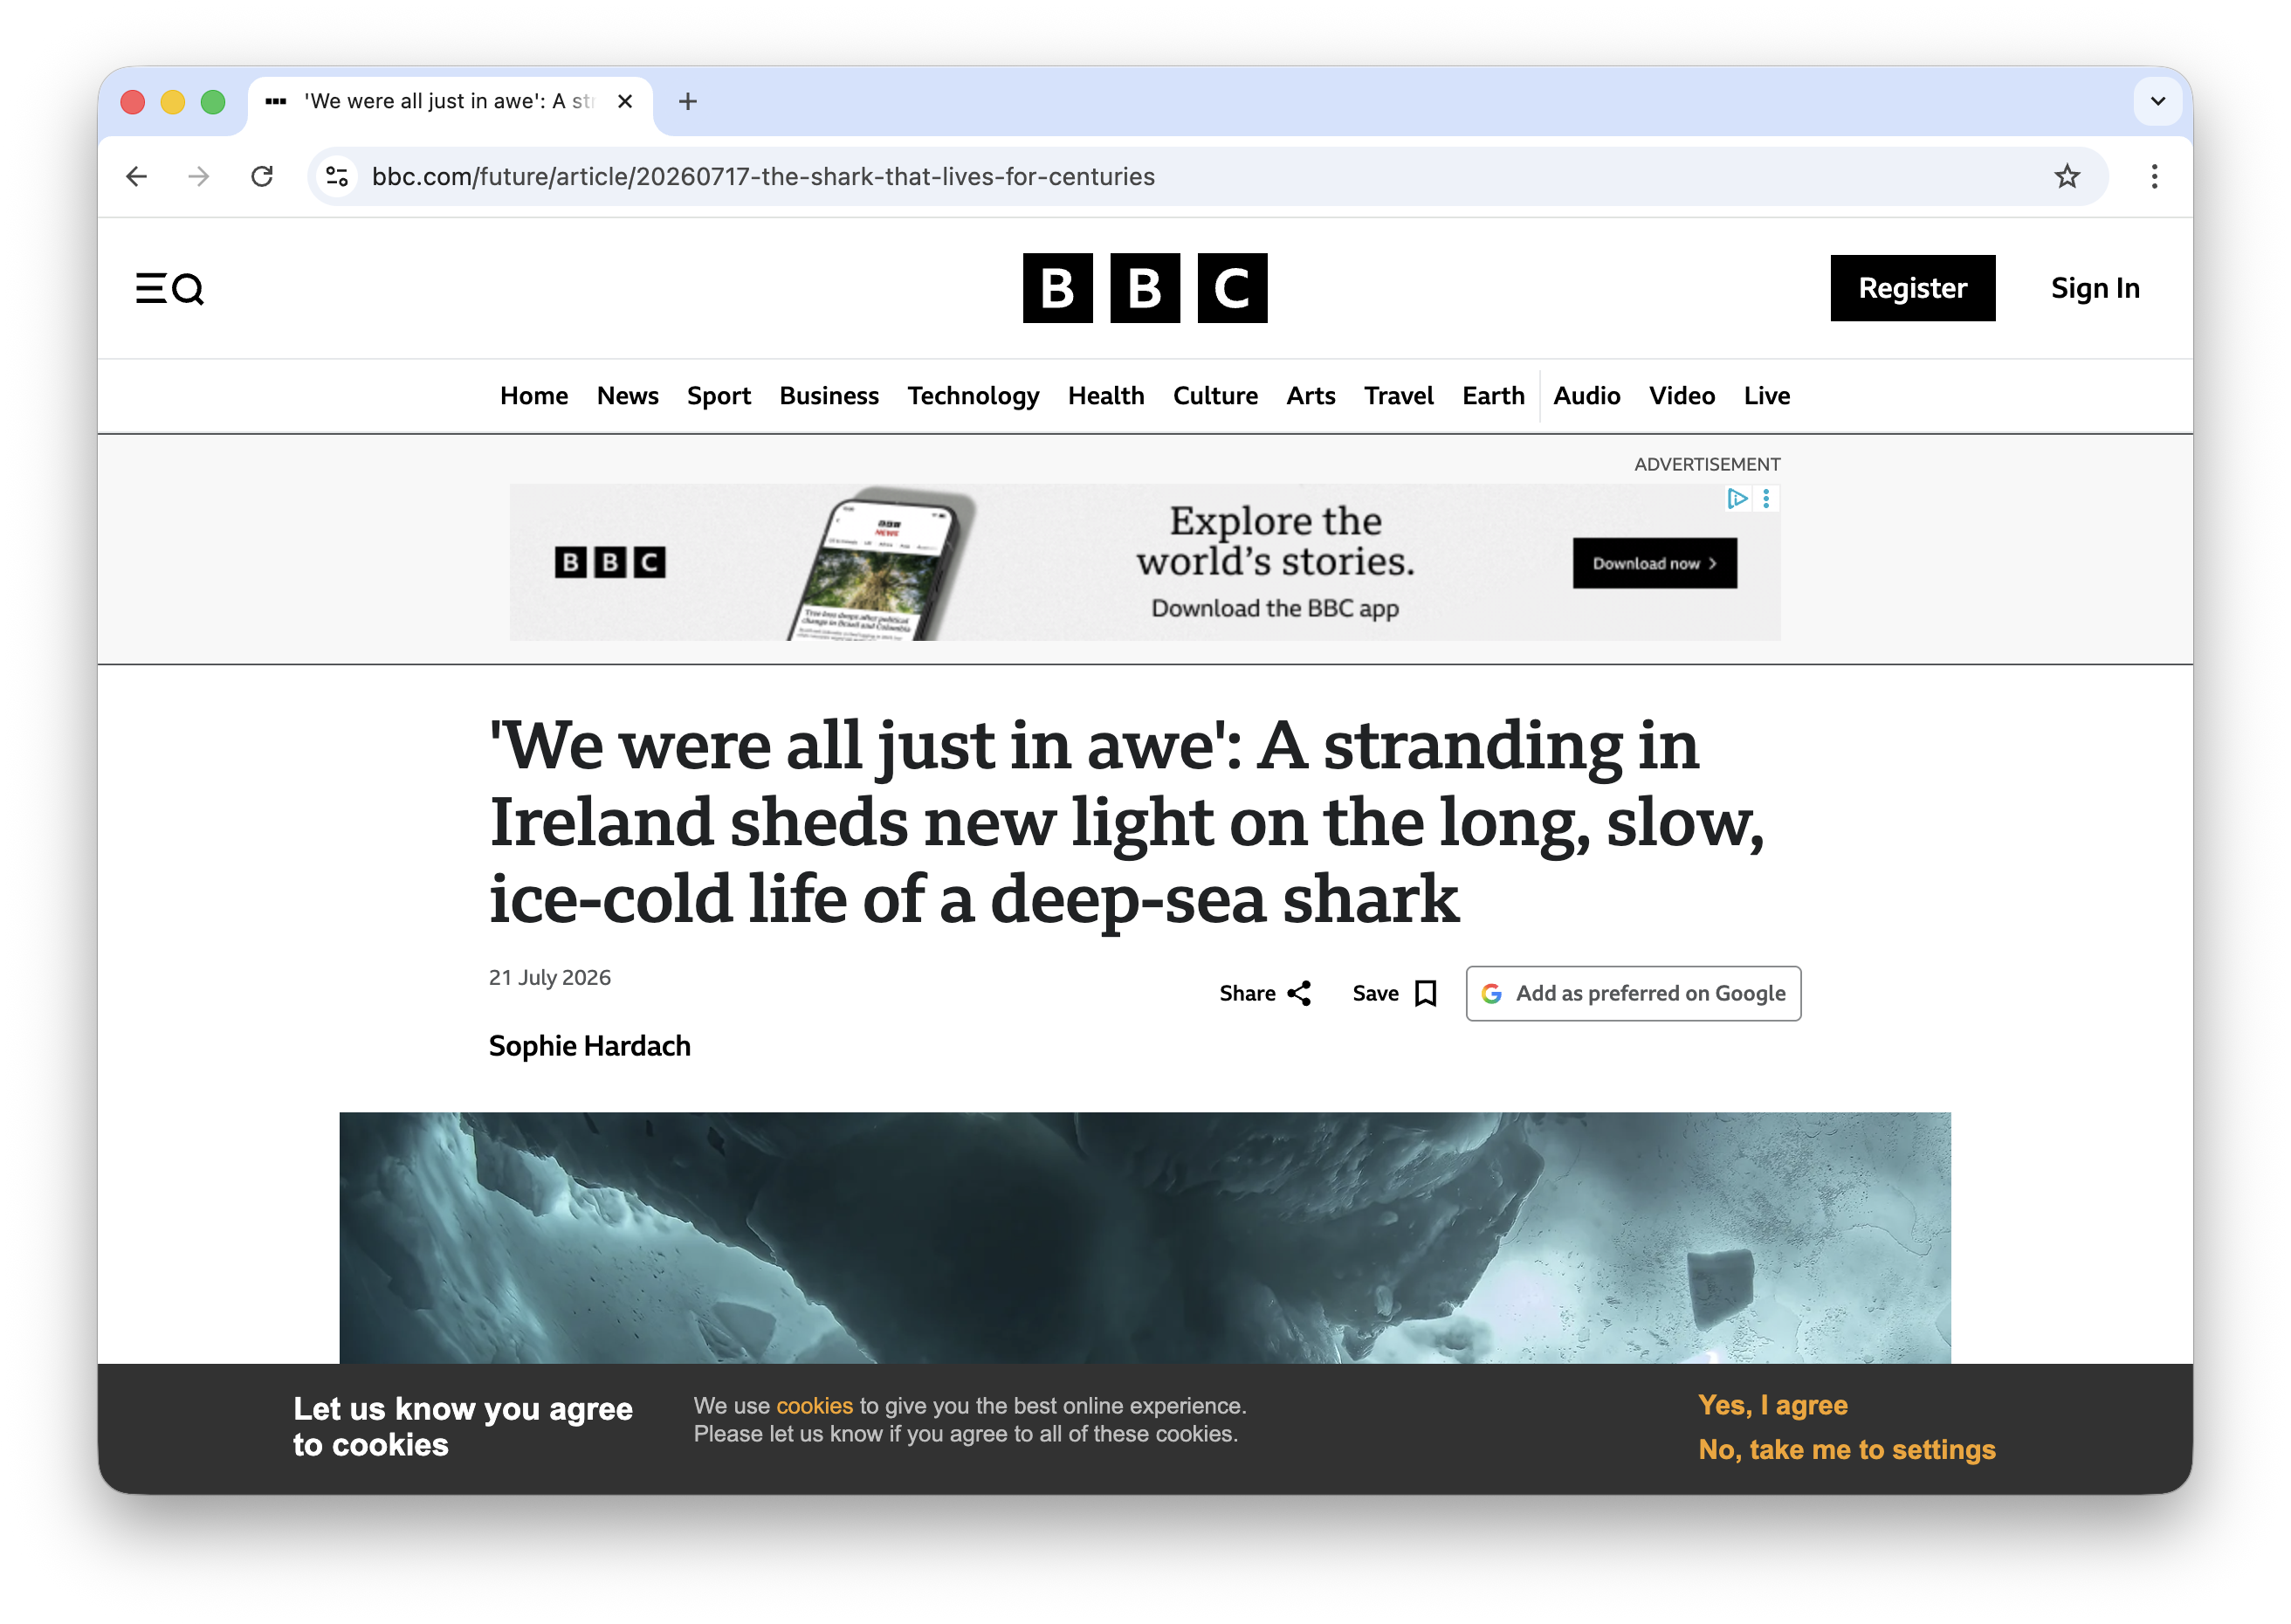
Once you find a website you want to capture, switch back to evidx.
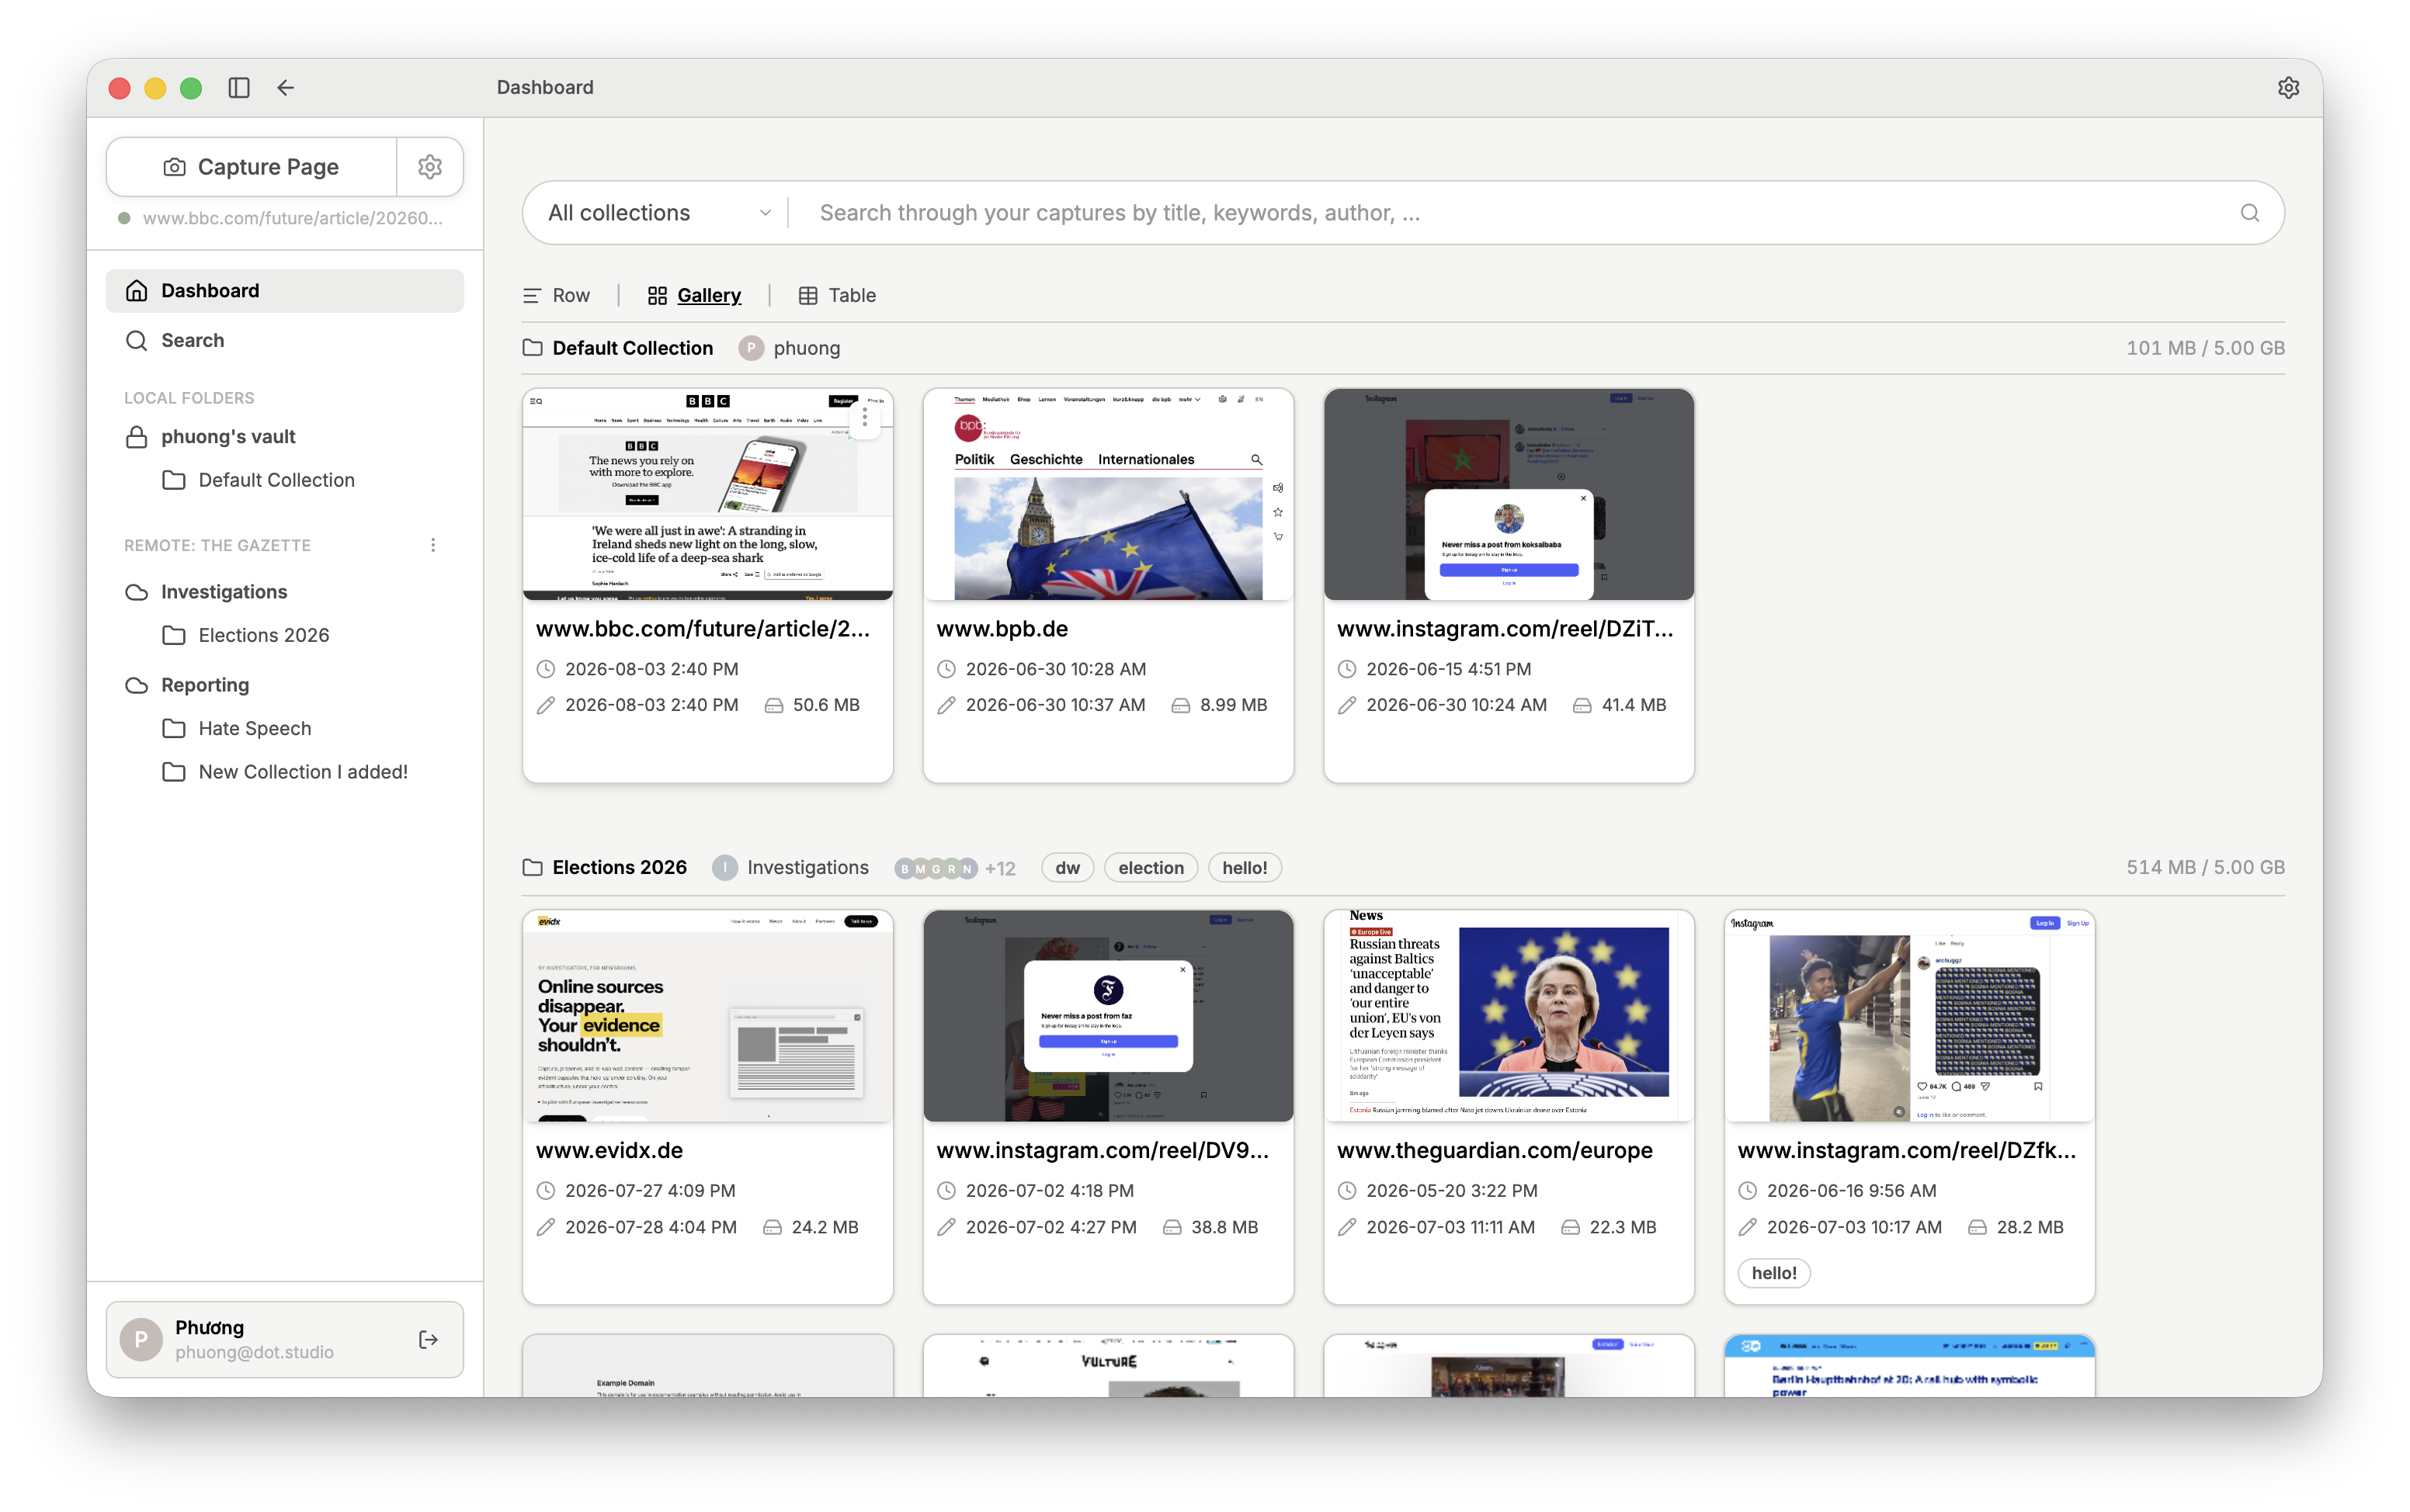
Click the button Capture Page again to capture the page. Below the button, you can check whether this is the correct website.
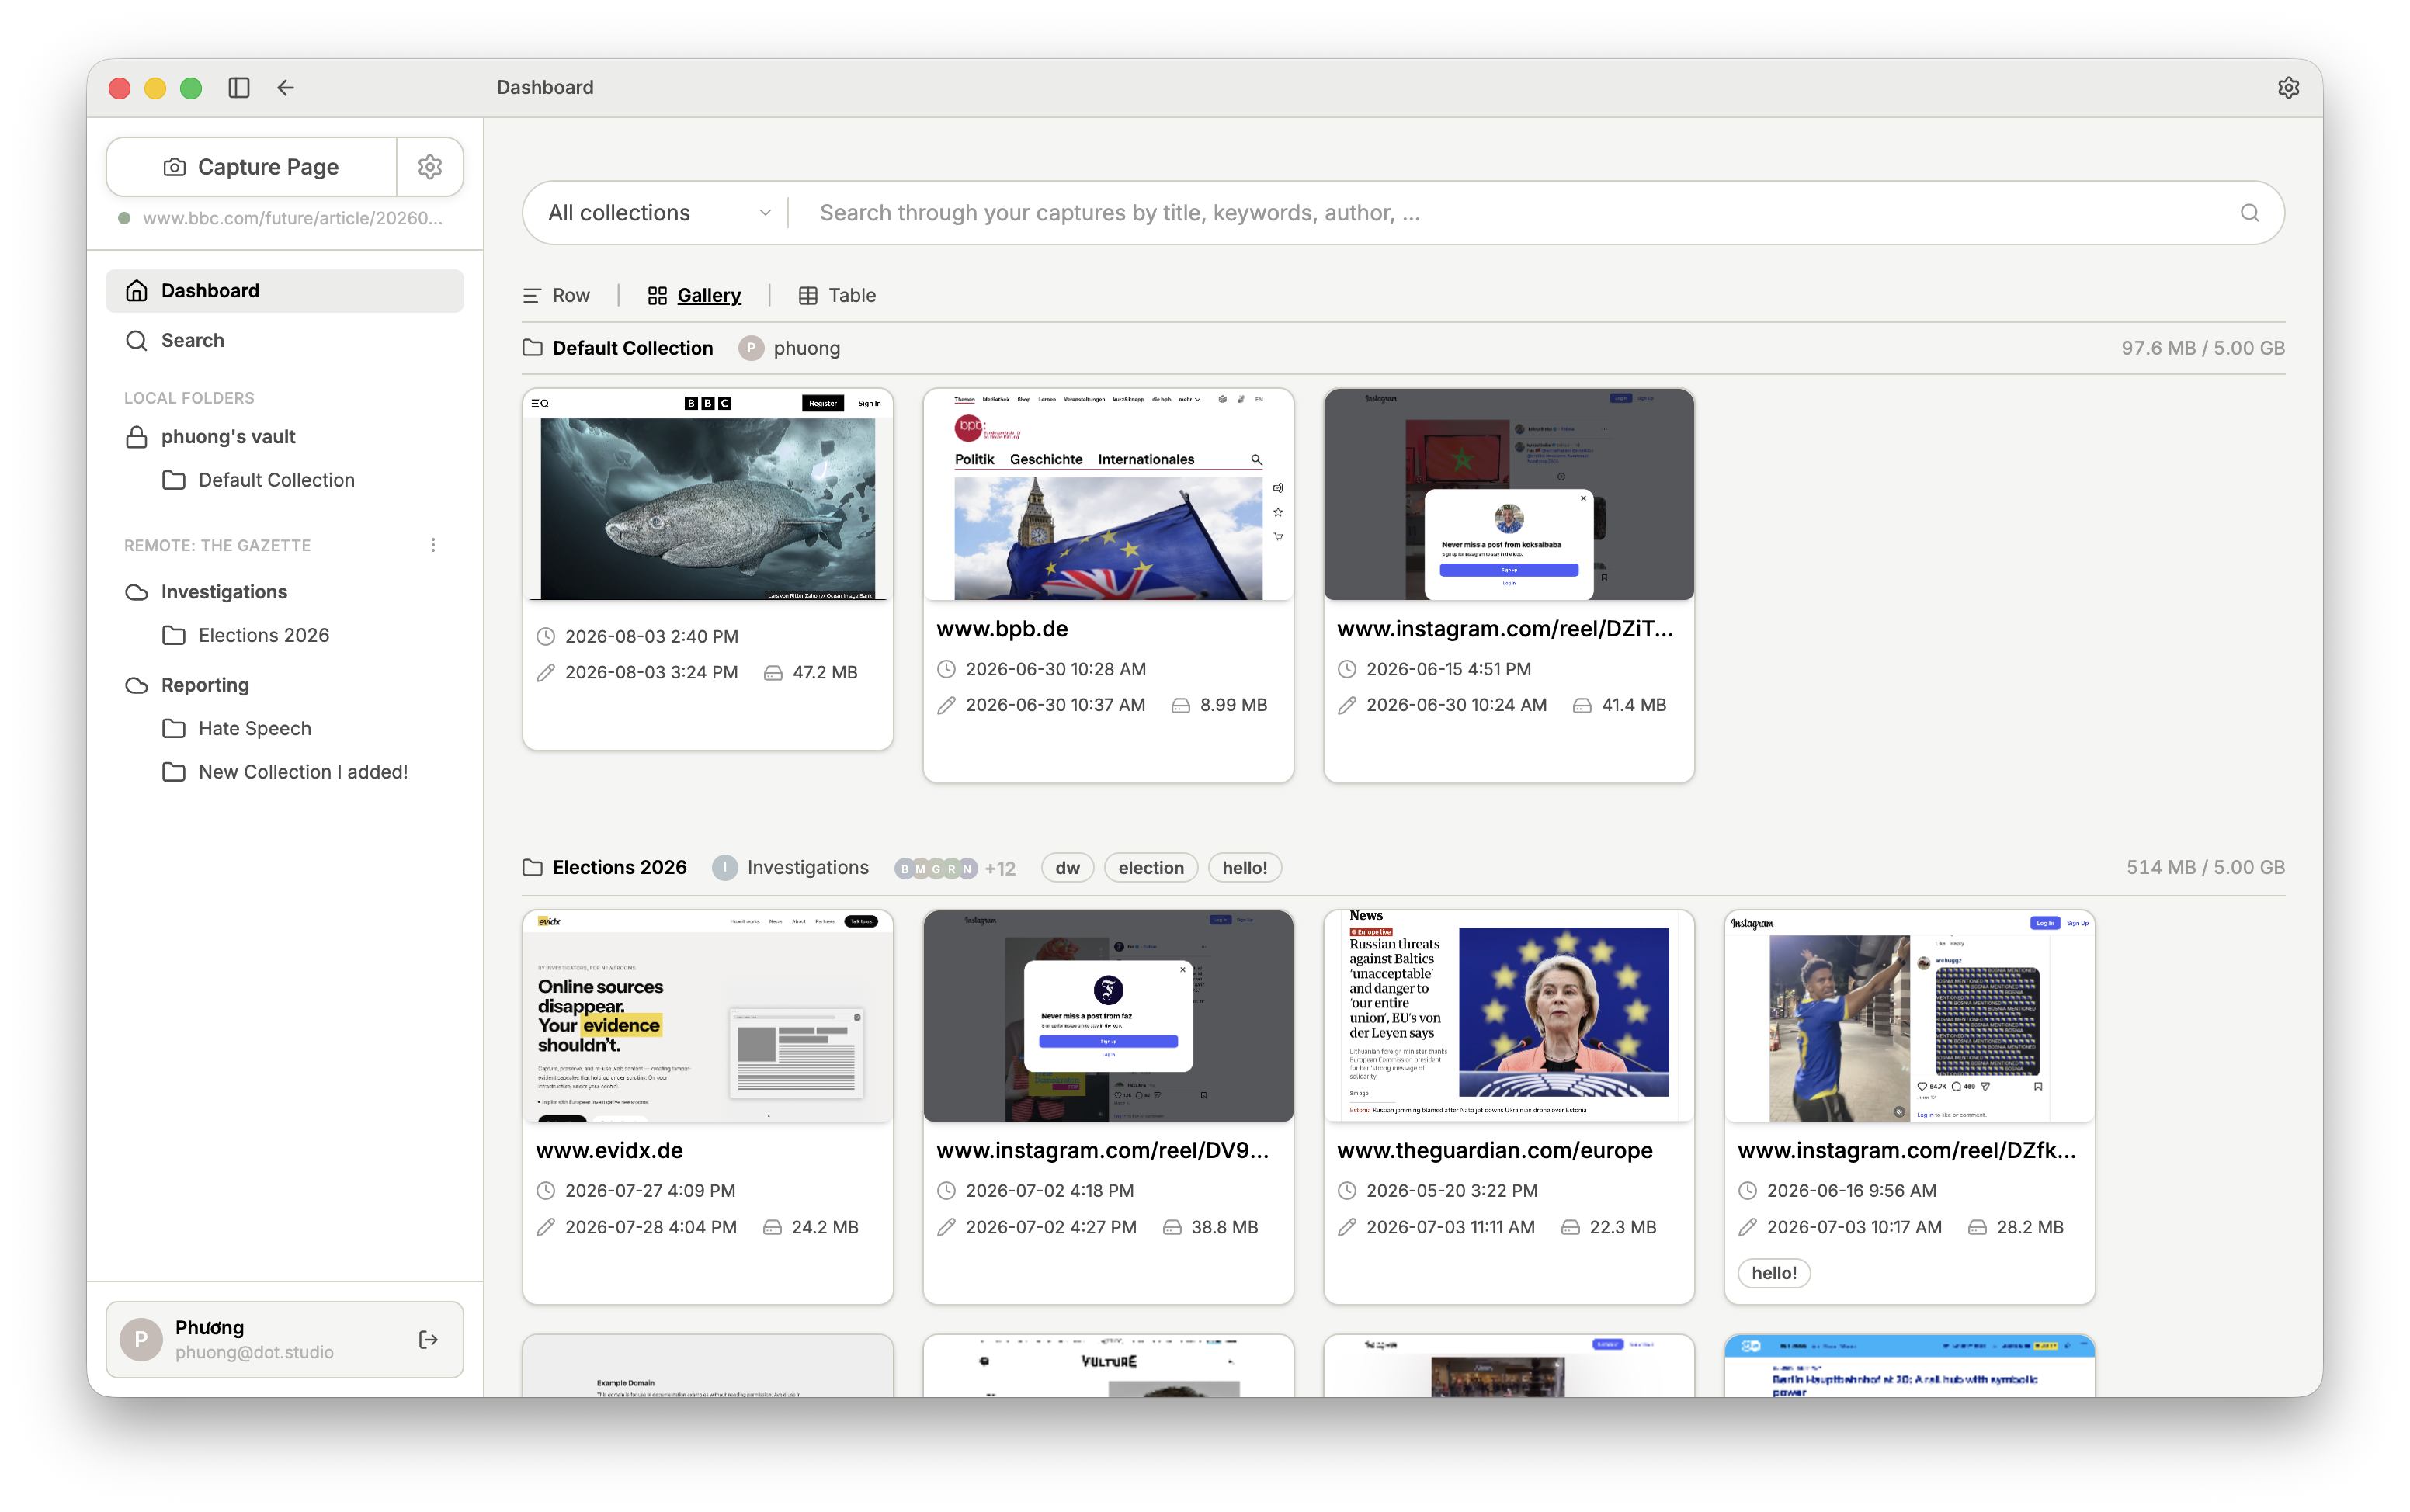
After a few seconds, your Capture appears automatically in your local Collection, which is shown directly in your Dashboard.
Important: Every Capture is first saved to your local Collection. Only then do you upload it manually to the server of your choice. This way you decide who can view which Captures.
2. How to organize
Organizing isn't just tidying up: Collections, tags, and access controls are what let a newsroom collaborate on sensitive sources without losing track of who captured what, when, and who's allowed to see it.
2.1 Capture view
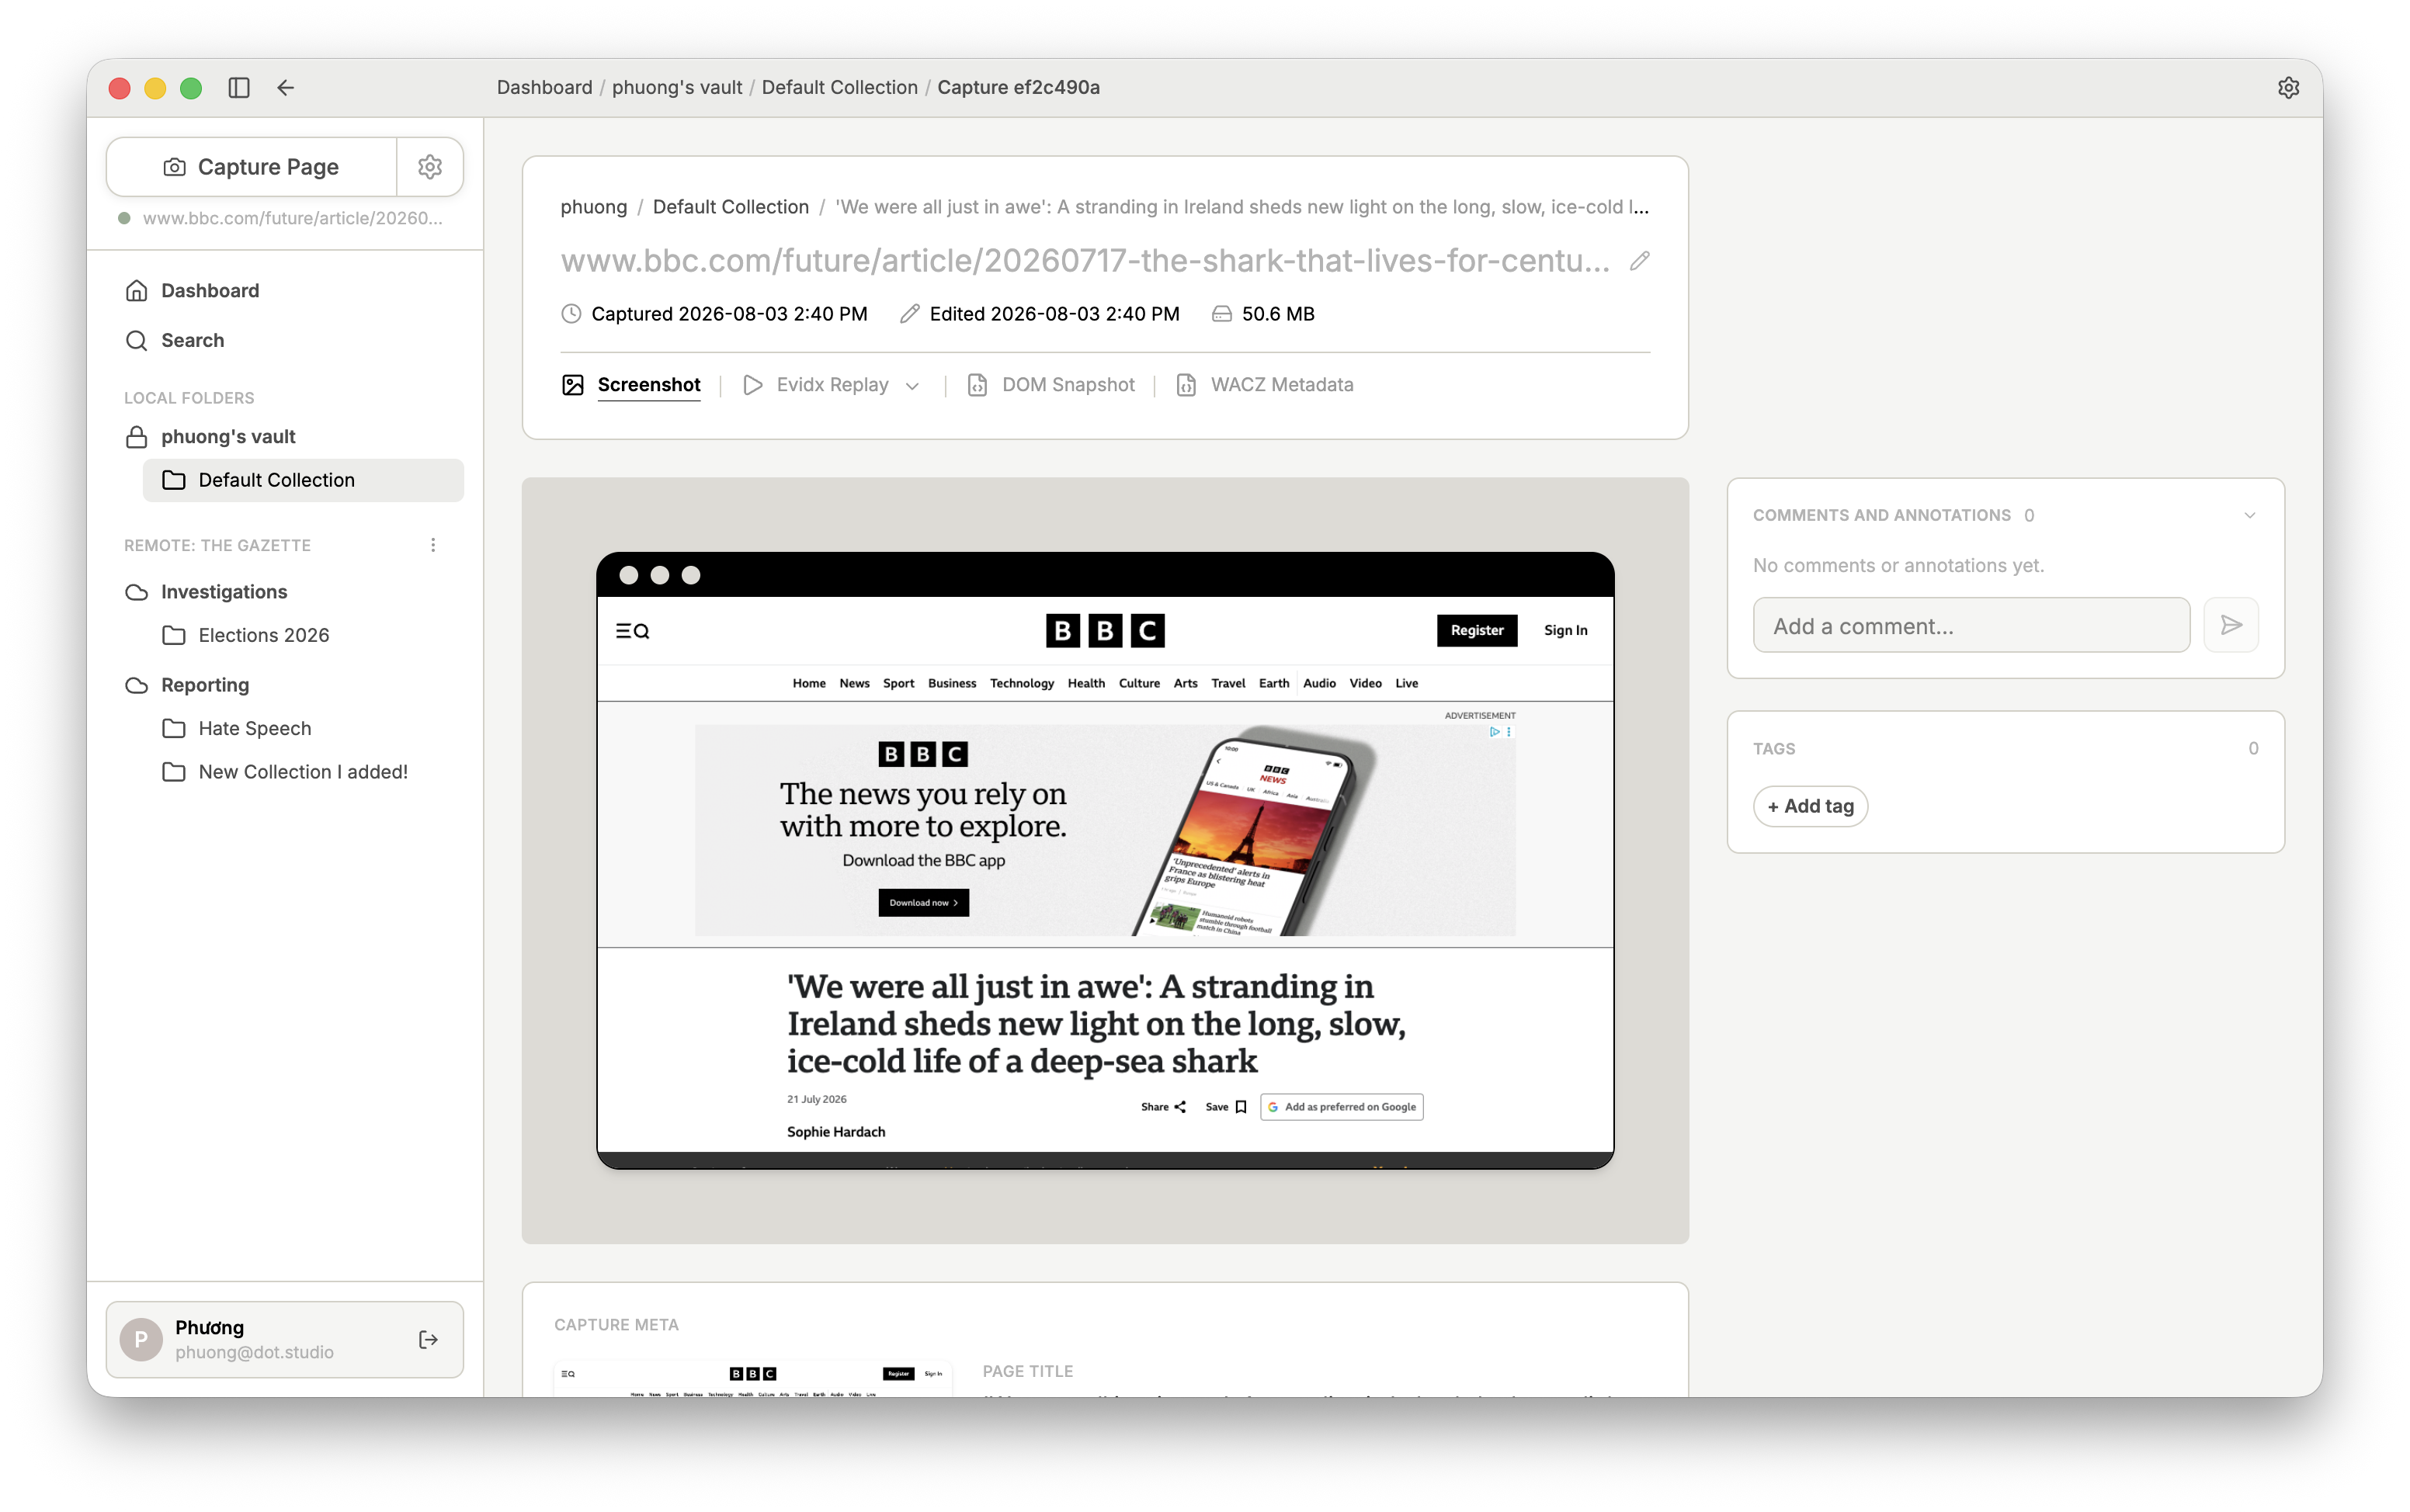
In the Capture View, you will find all information and actions for the selected Capture.
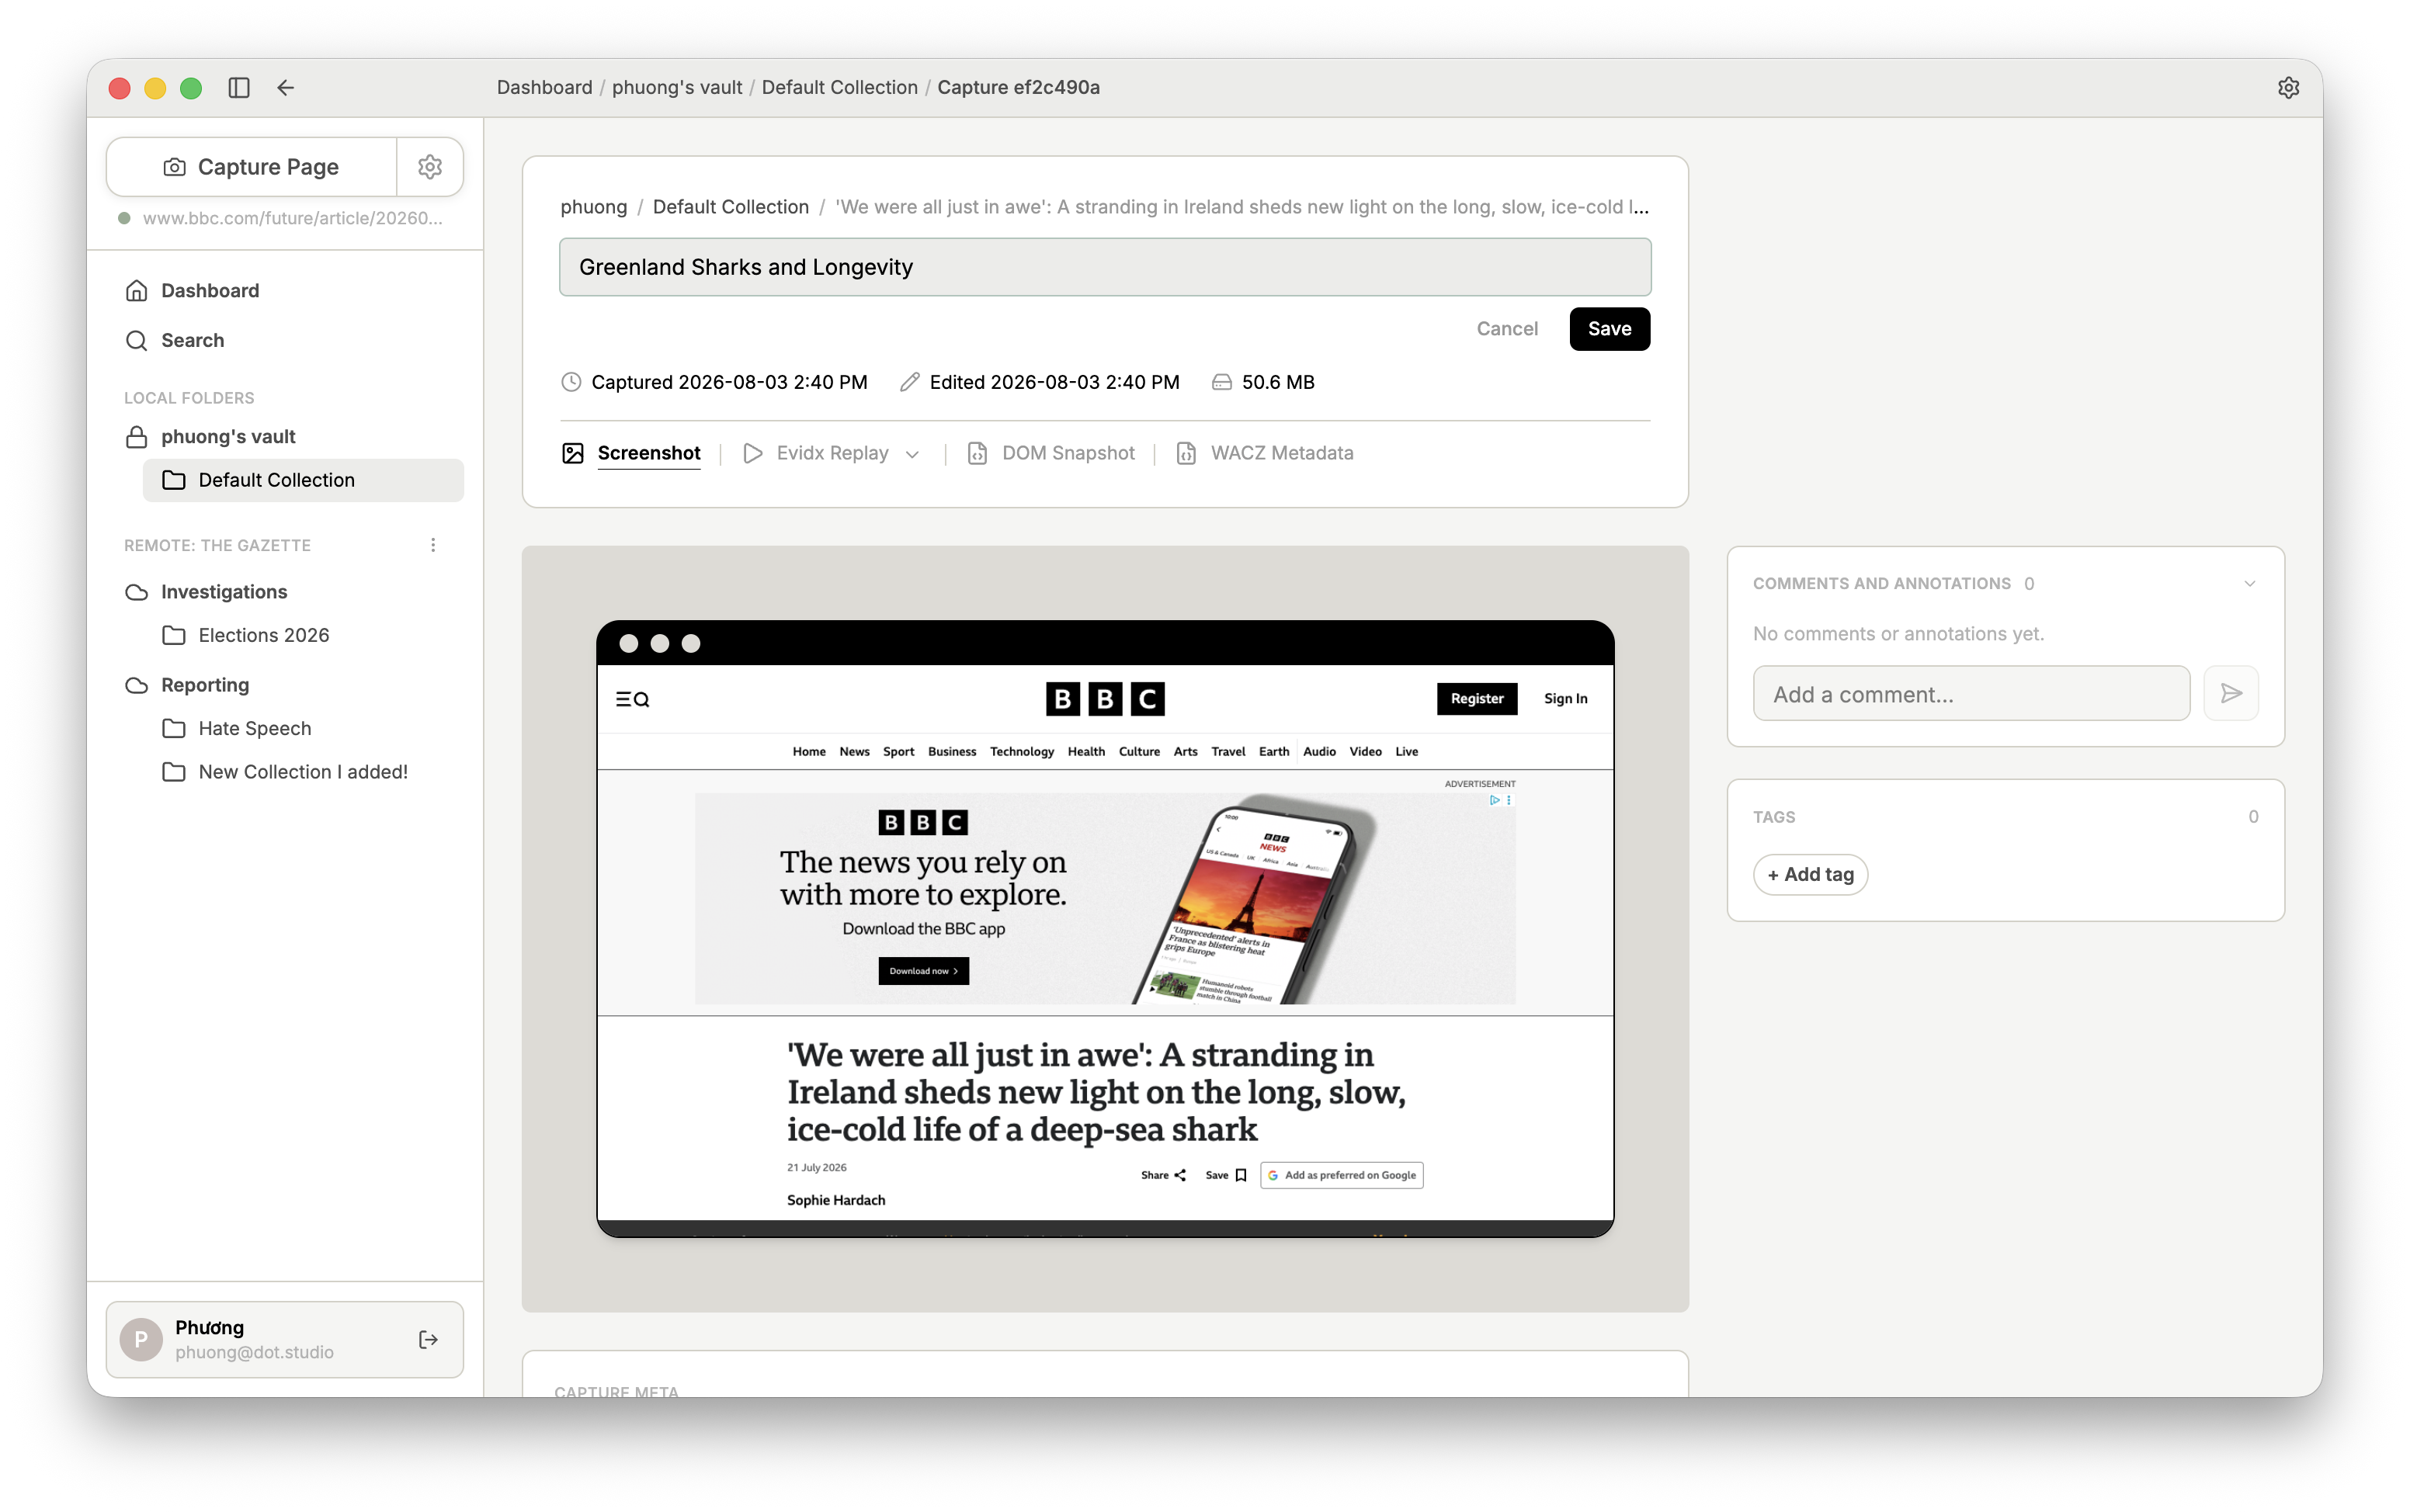
Hover over the automatically assigned title to edit it. A meaningful title makes this Capture easier to find later.
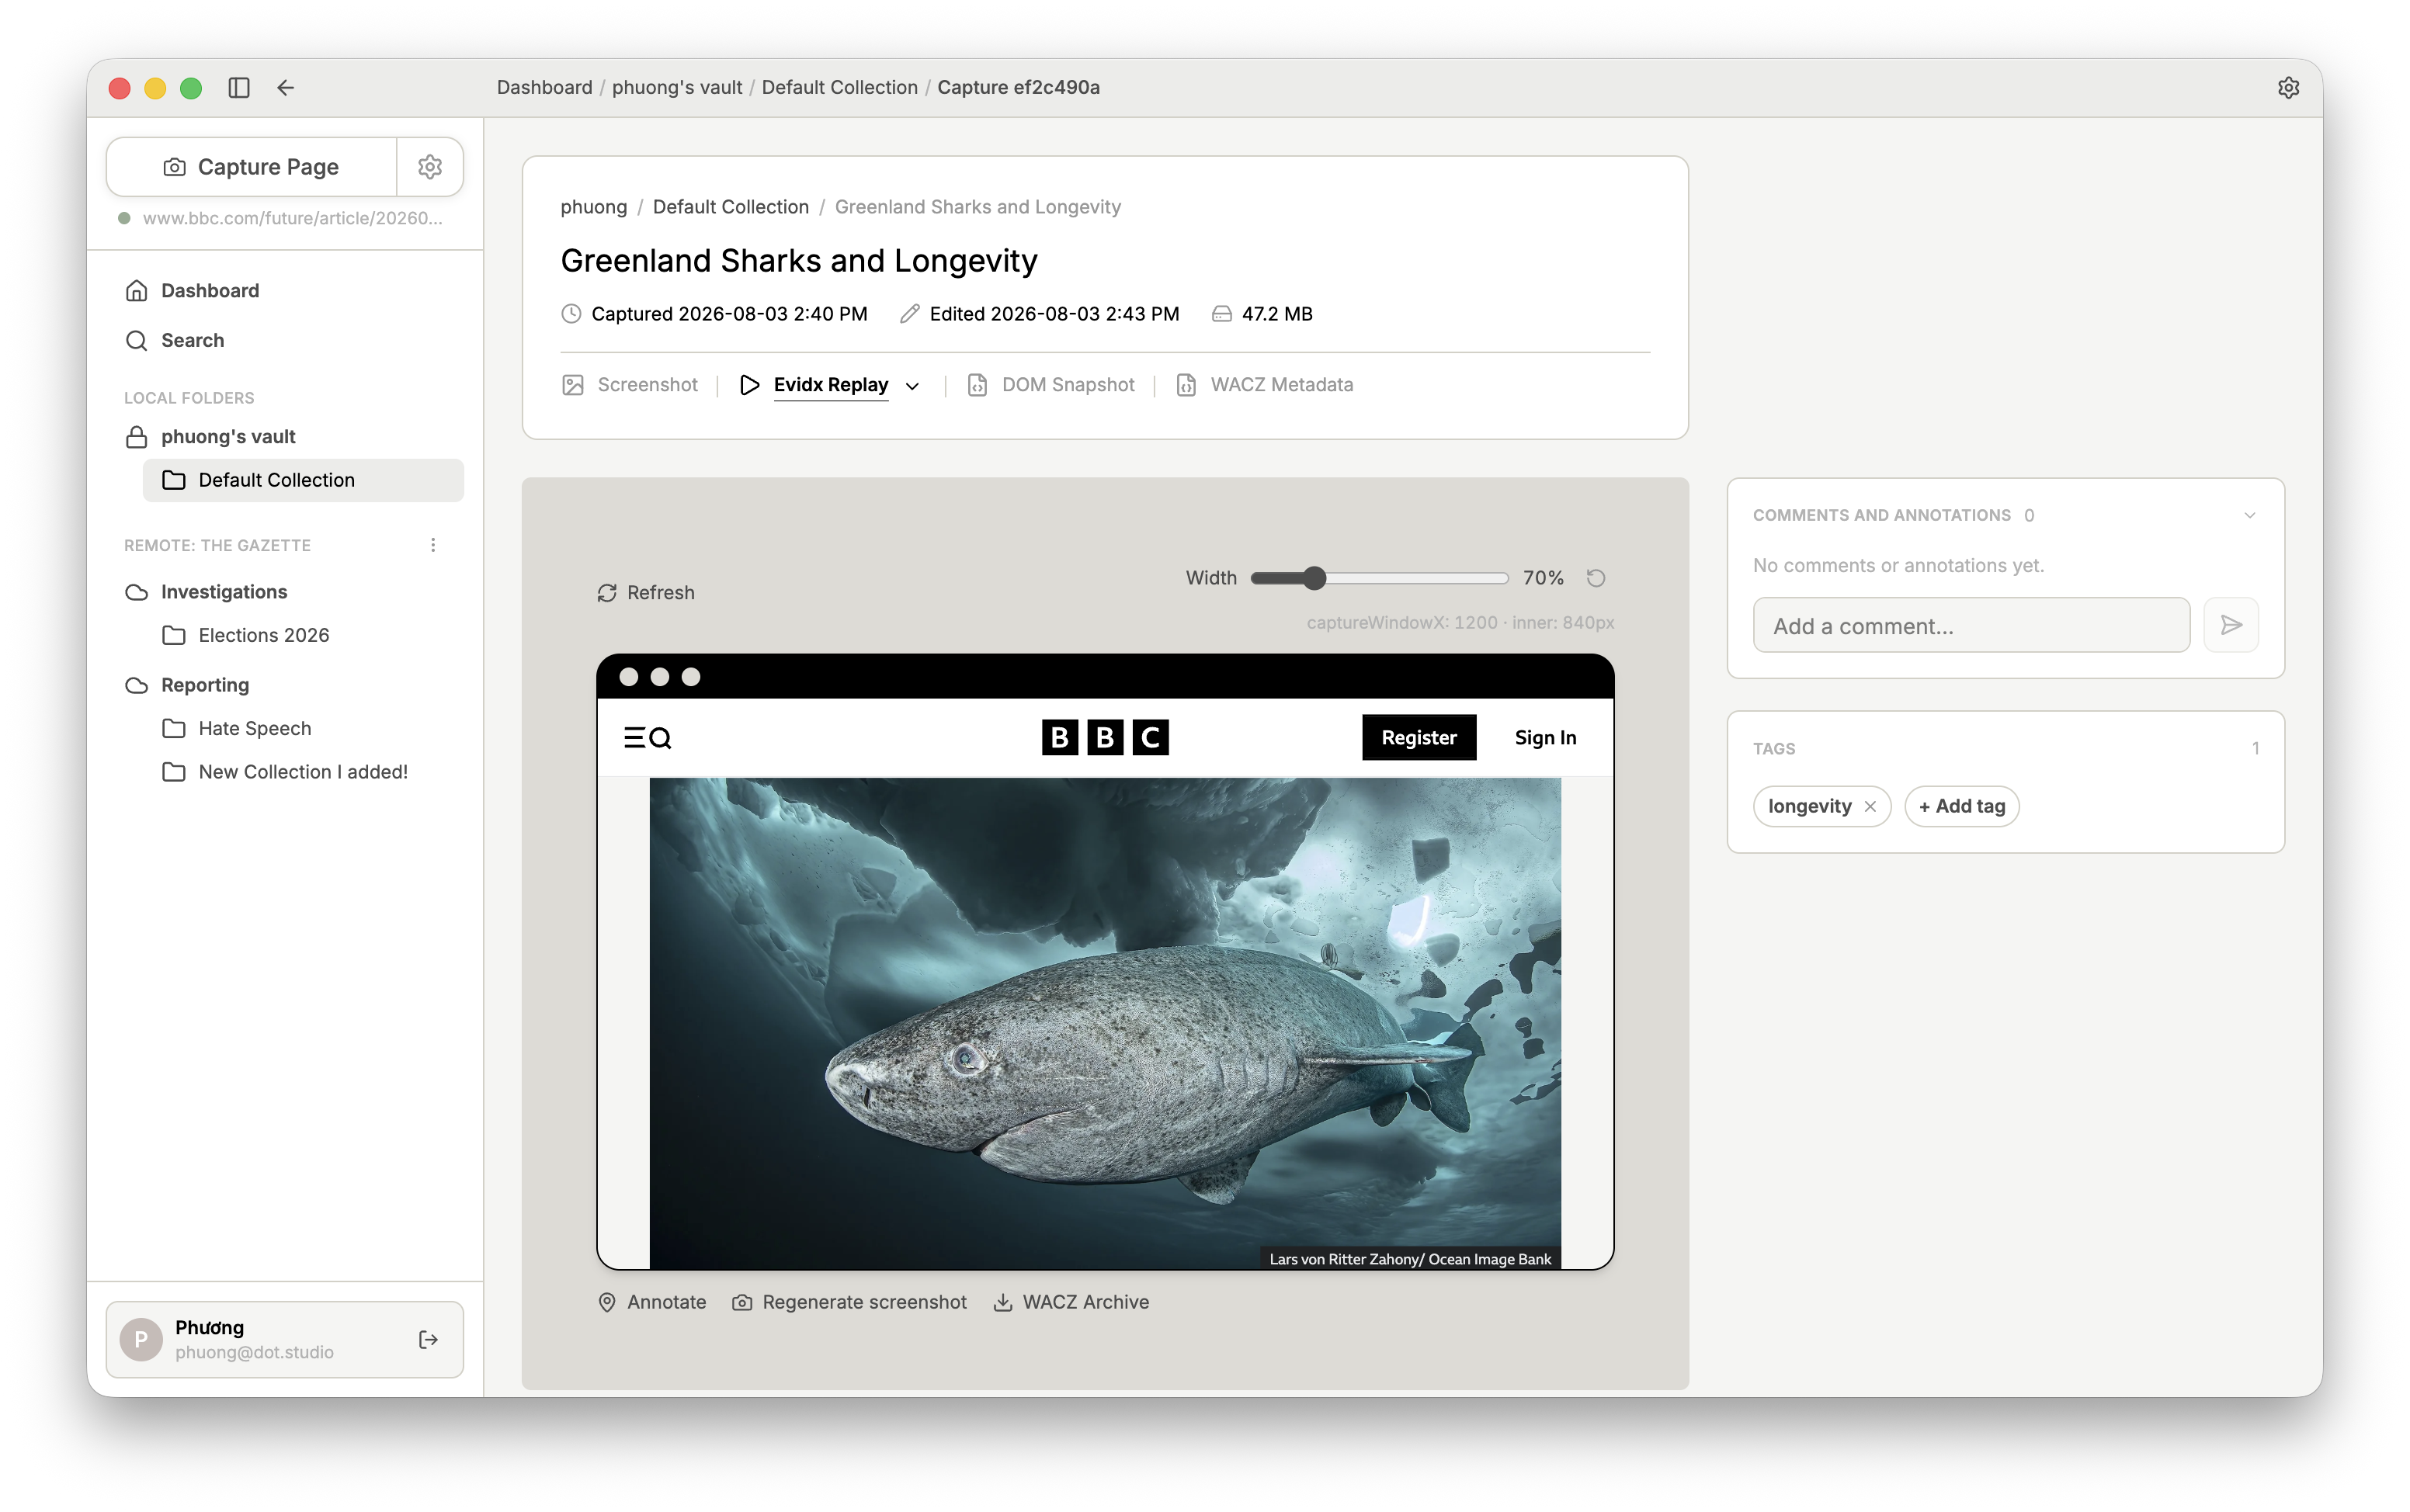
To change a Capture's Quick View, switch to Evidx Replay in the toolbar. The Quick View lets you identify a Capture at a glance in the Dashboard.
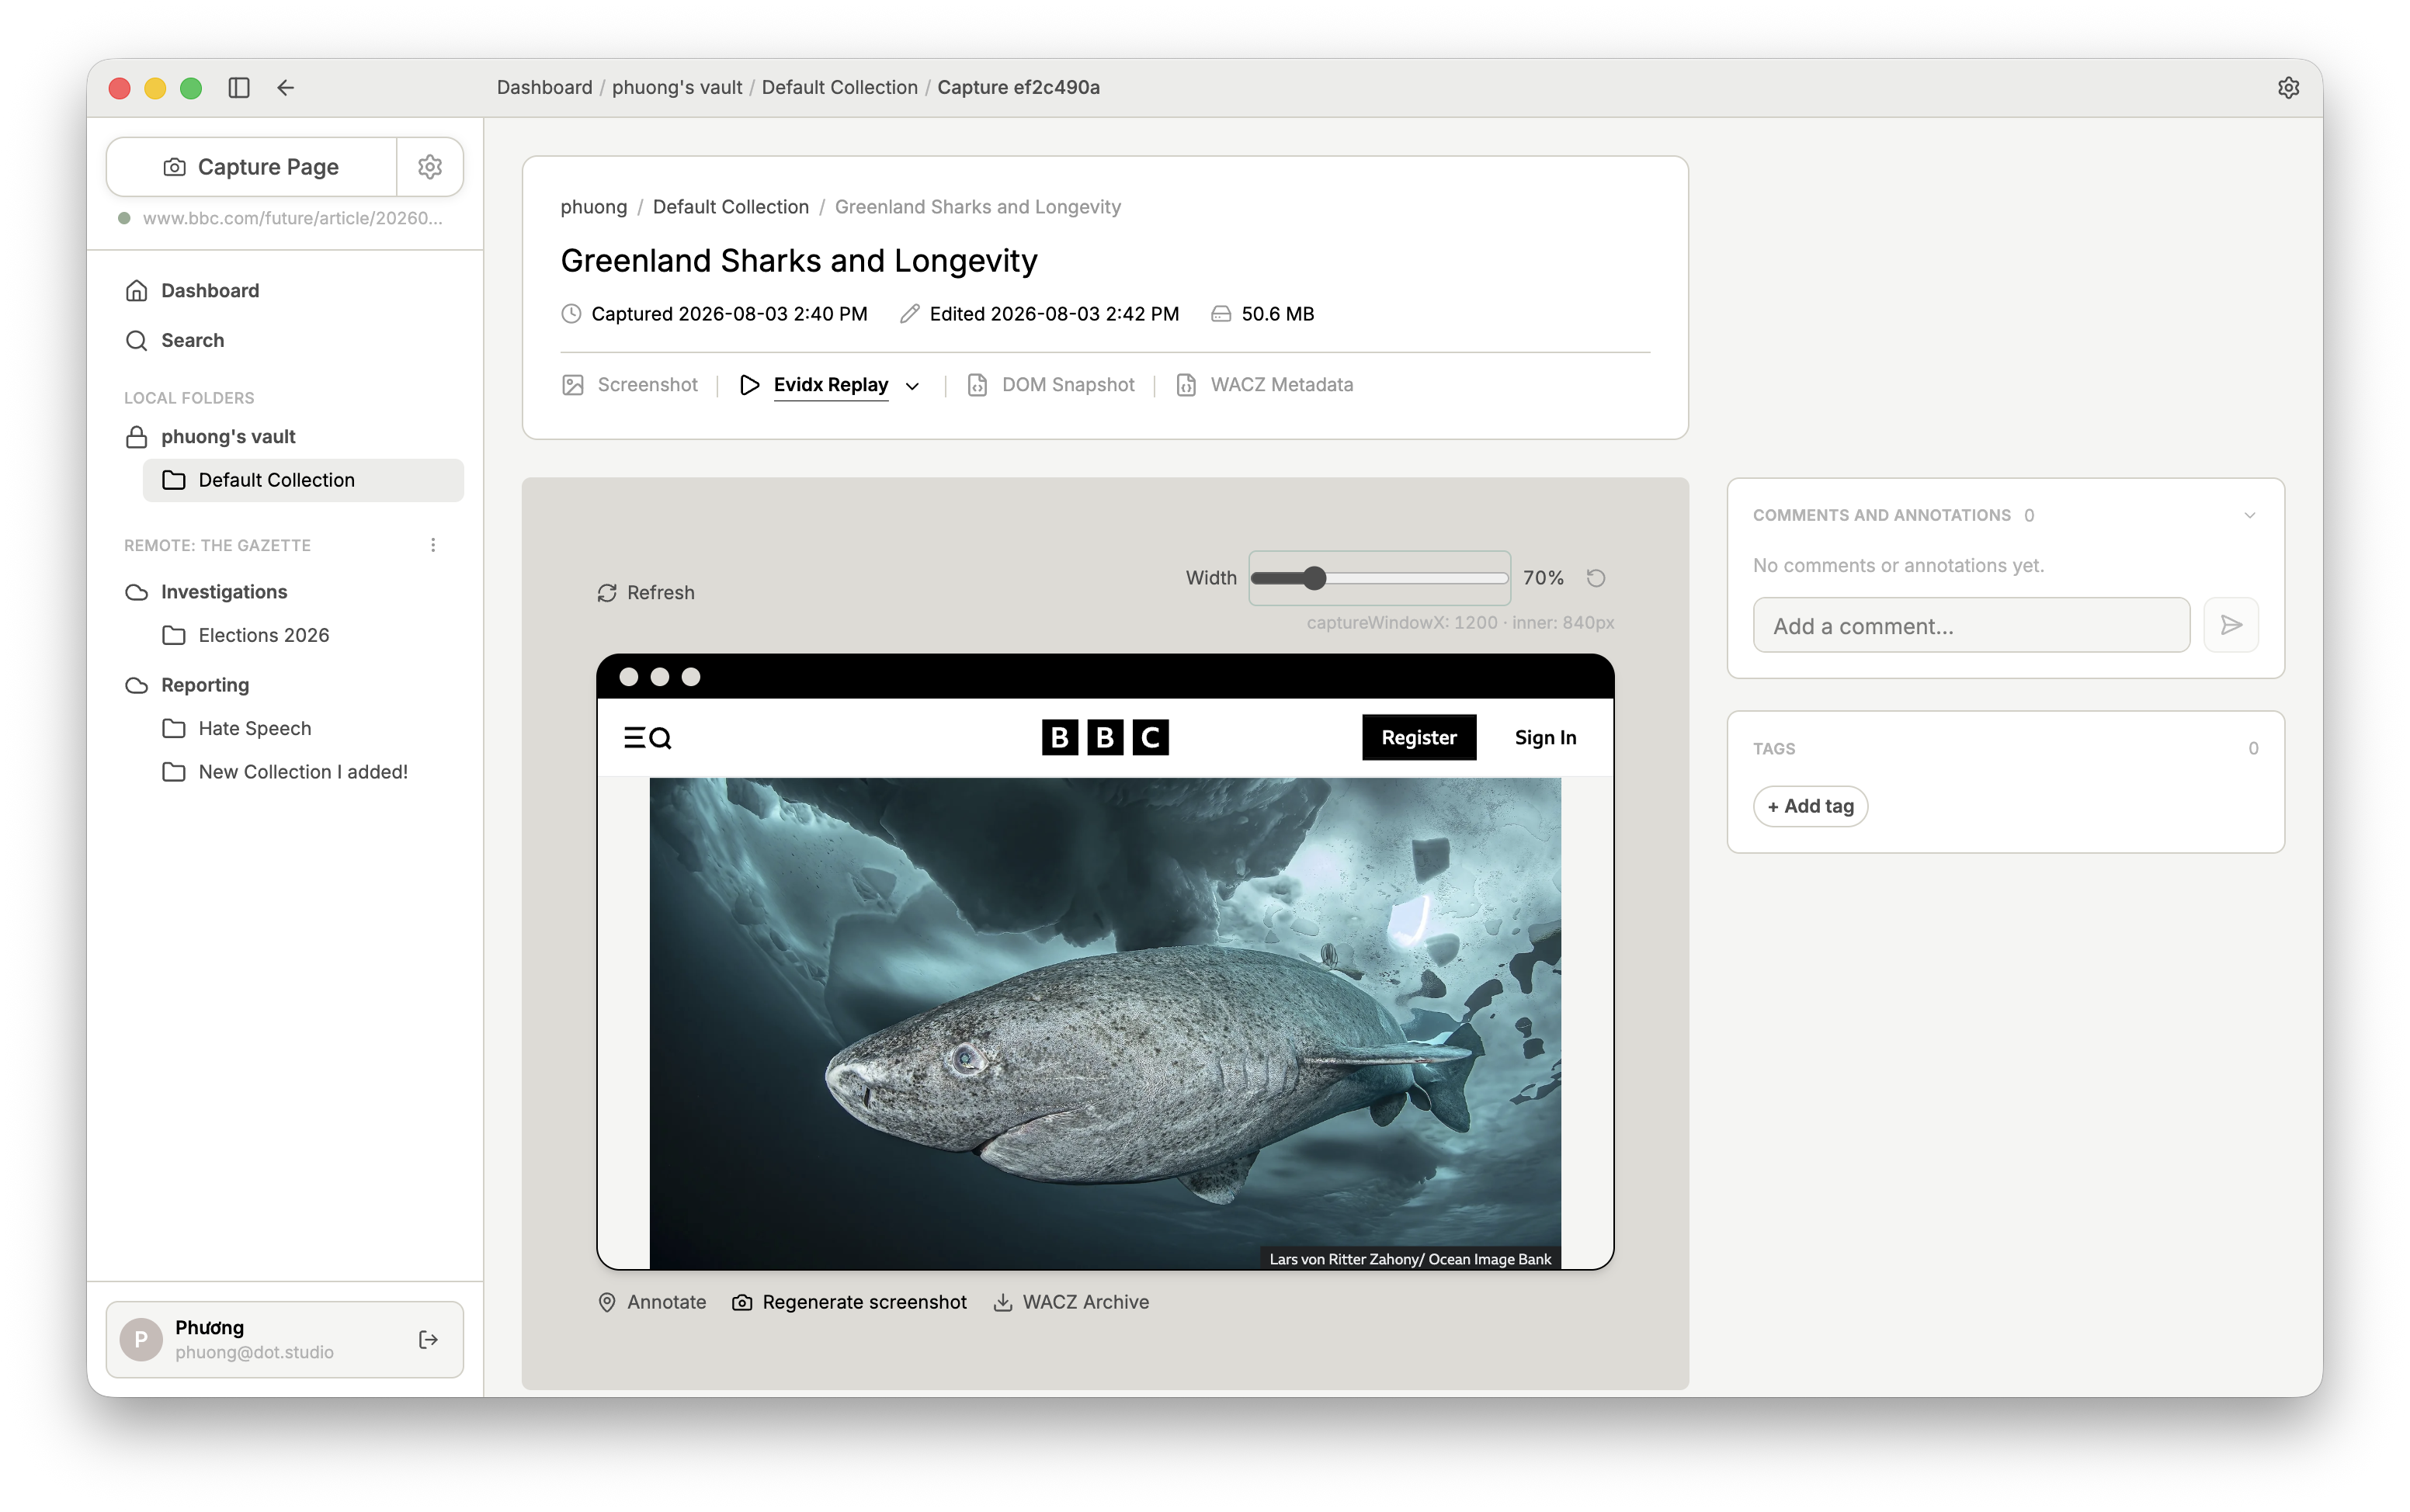
In this view, scroll to the part of the website you want to use as the Quick View, then click Regenerate screenshot.
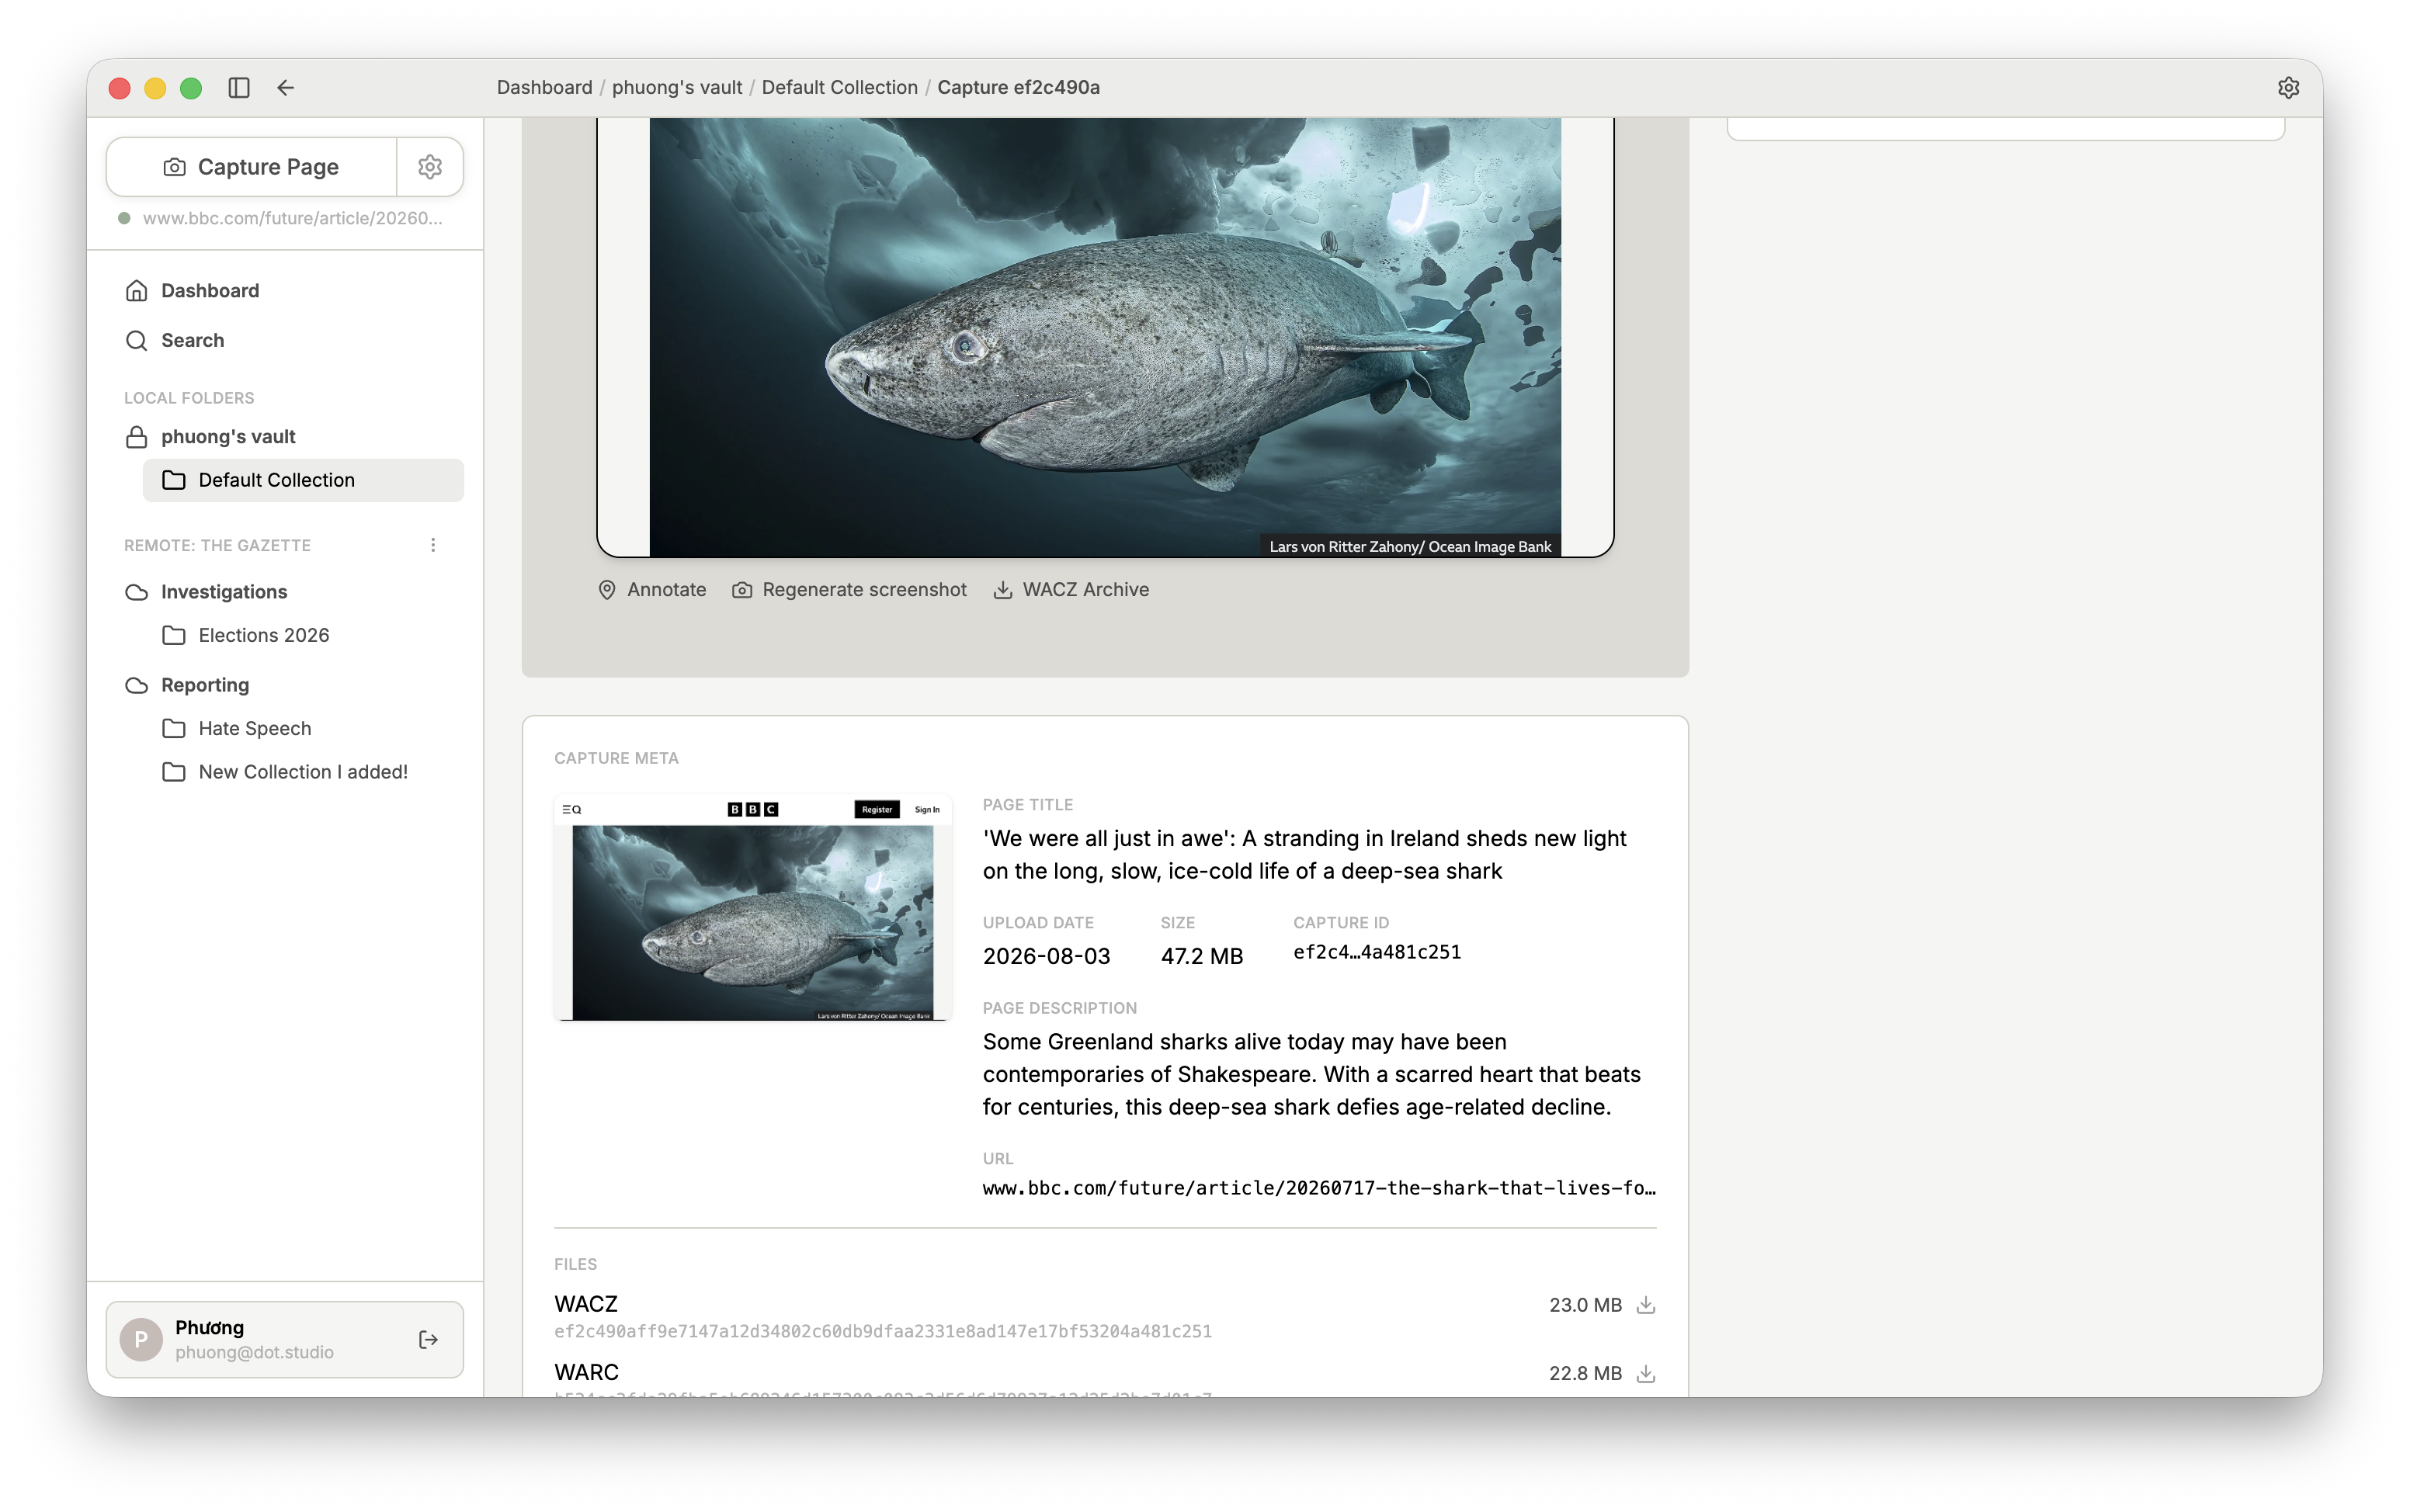
To check the Quick View, scroll further down in this view. The Quick View is shown again in the Capture Meta section. The new Quick View is now updated in the Dashboard as well.
2.2 Tags
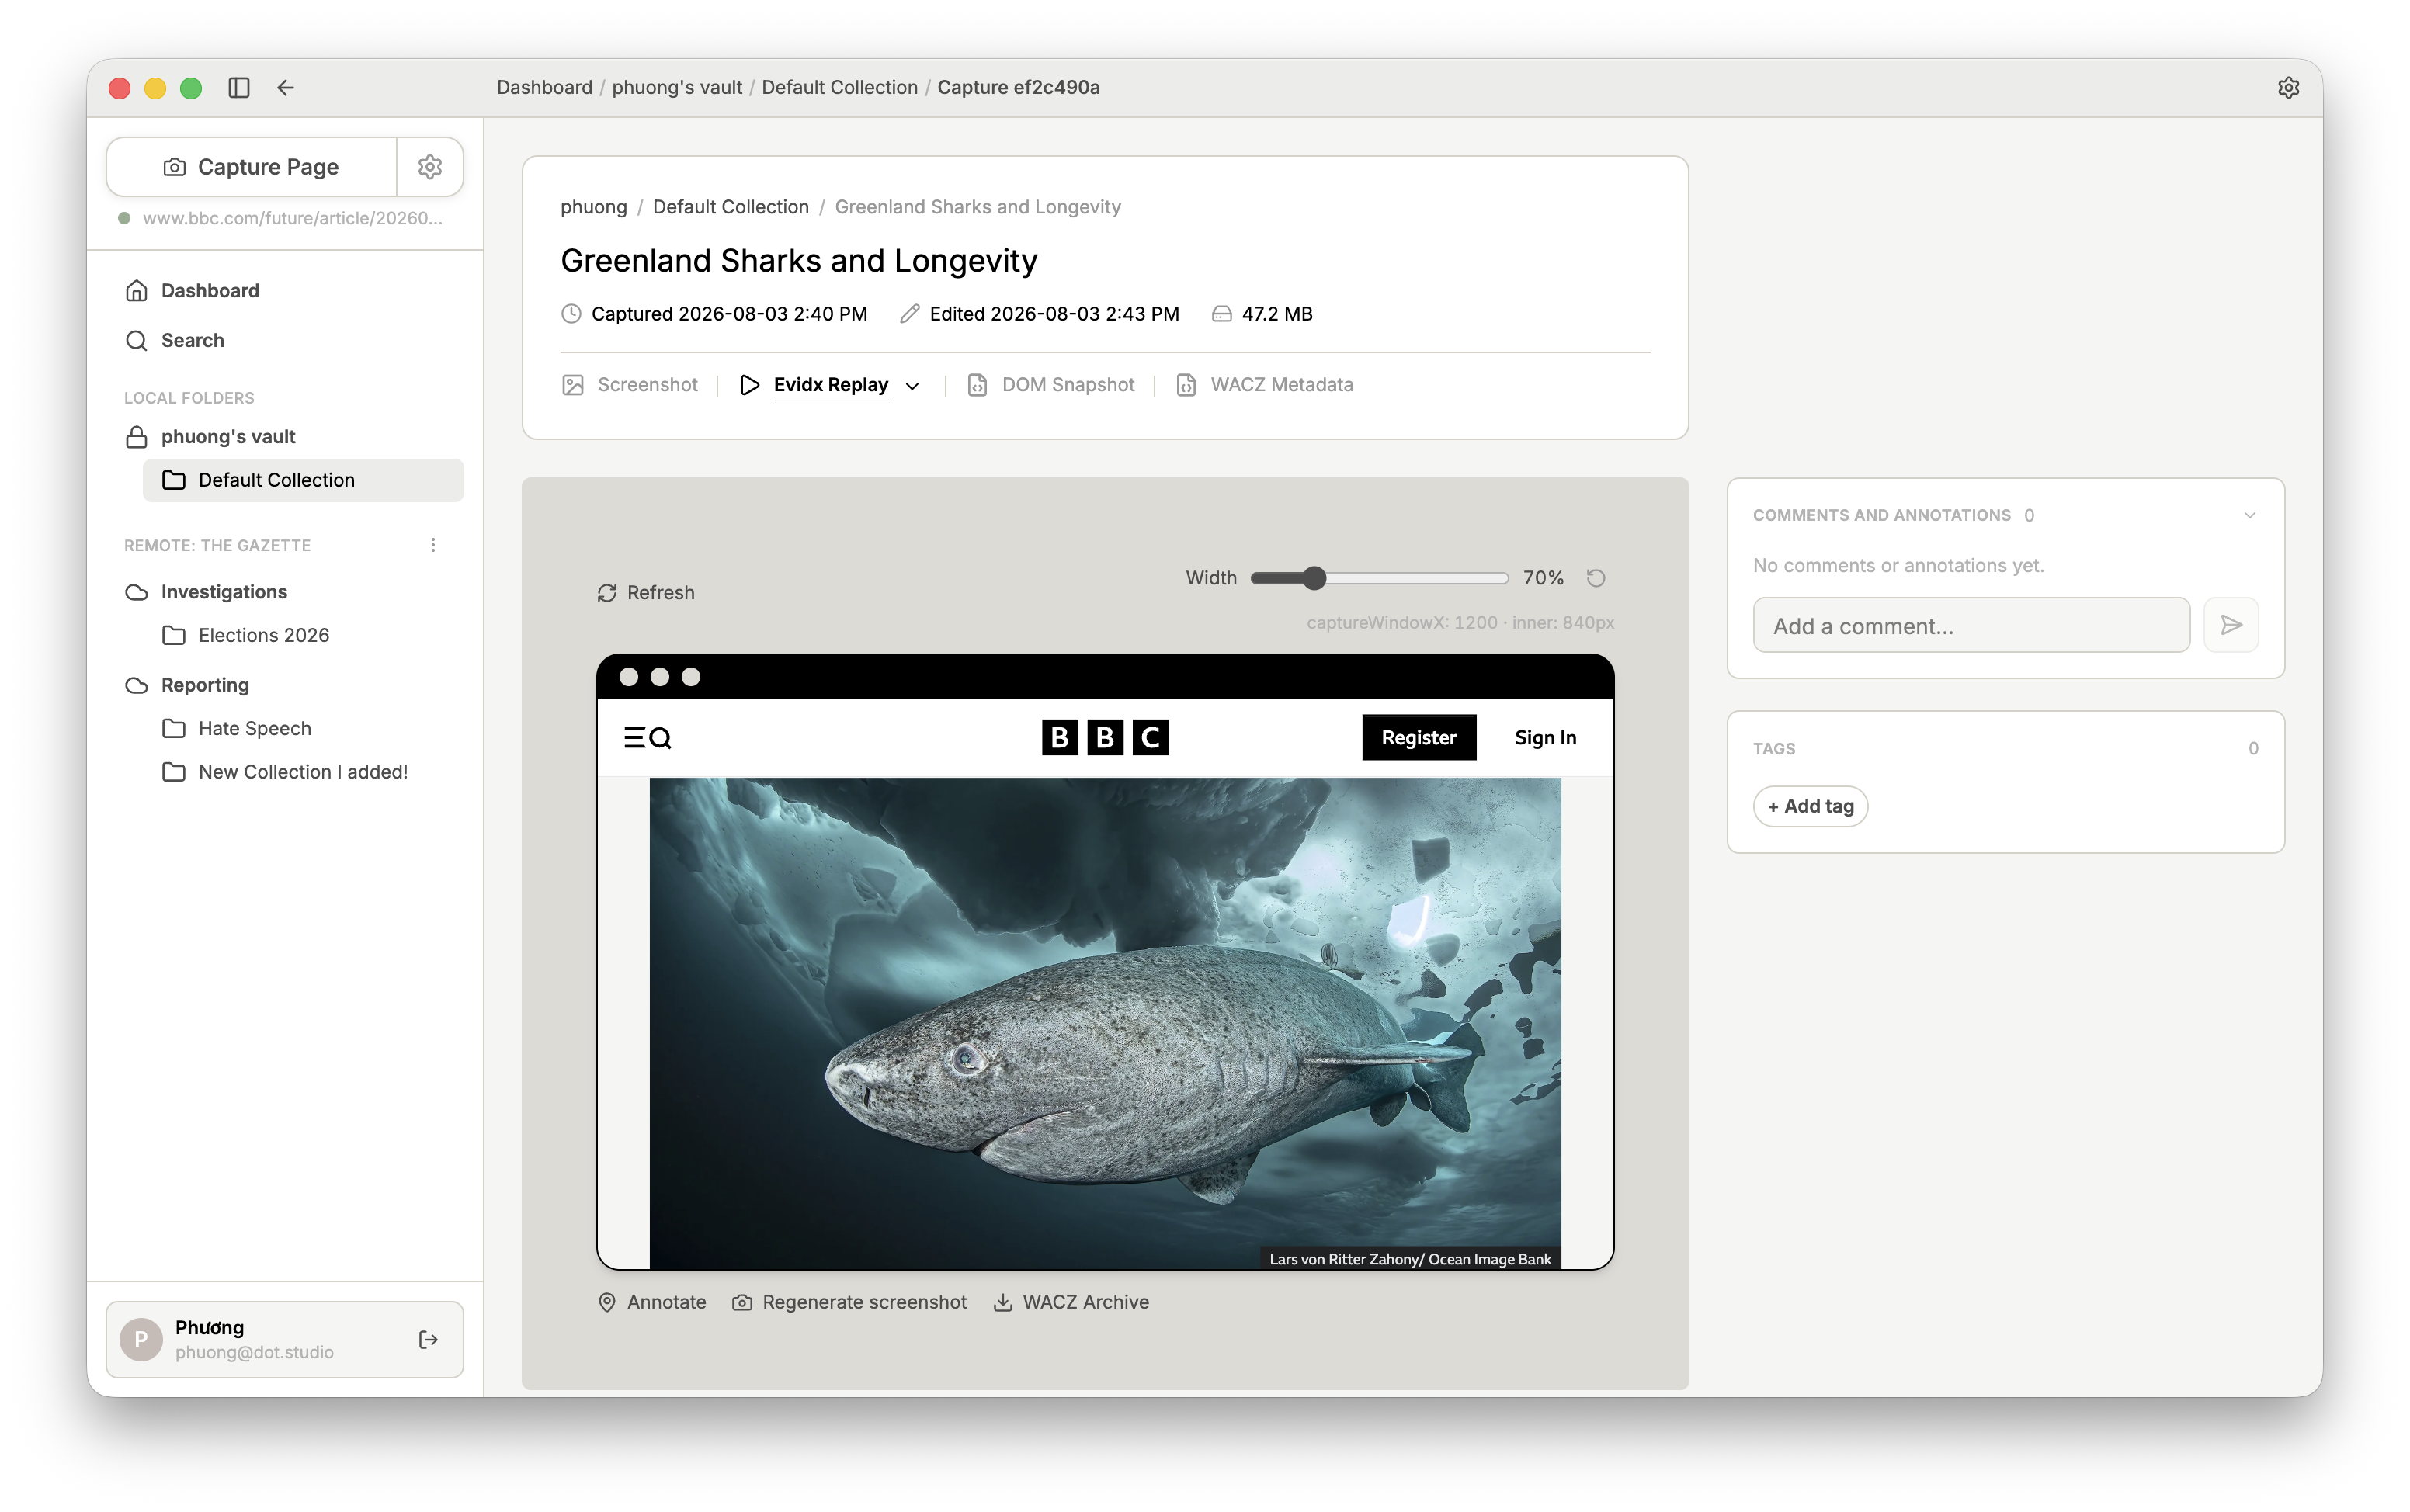
In the sidebar, you will find the Tags section, which lets you categorize a Capture further.
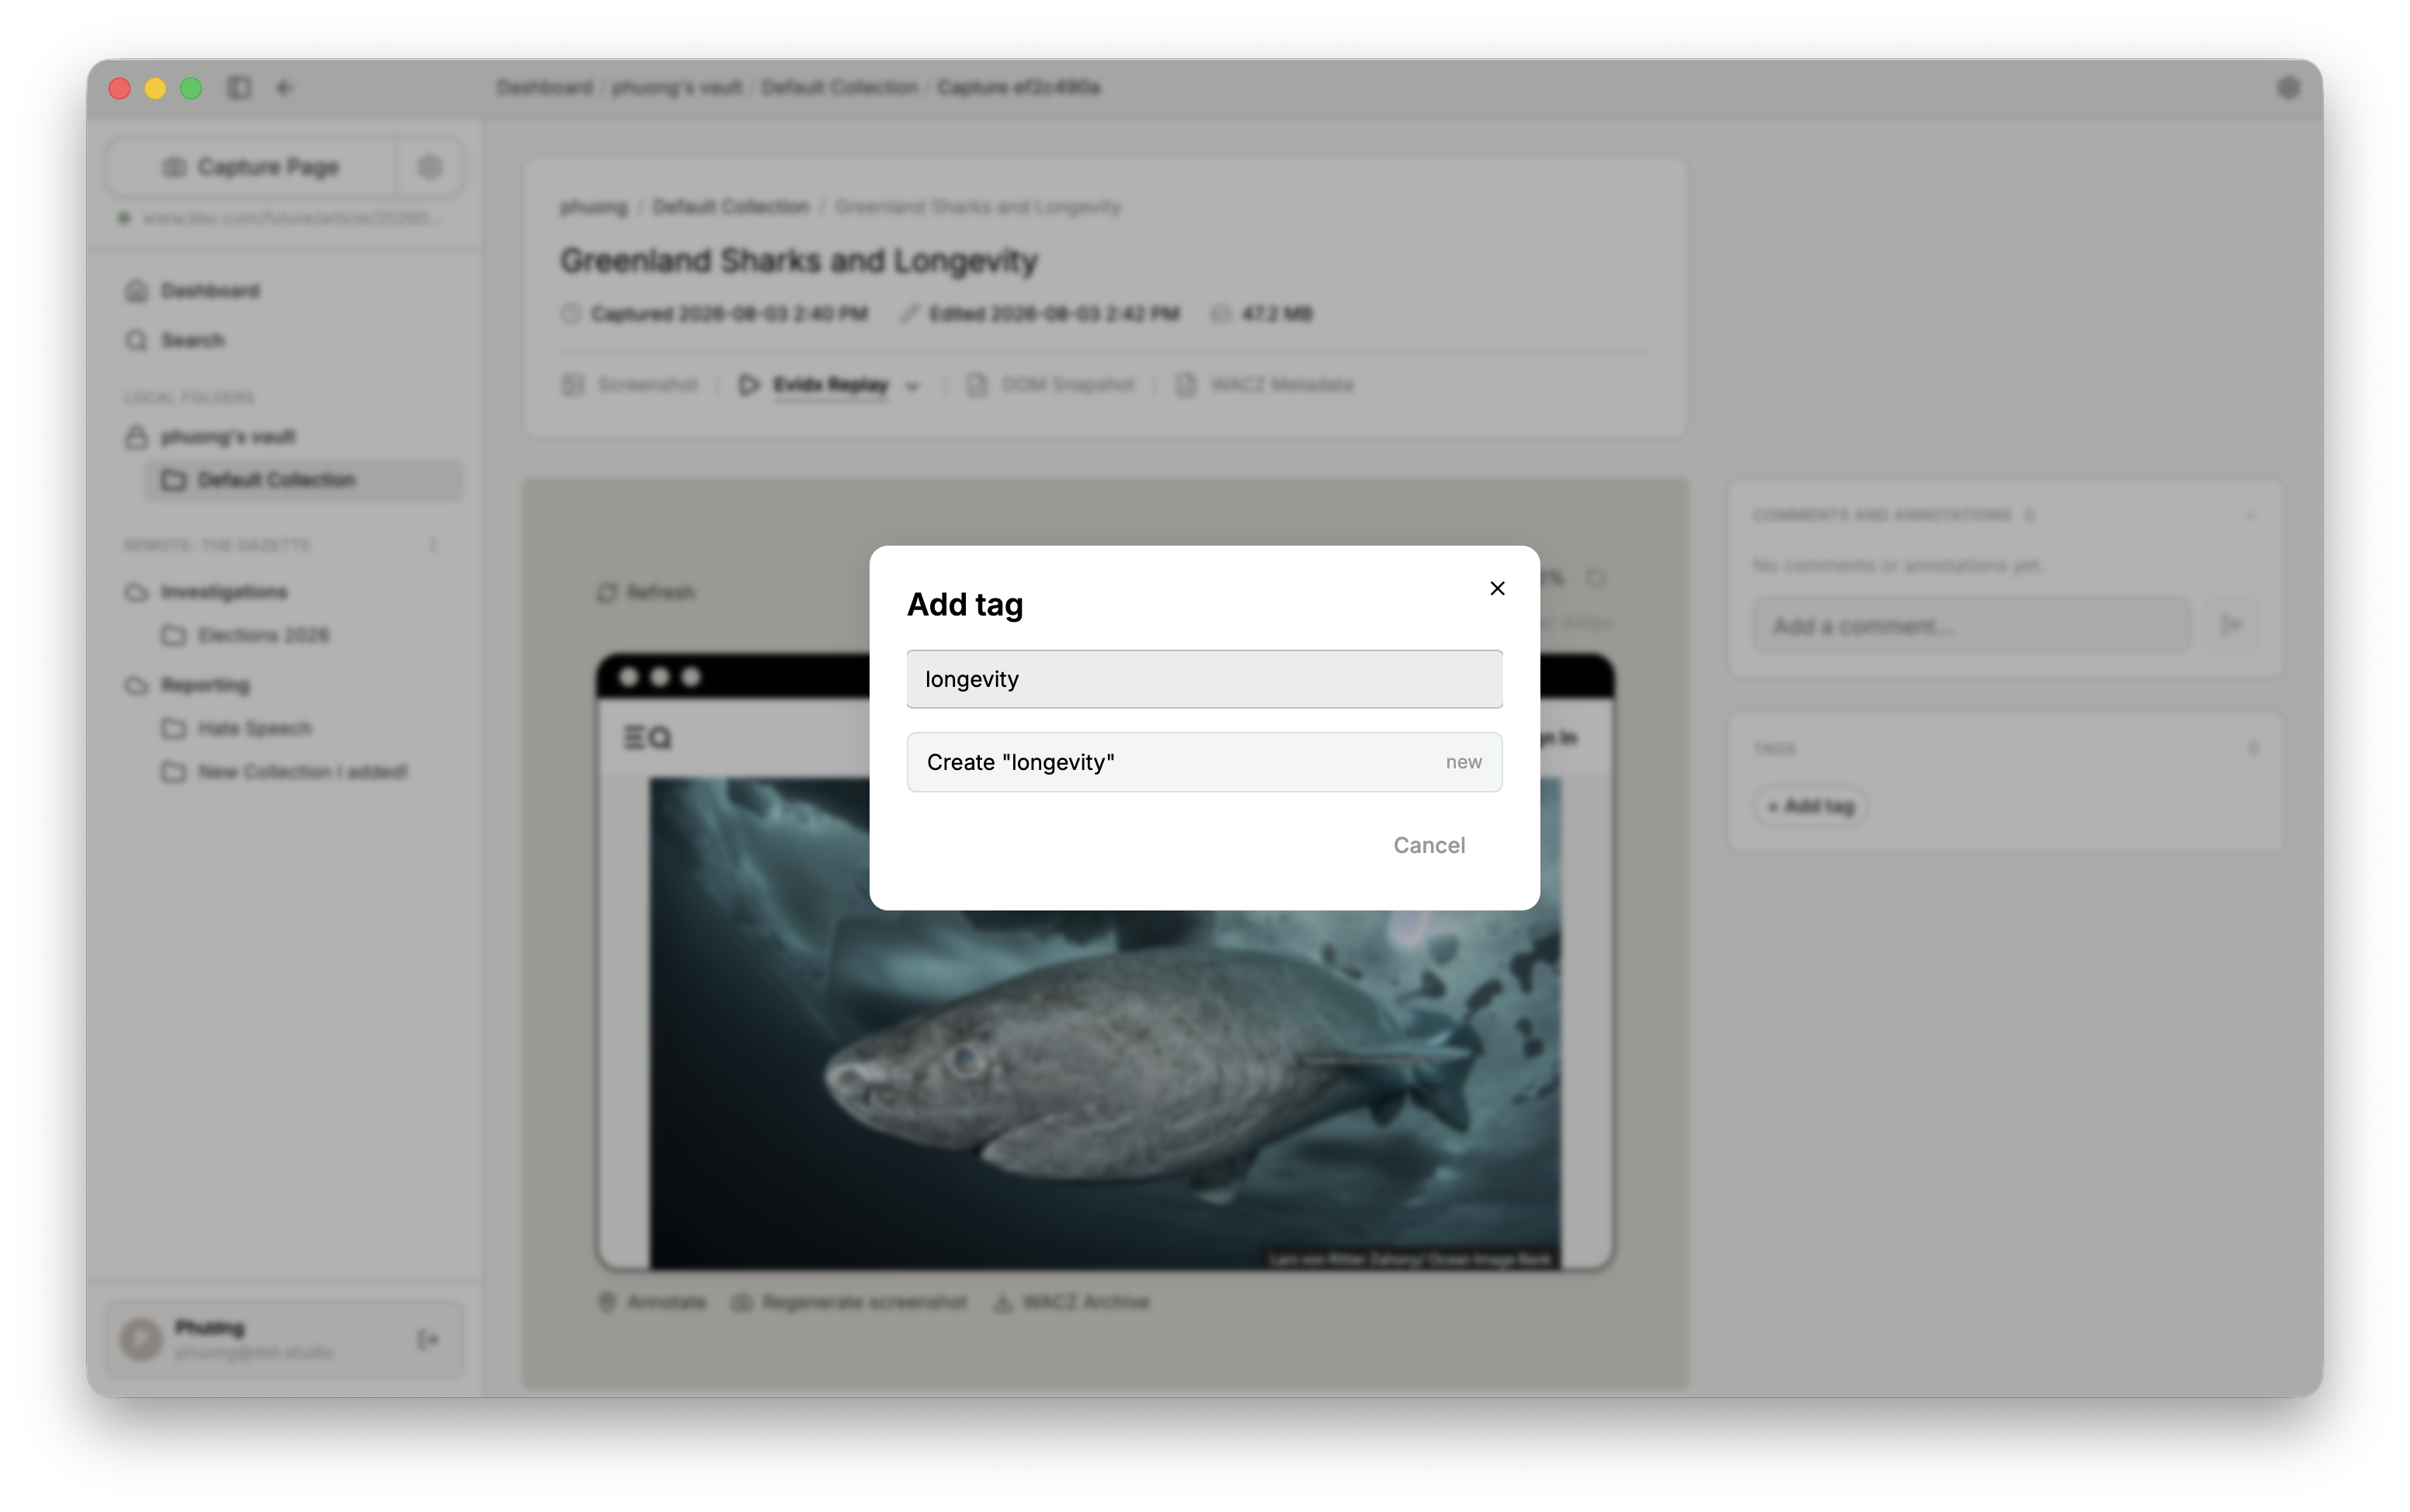
In this section, you can add new tags via Add Tag, select existing tags, and remove tags again.
2.3 Vaults and collections
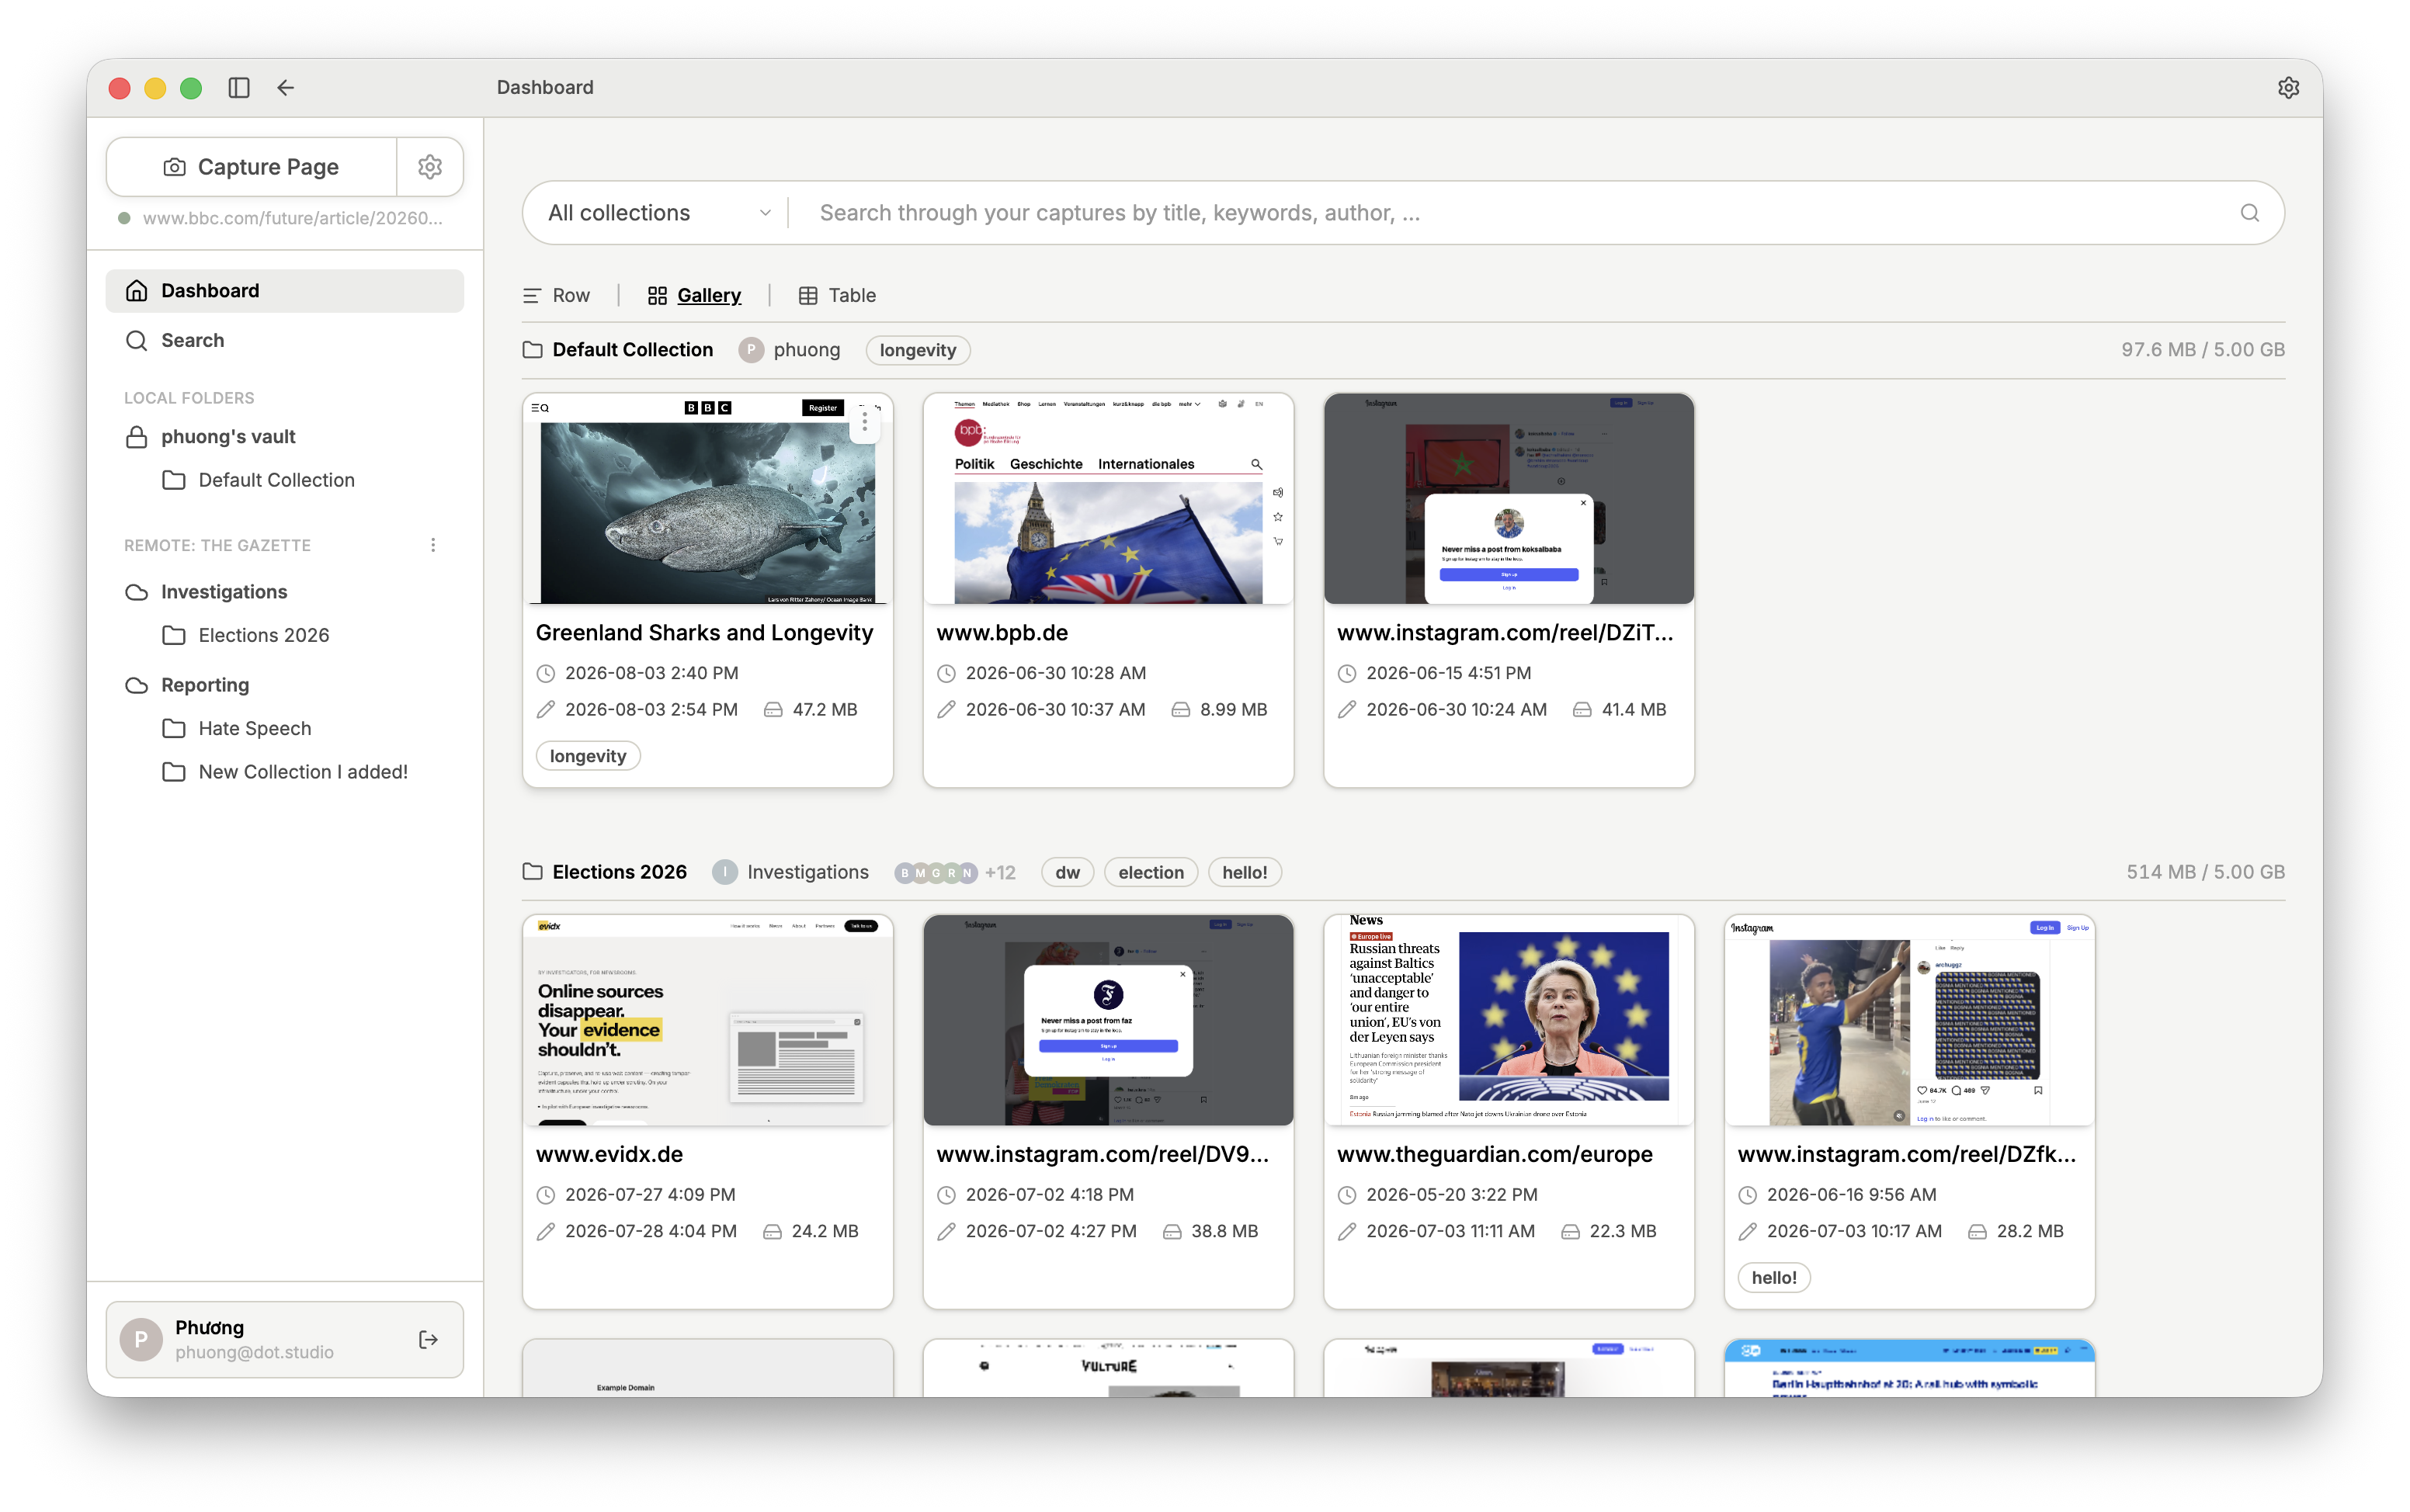
Captures are displayed in three views: Row, Gallery, and Table View. In each view, Captures are grouped by Collections. The overview row shows which Collection the Captures belong to, who owns it, who has access, and which tags are in use.
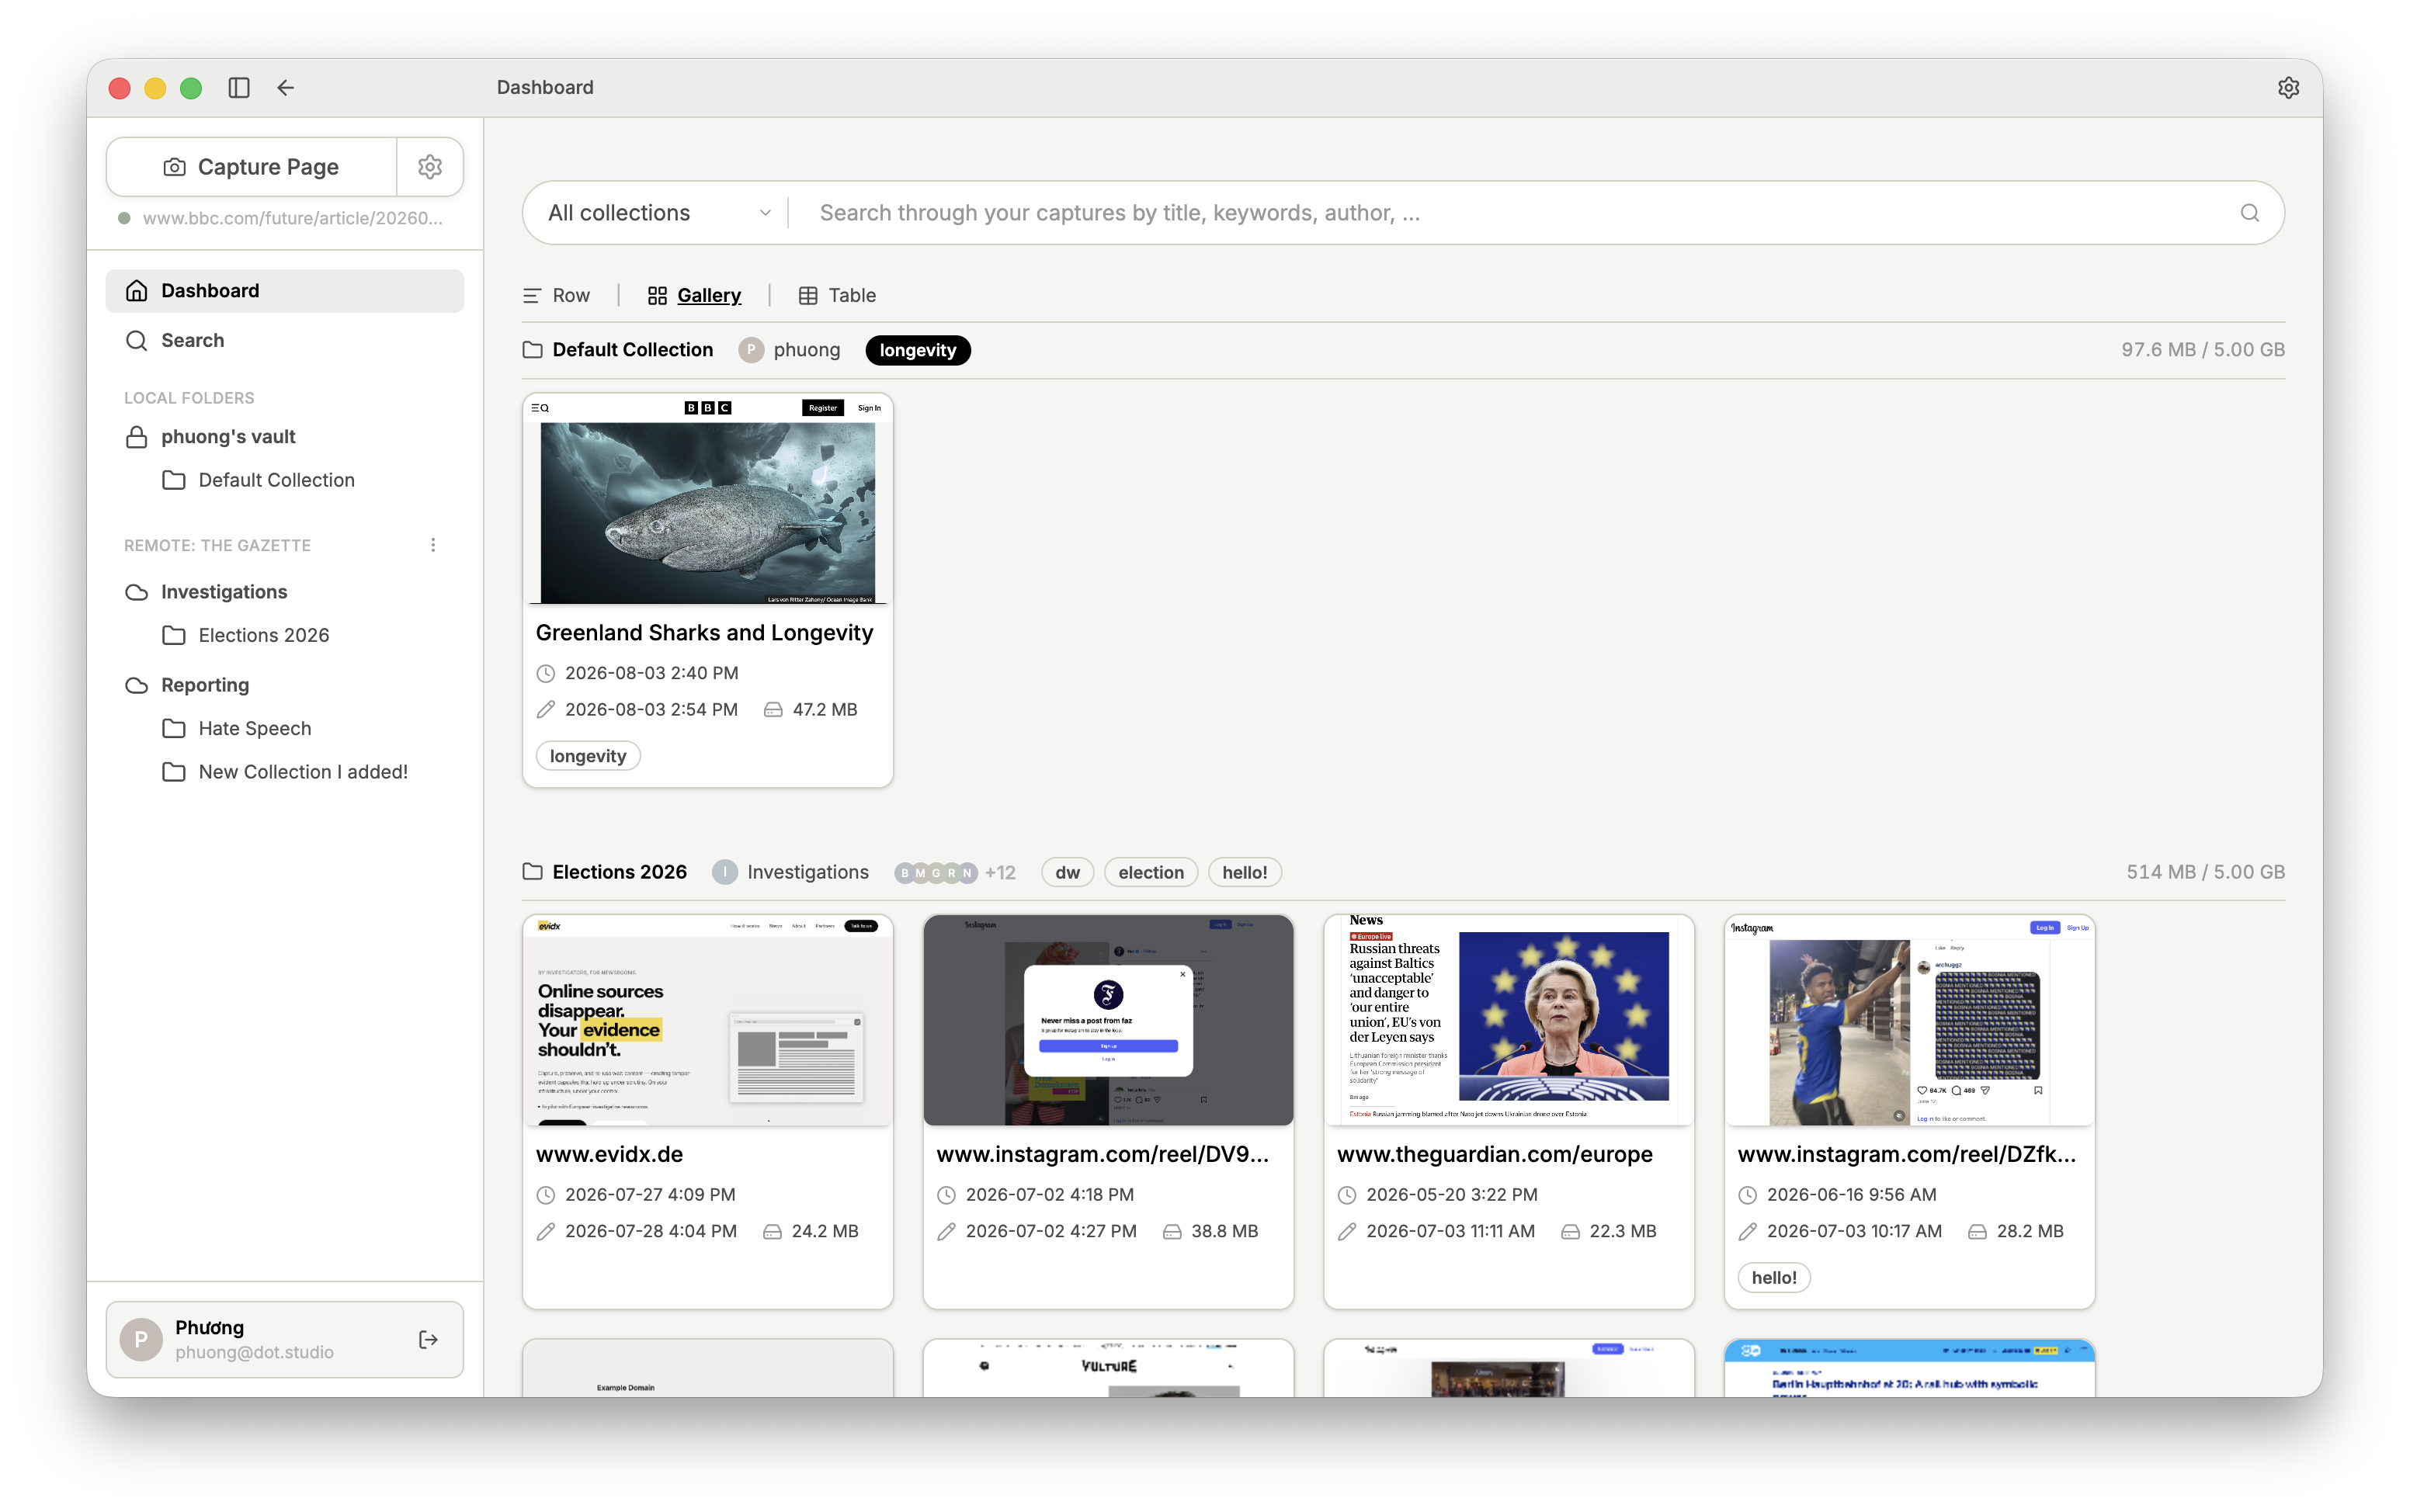
Select tags to filter the Captures.
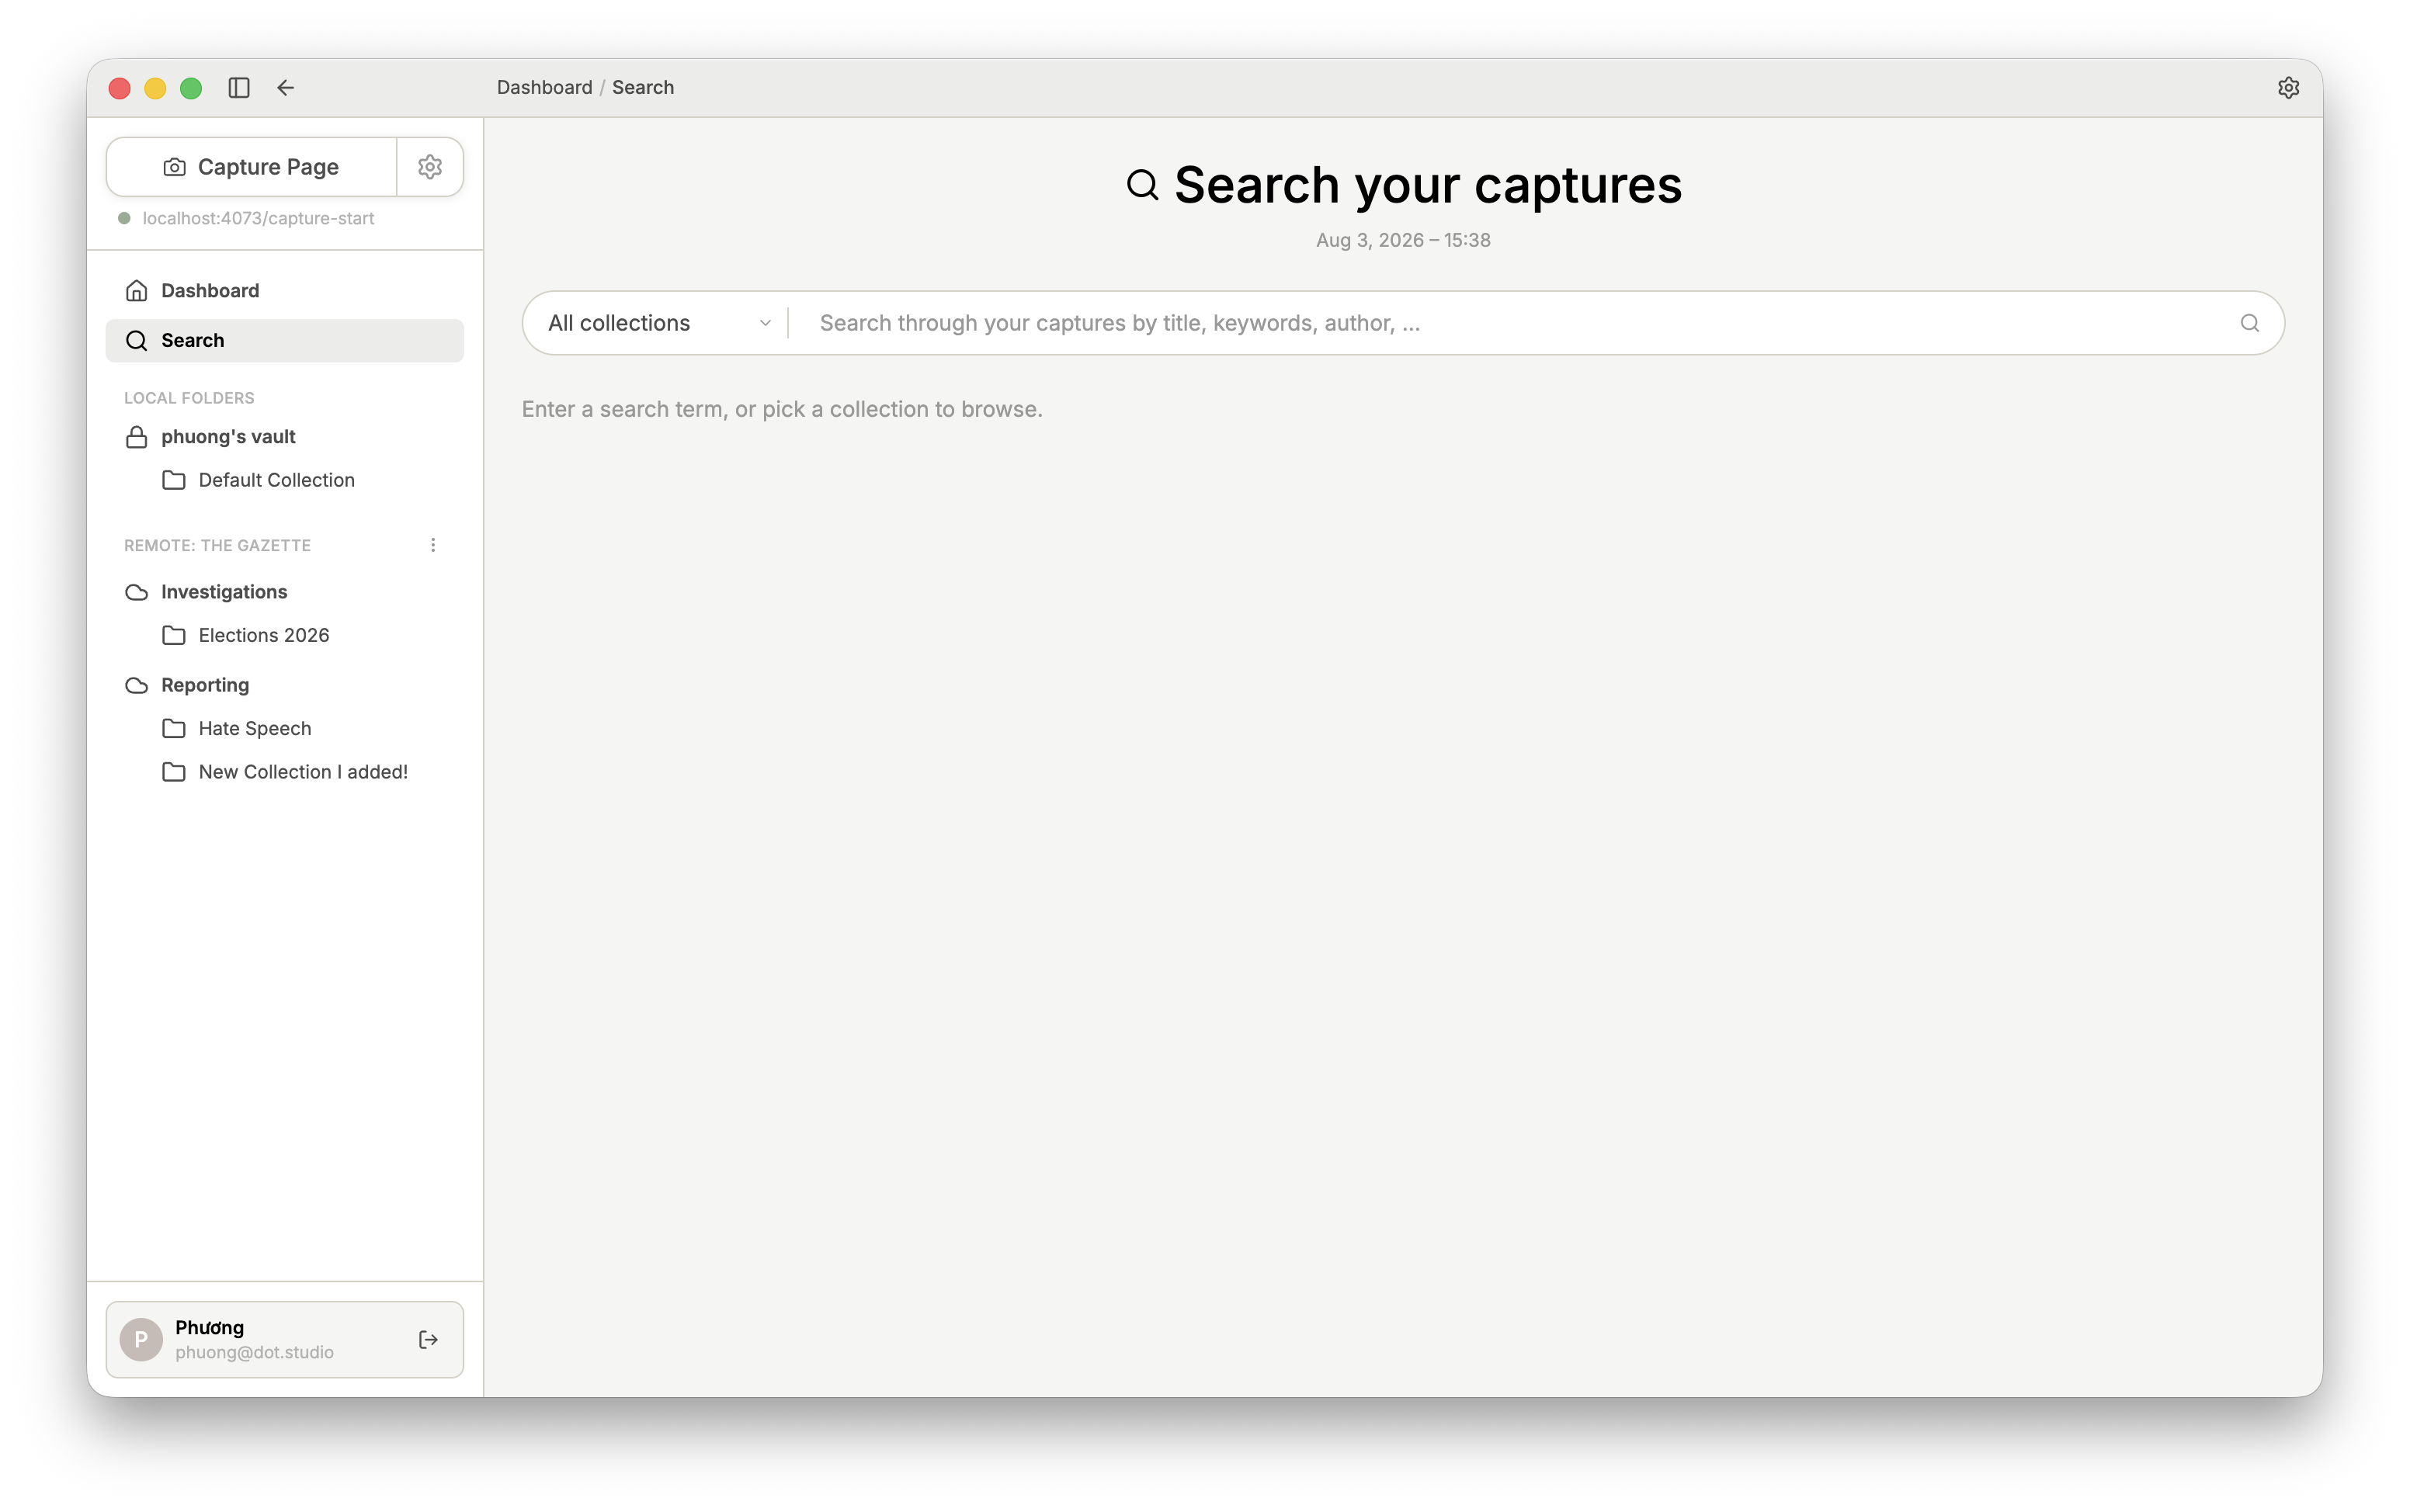
Alternatively, you can search for Captures using Search in the sidebar.
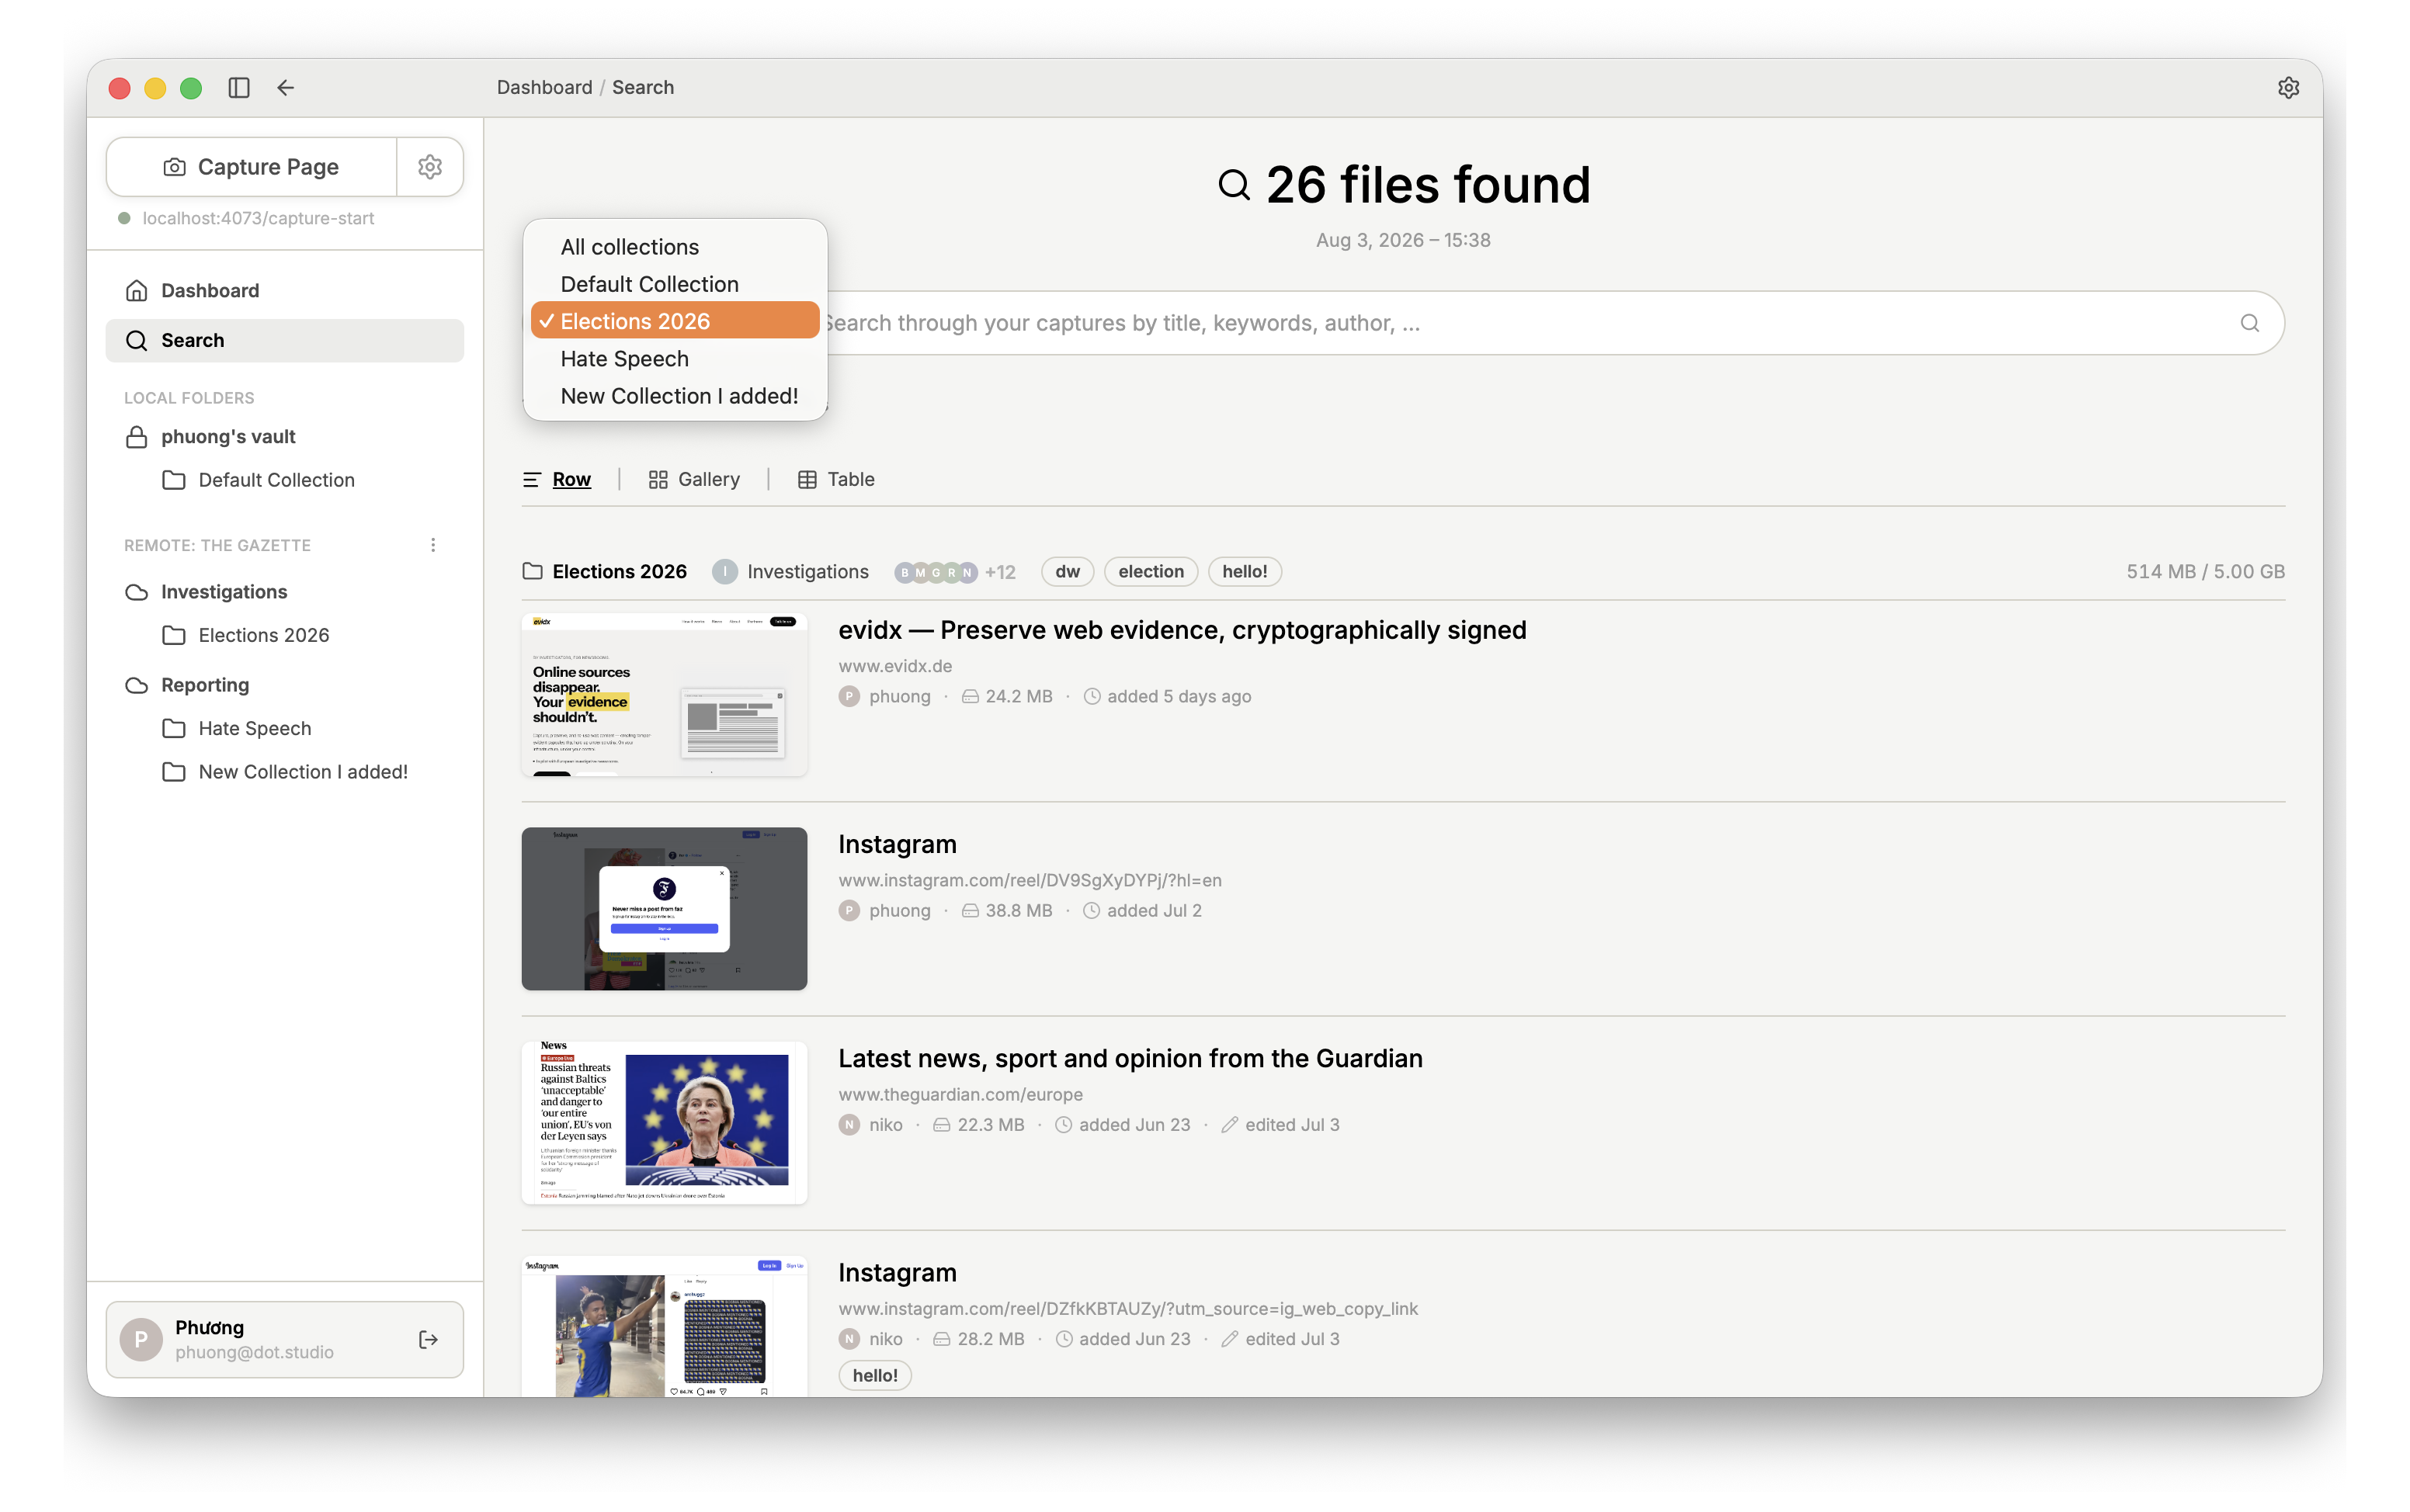
Here you can filter by Collections, then search by title, keywords, and author.
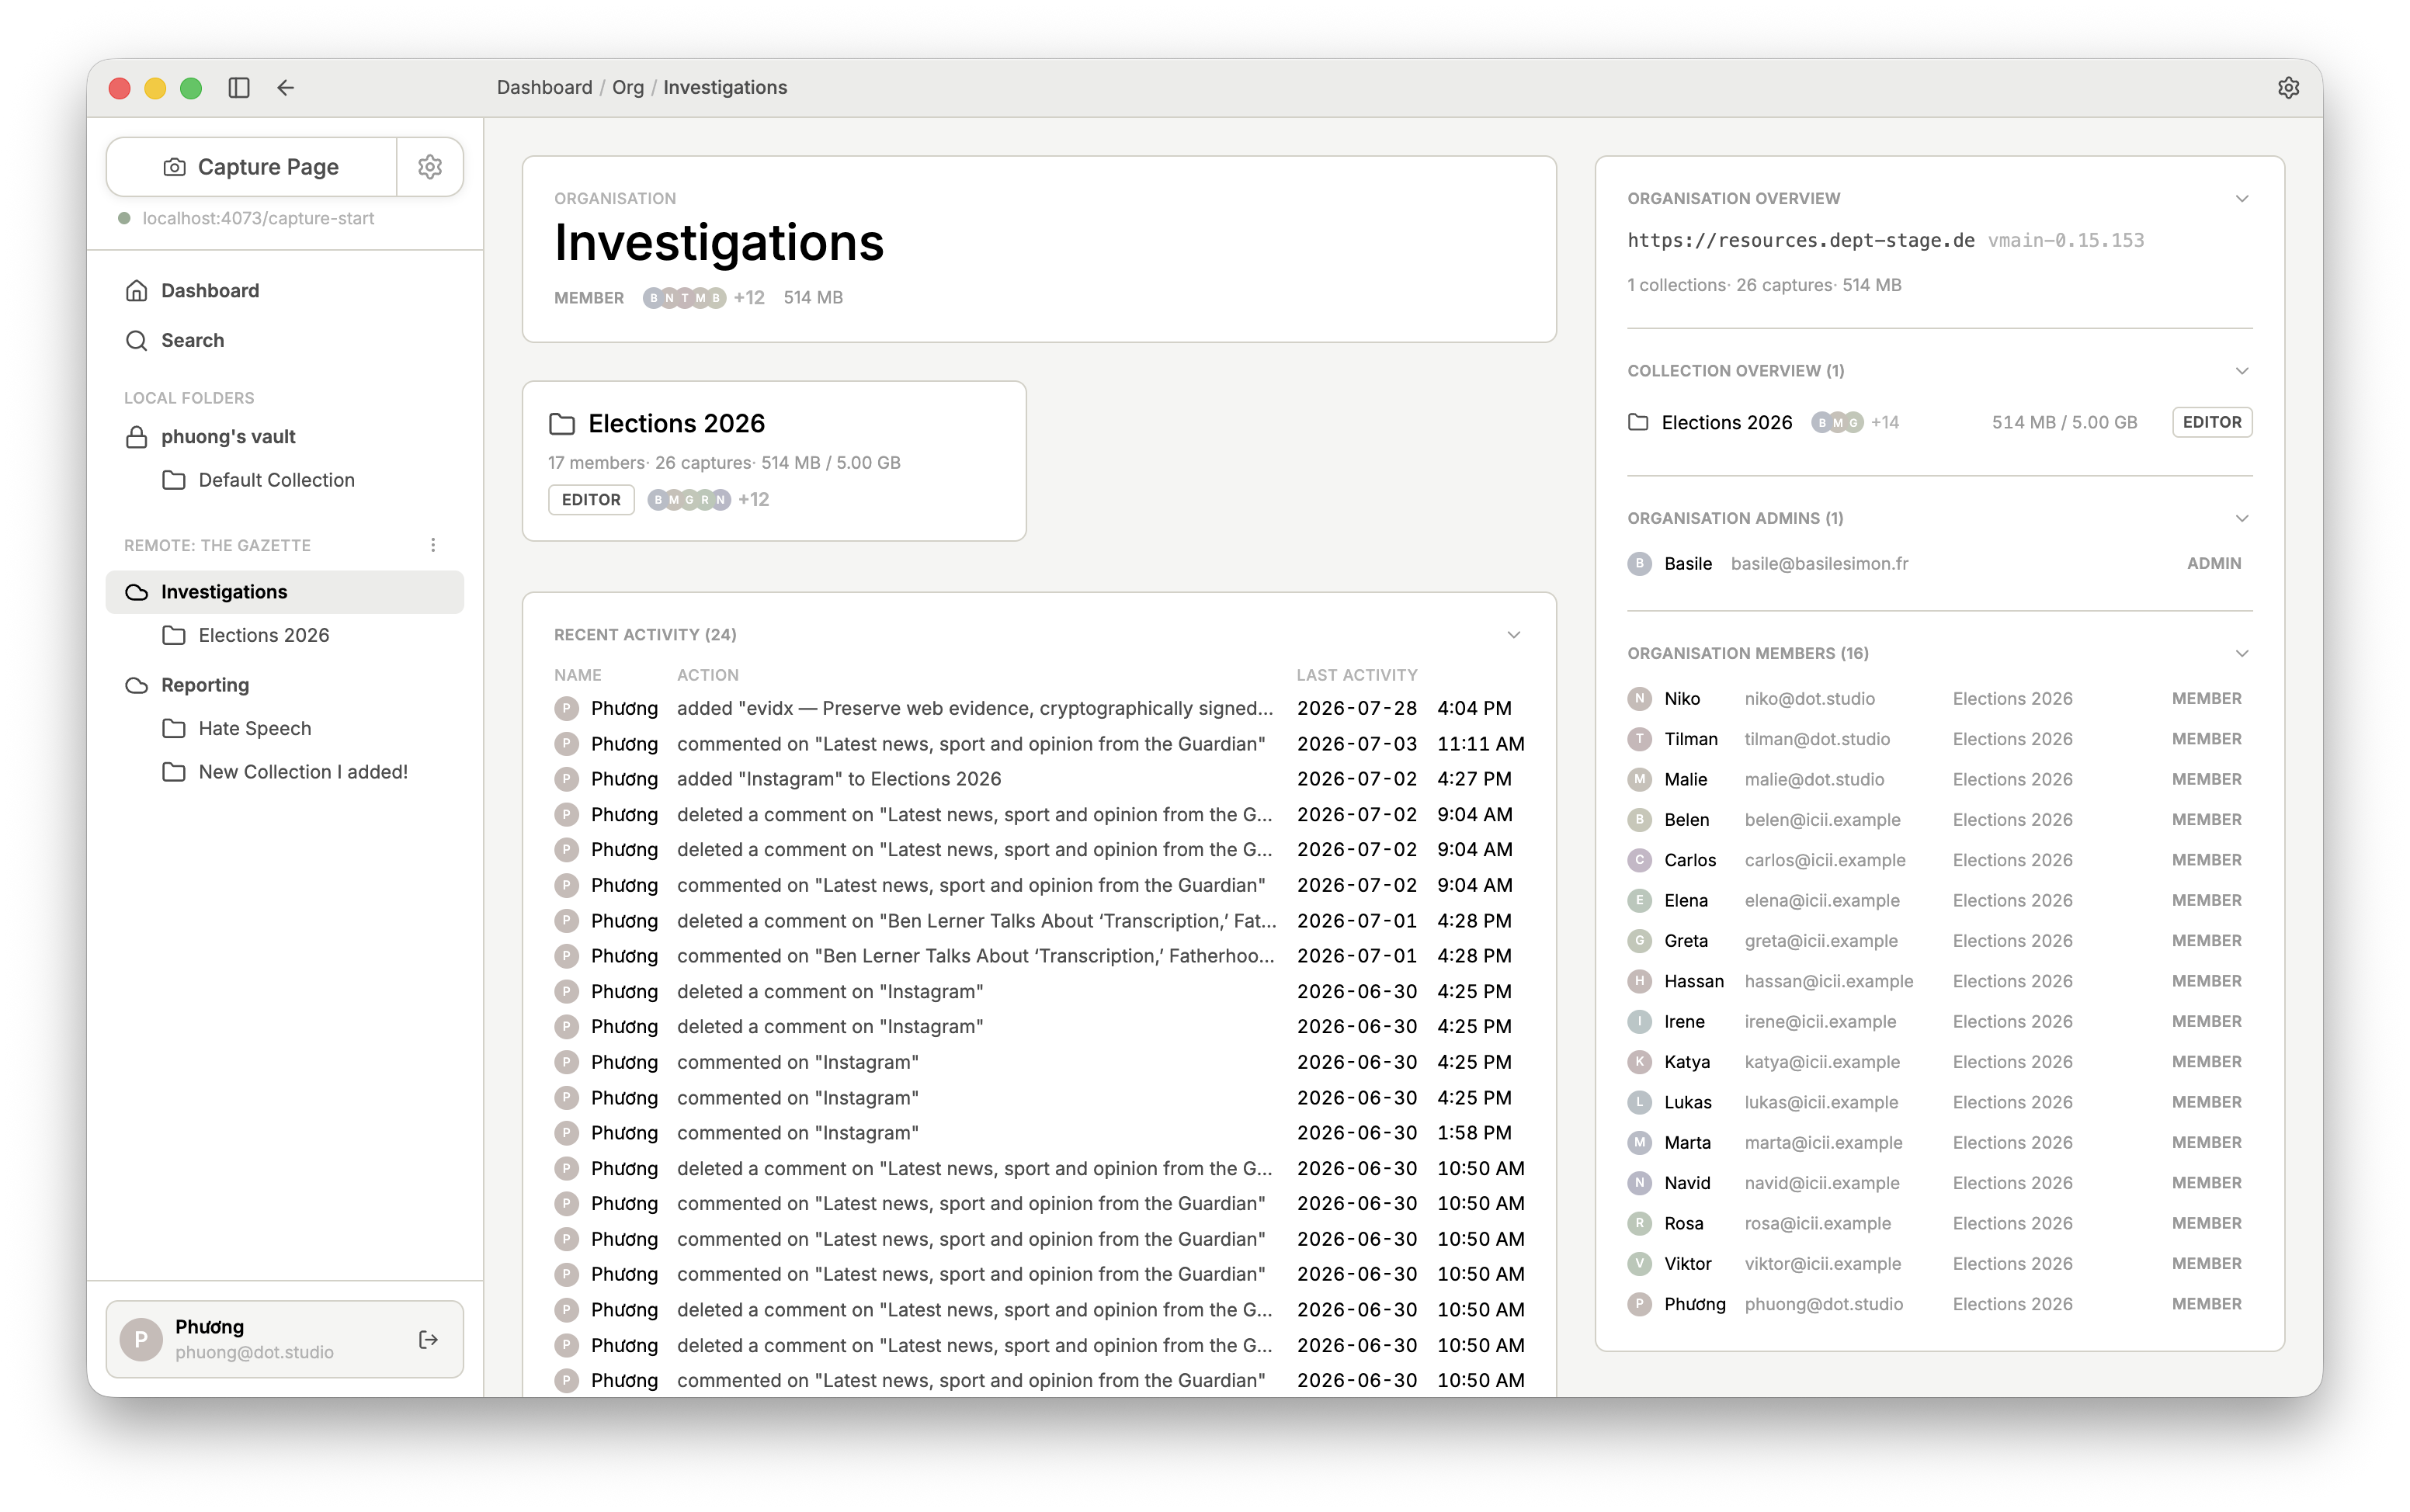
This is the Overview of an organization. To join it, an admin must invite you via an email link.
Here you will find an overview of all the Collections you have access to, a log of recent activity, and in the right-hand column, all the relevant information for managing the organization.
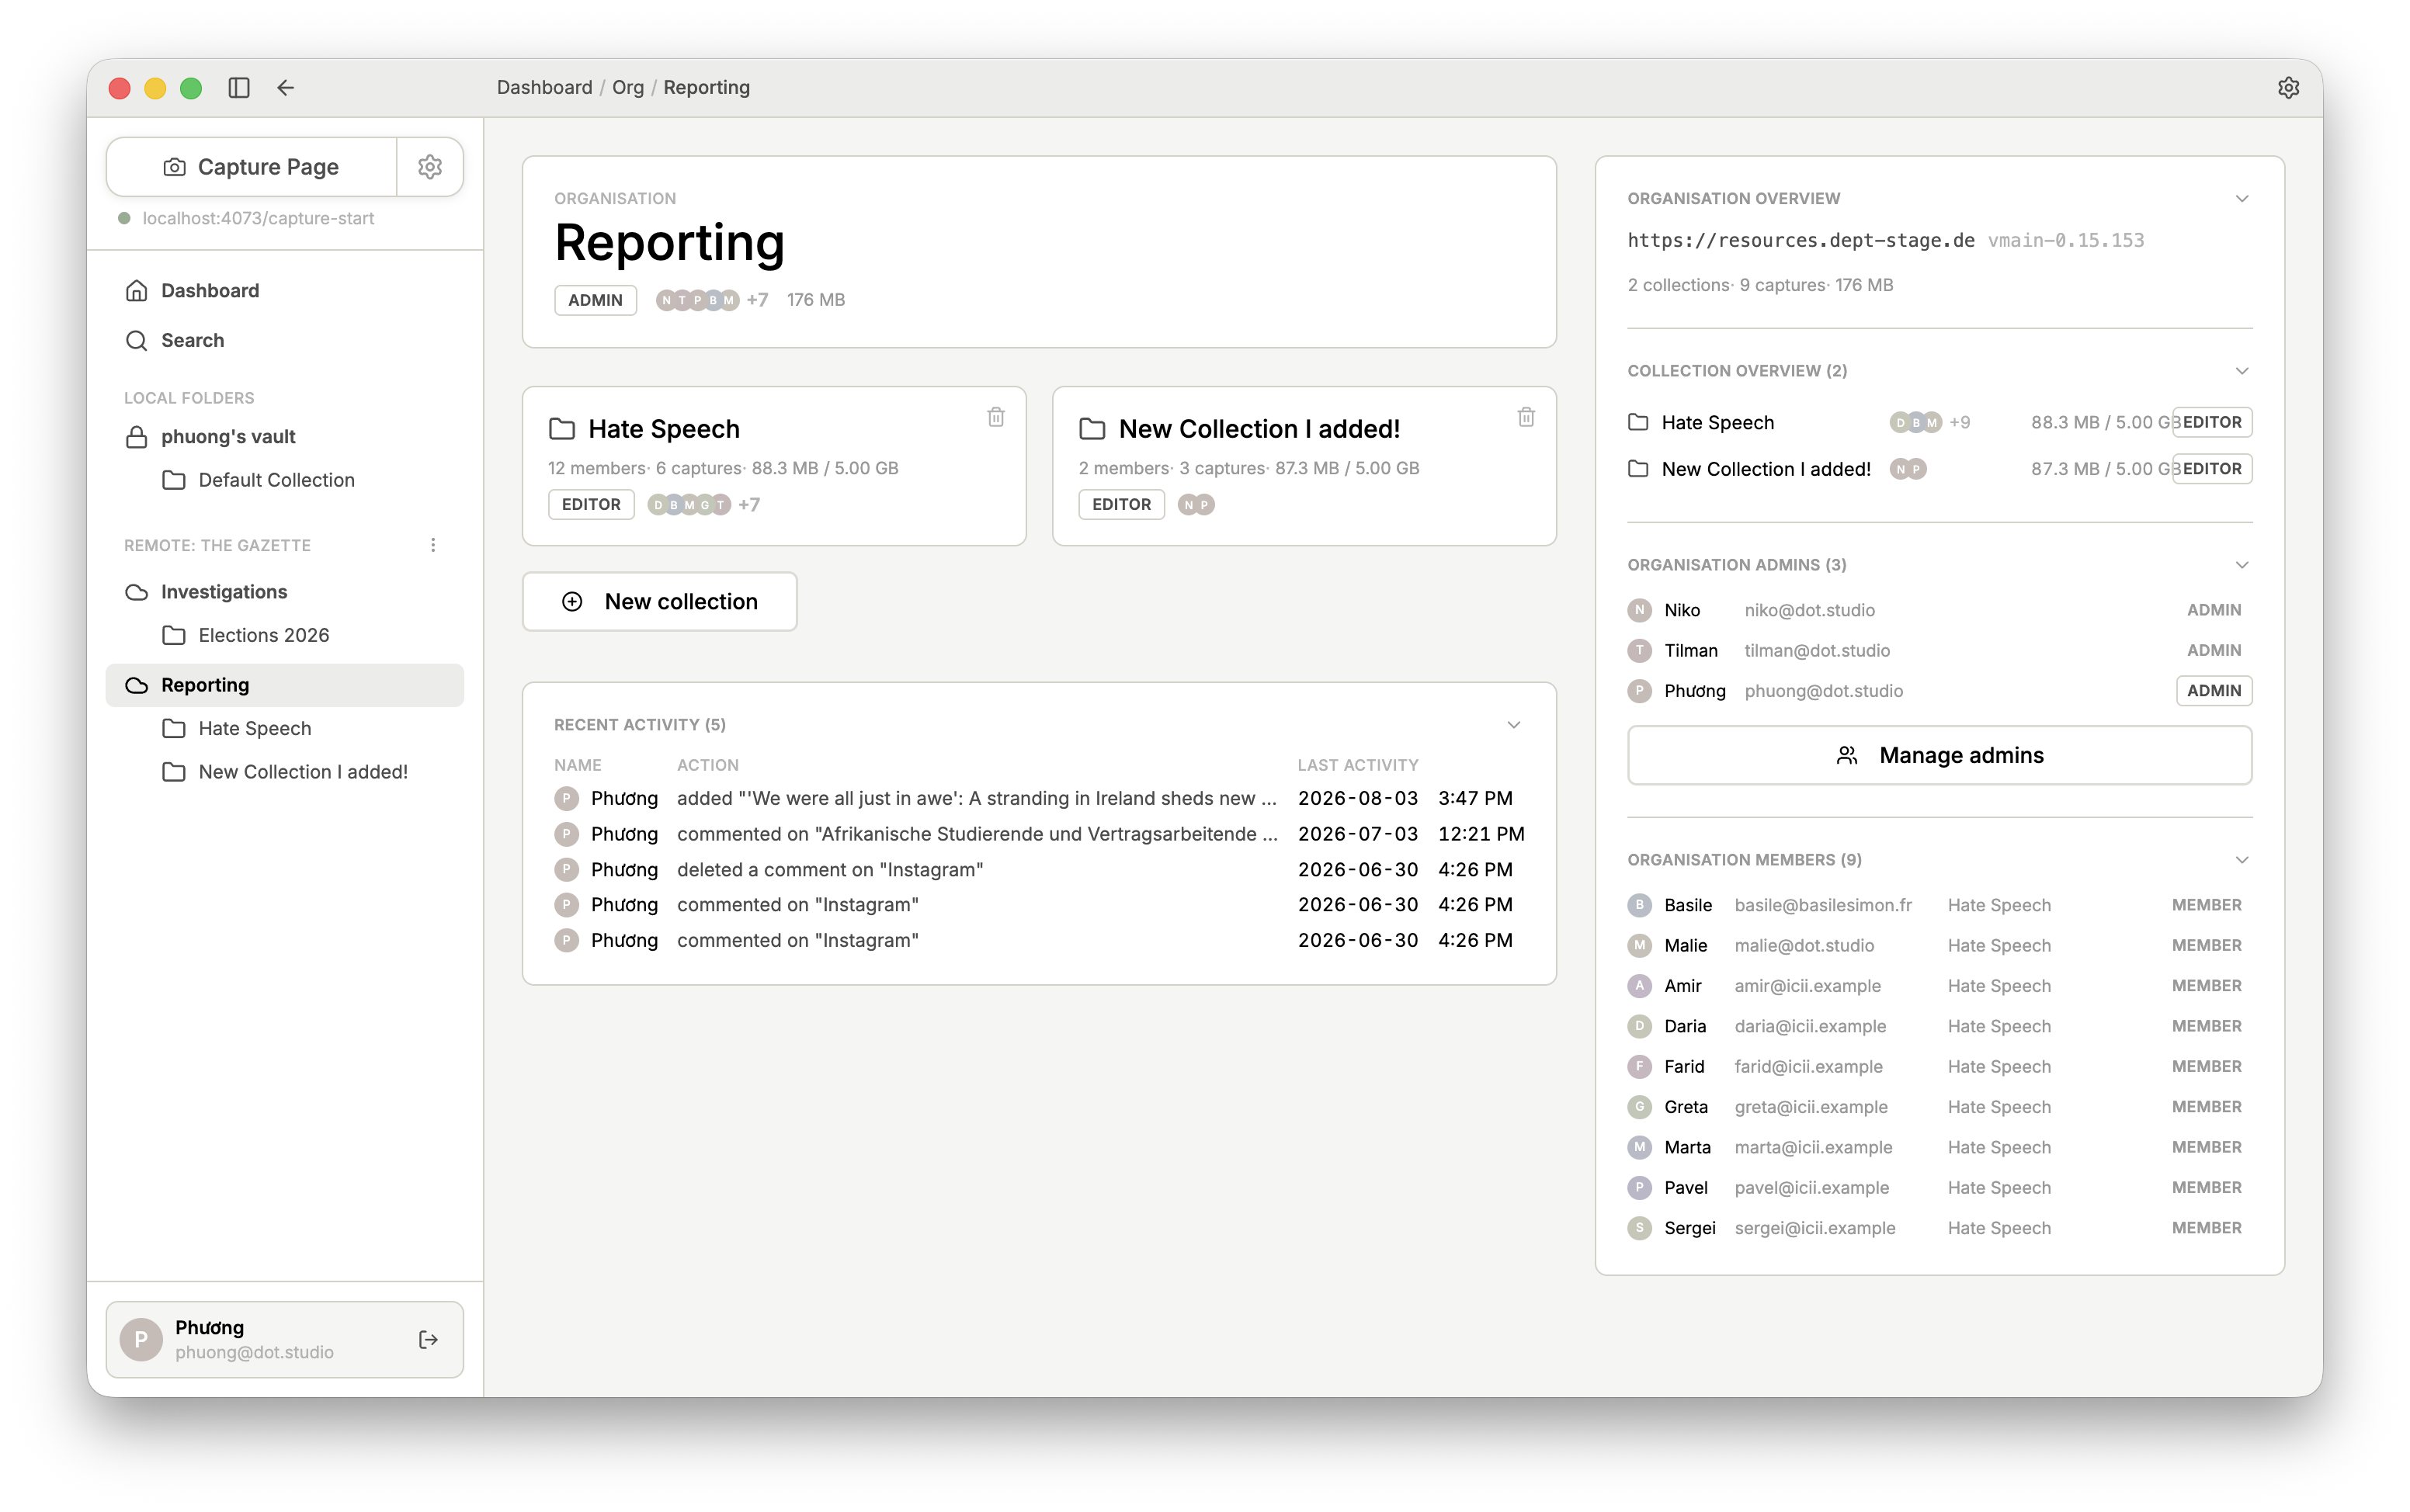
If you are an admin of an organization or Collection, you invite additional members via the Overview.
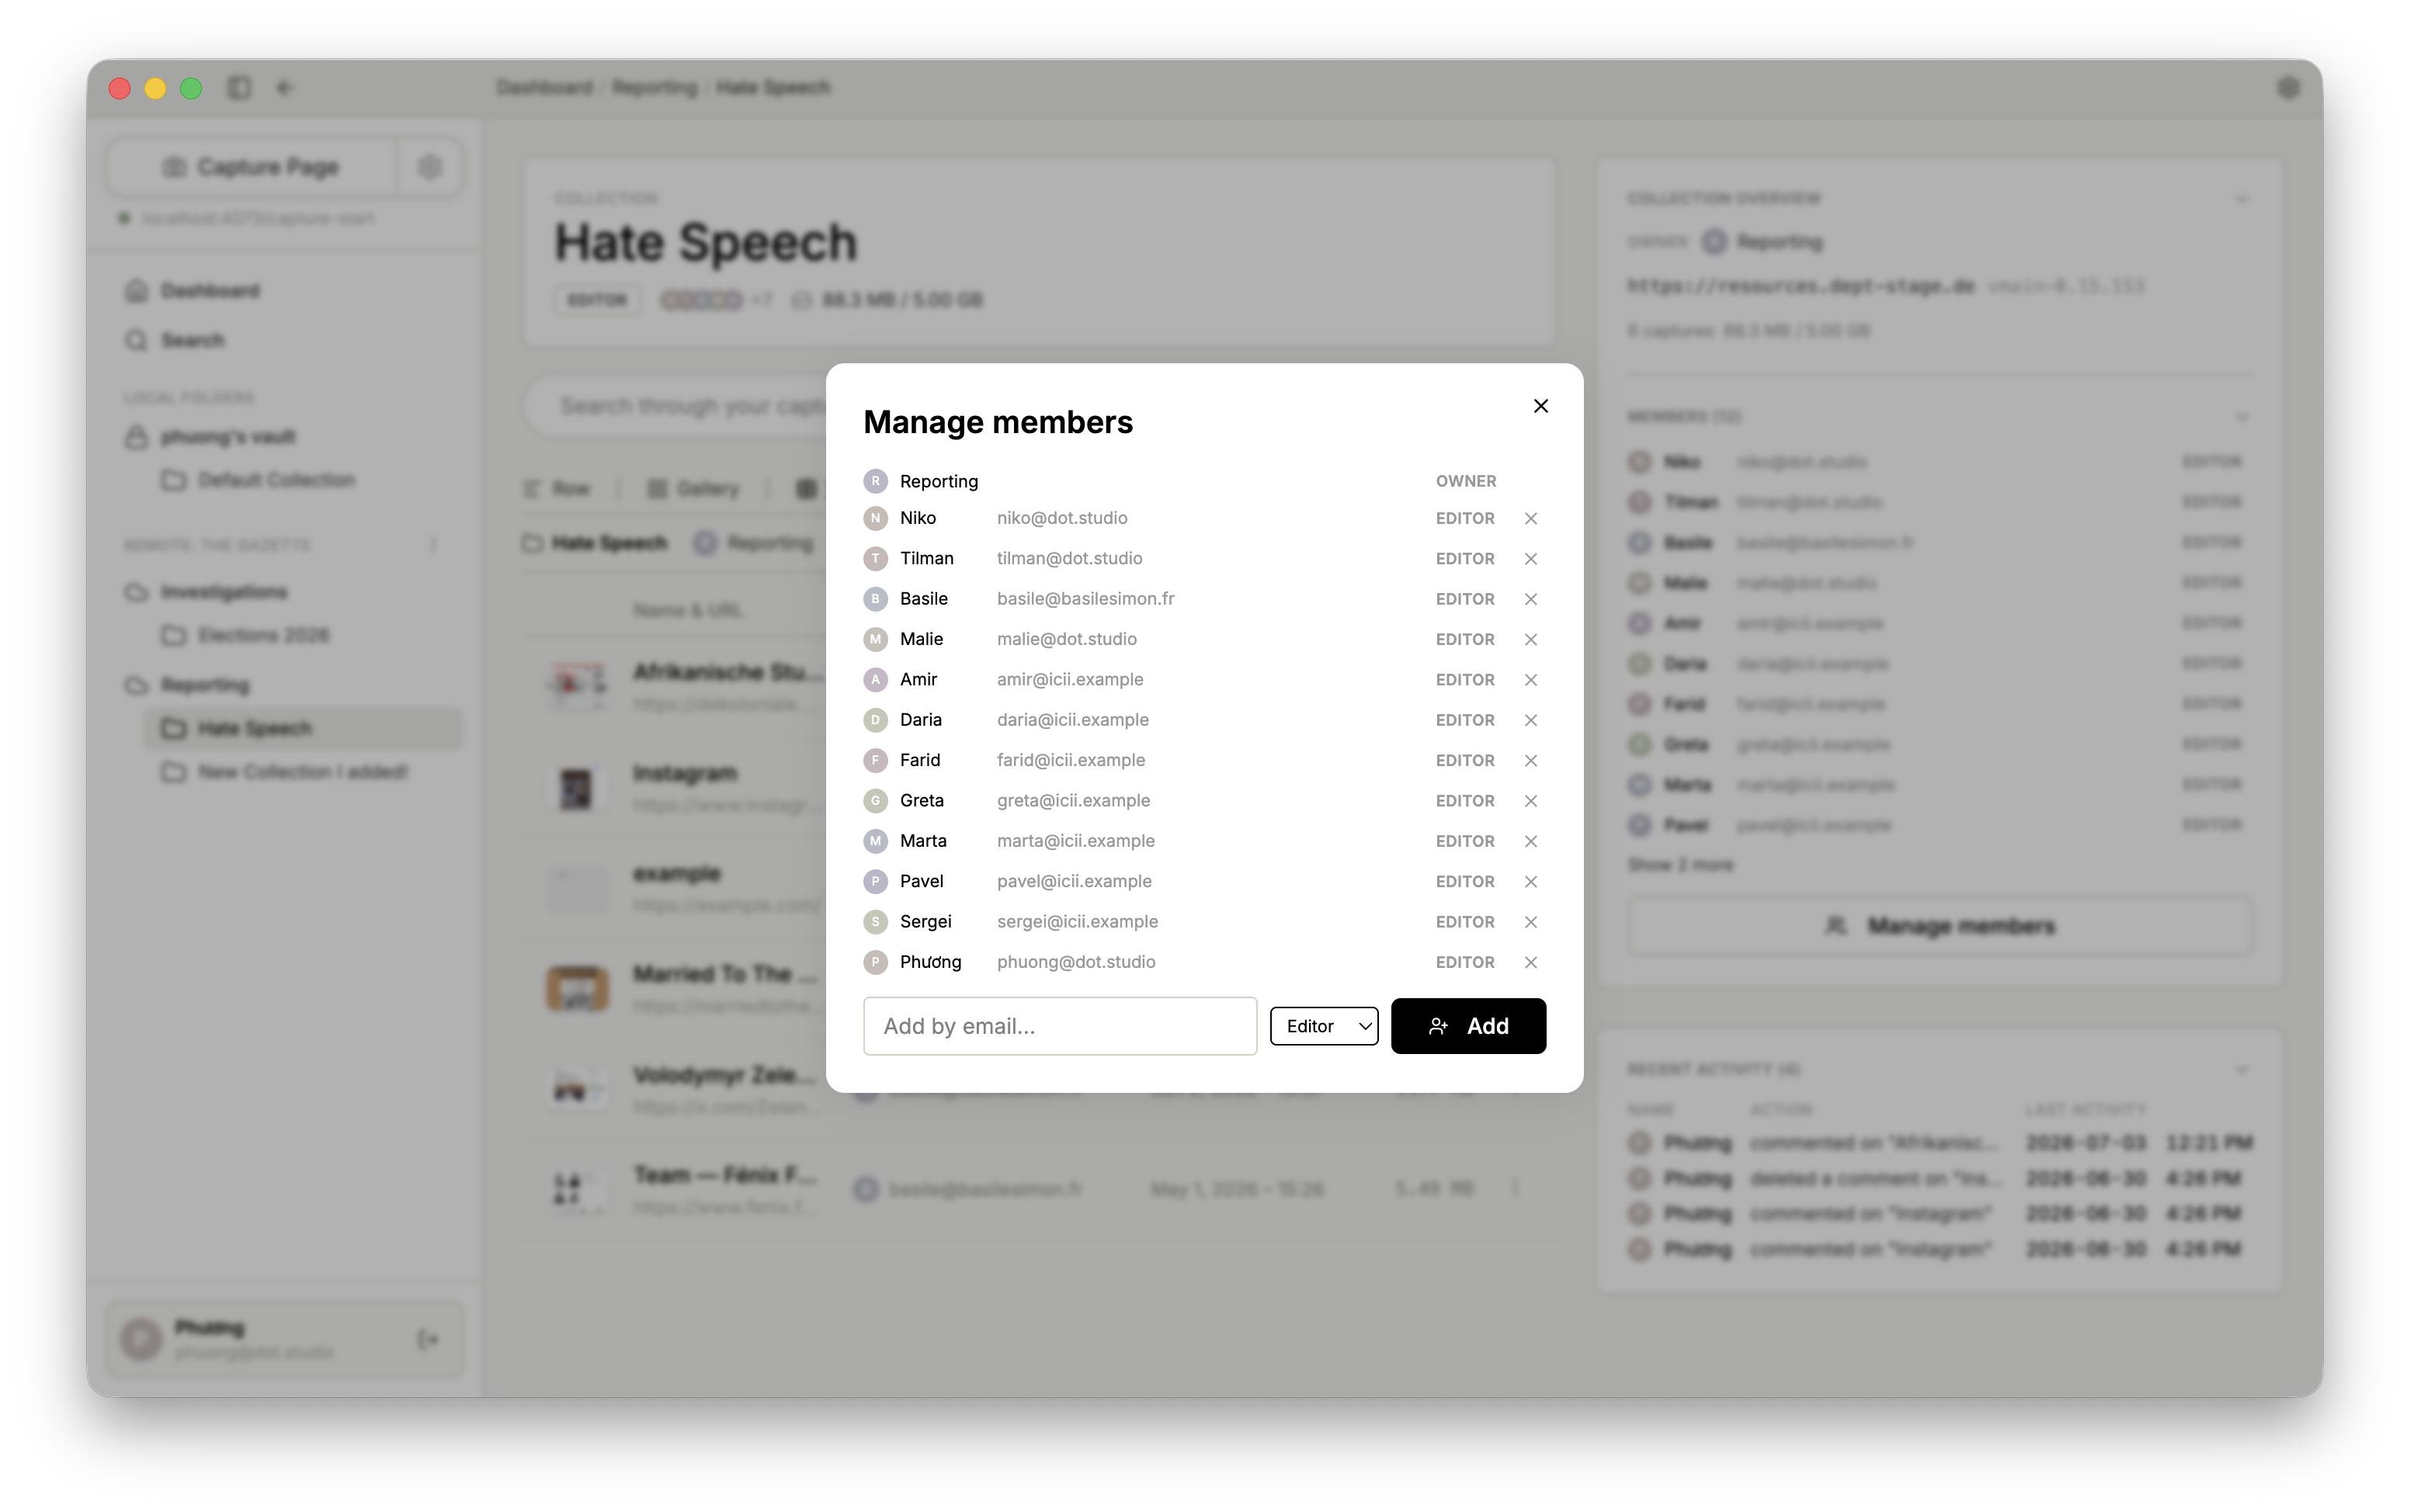
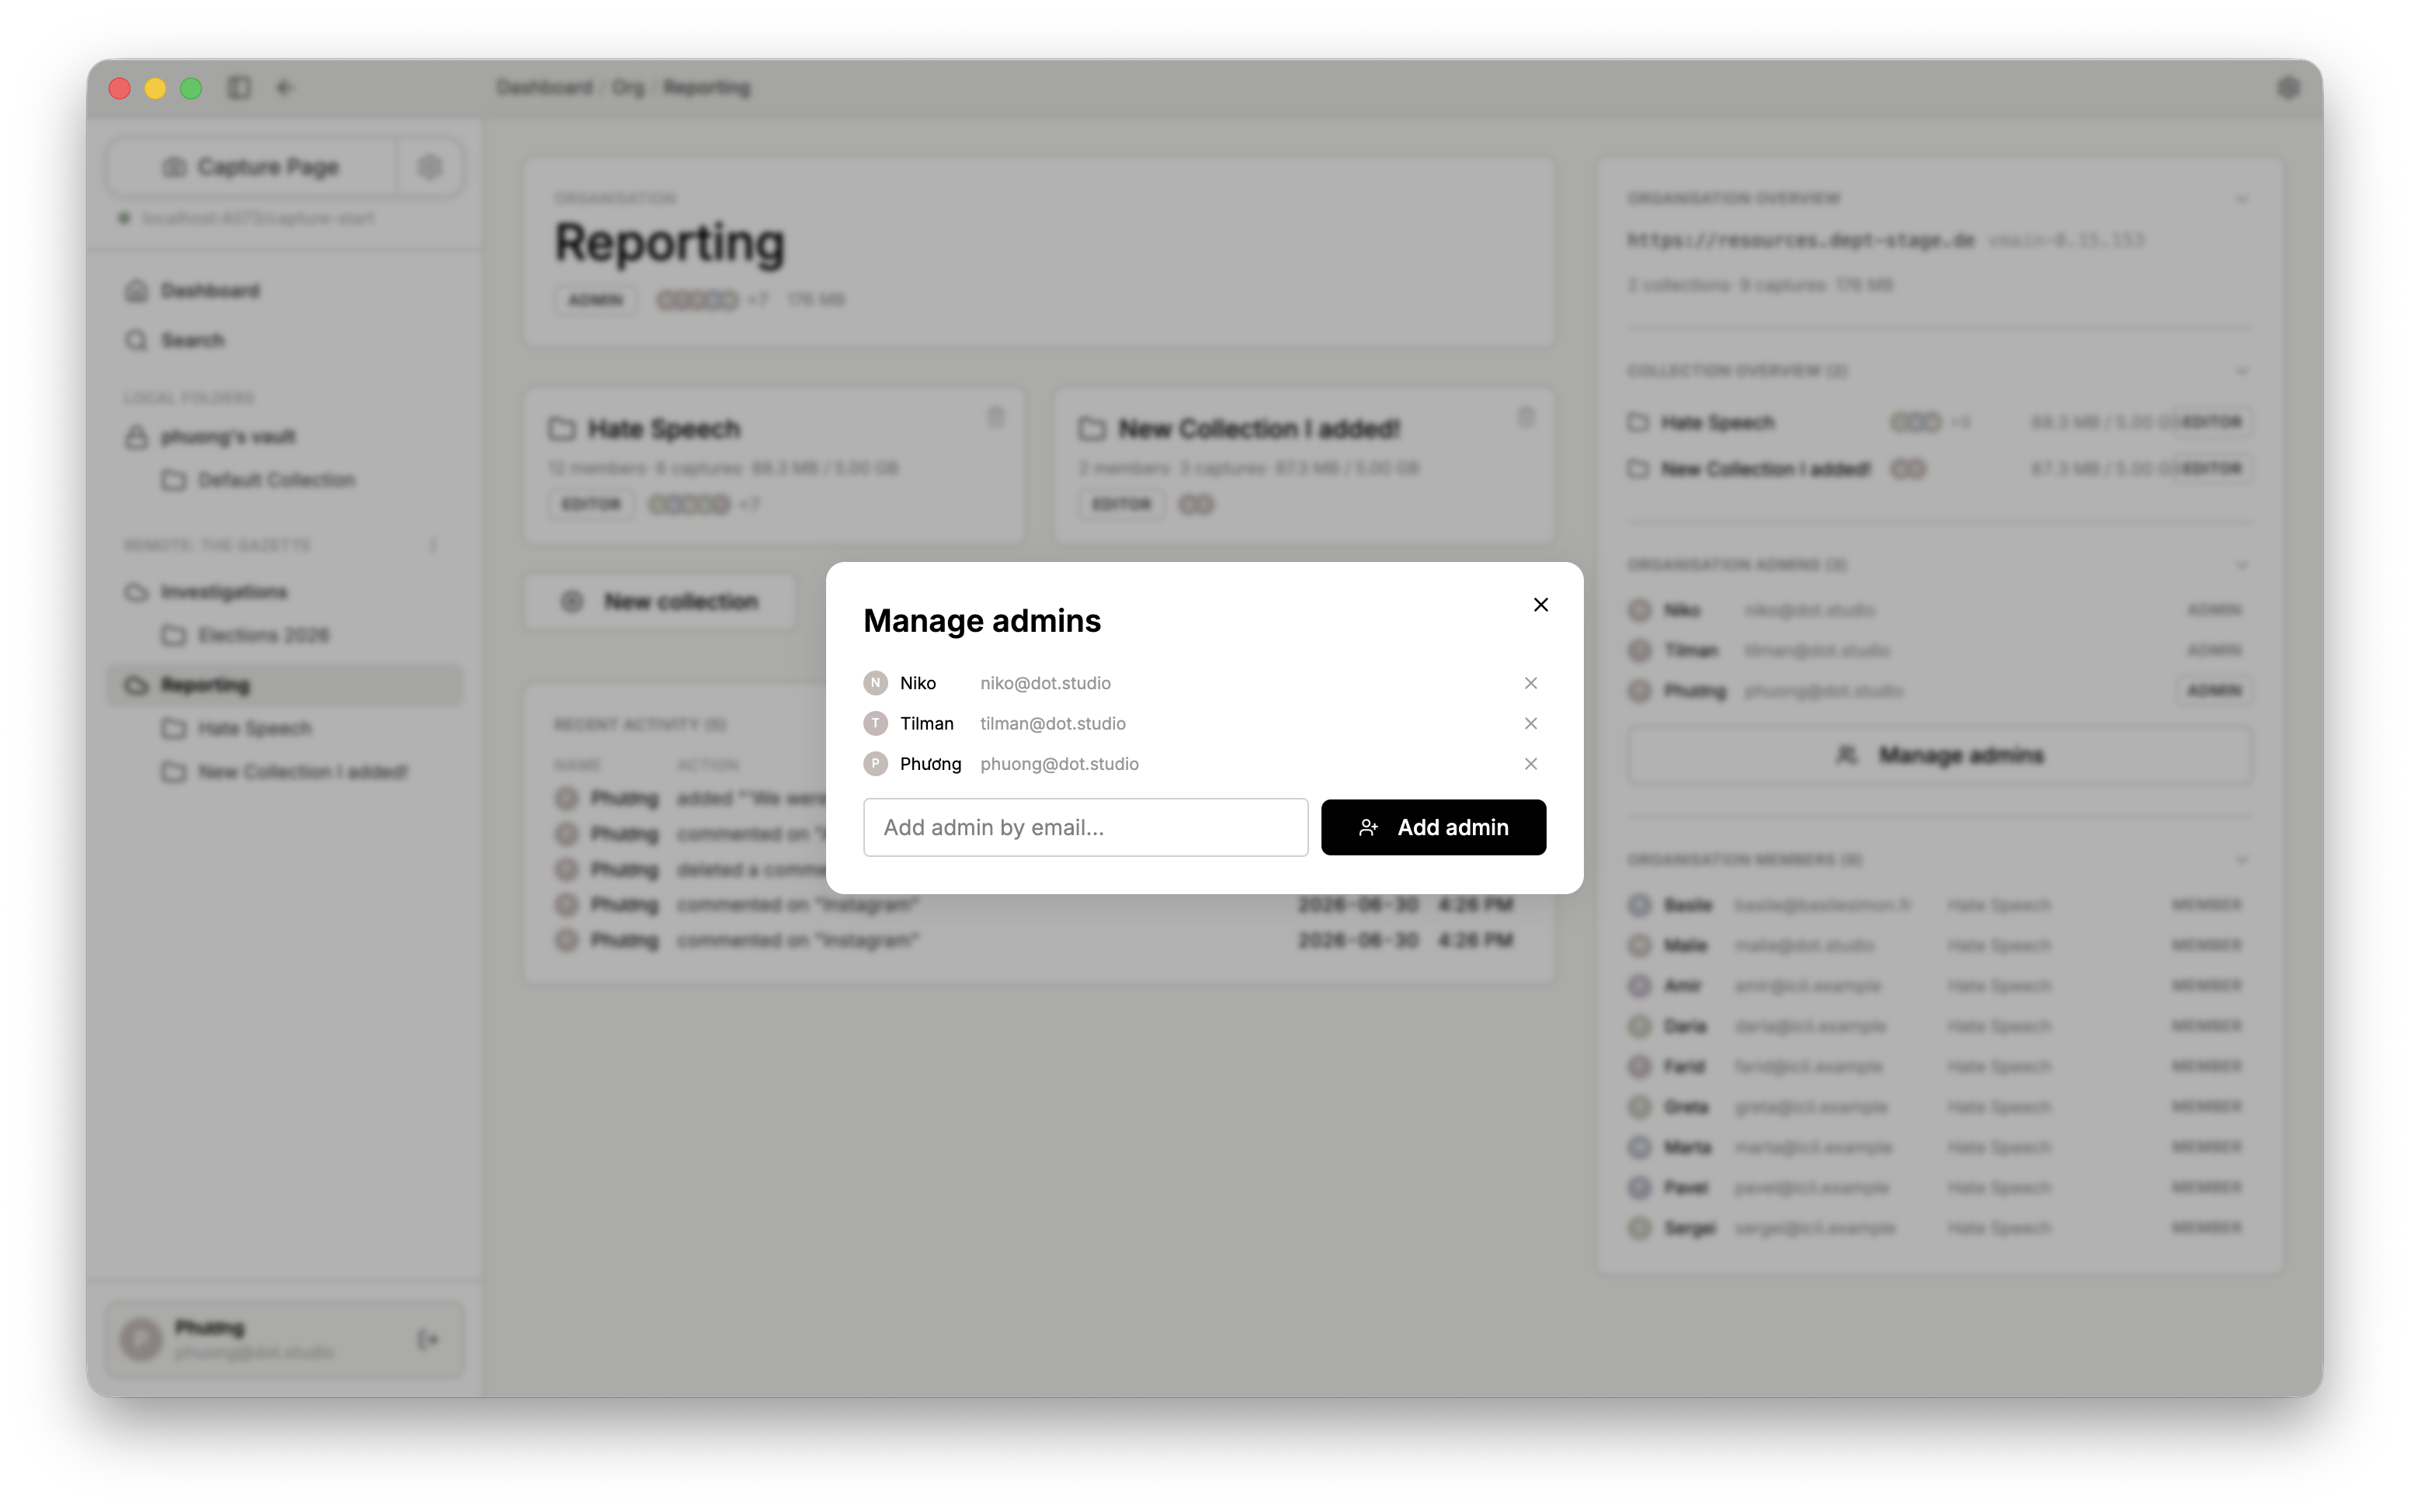
As an admin, you can also make other members admins.
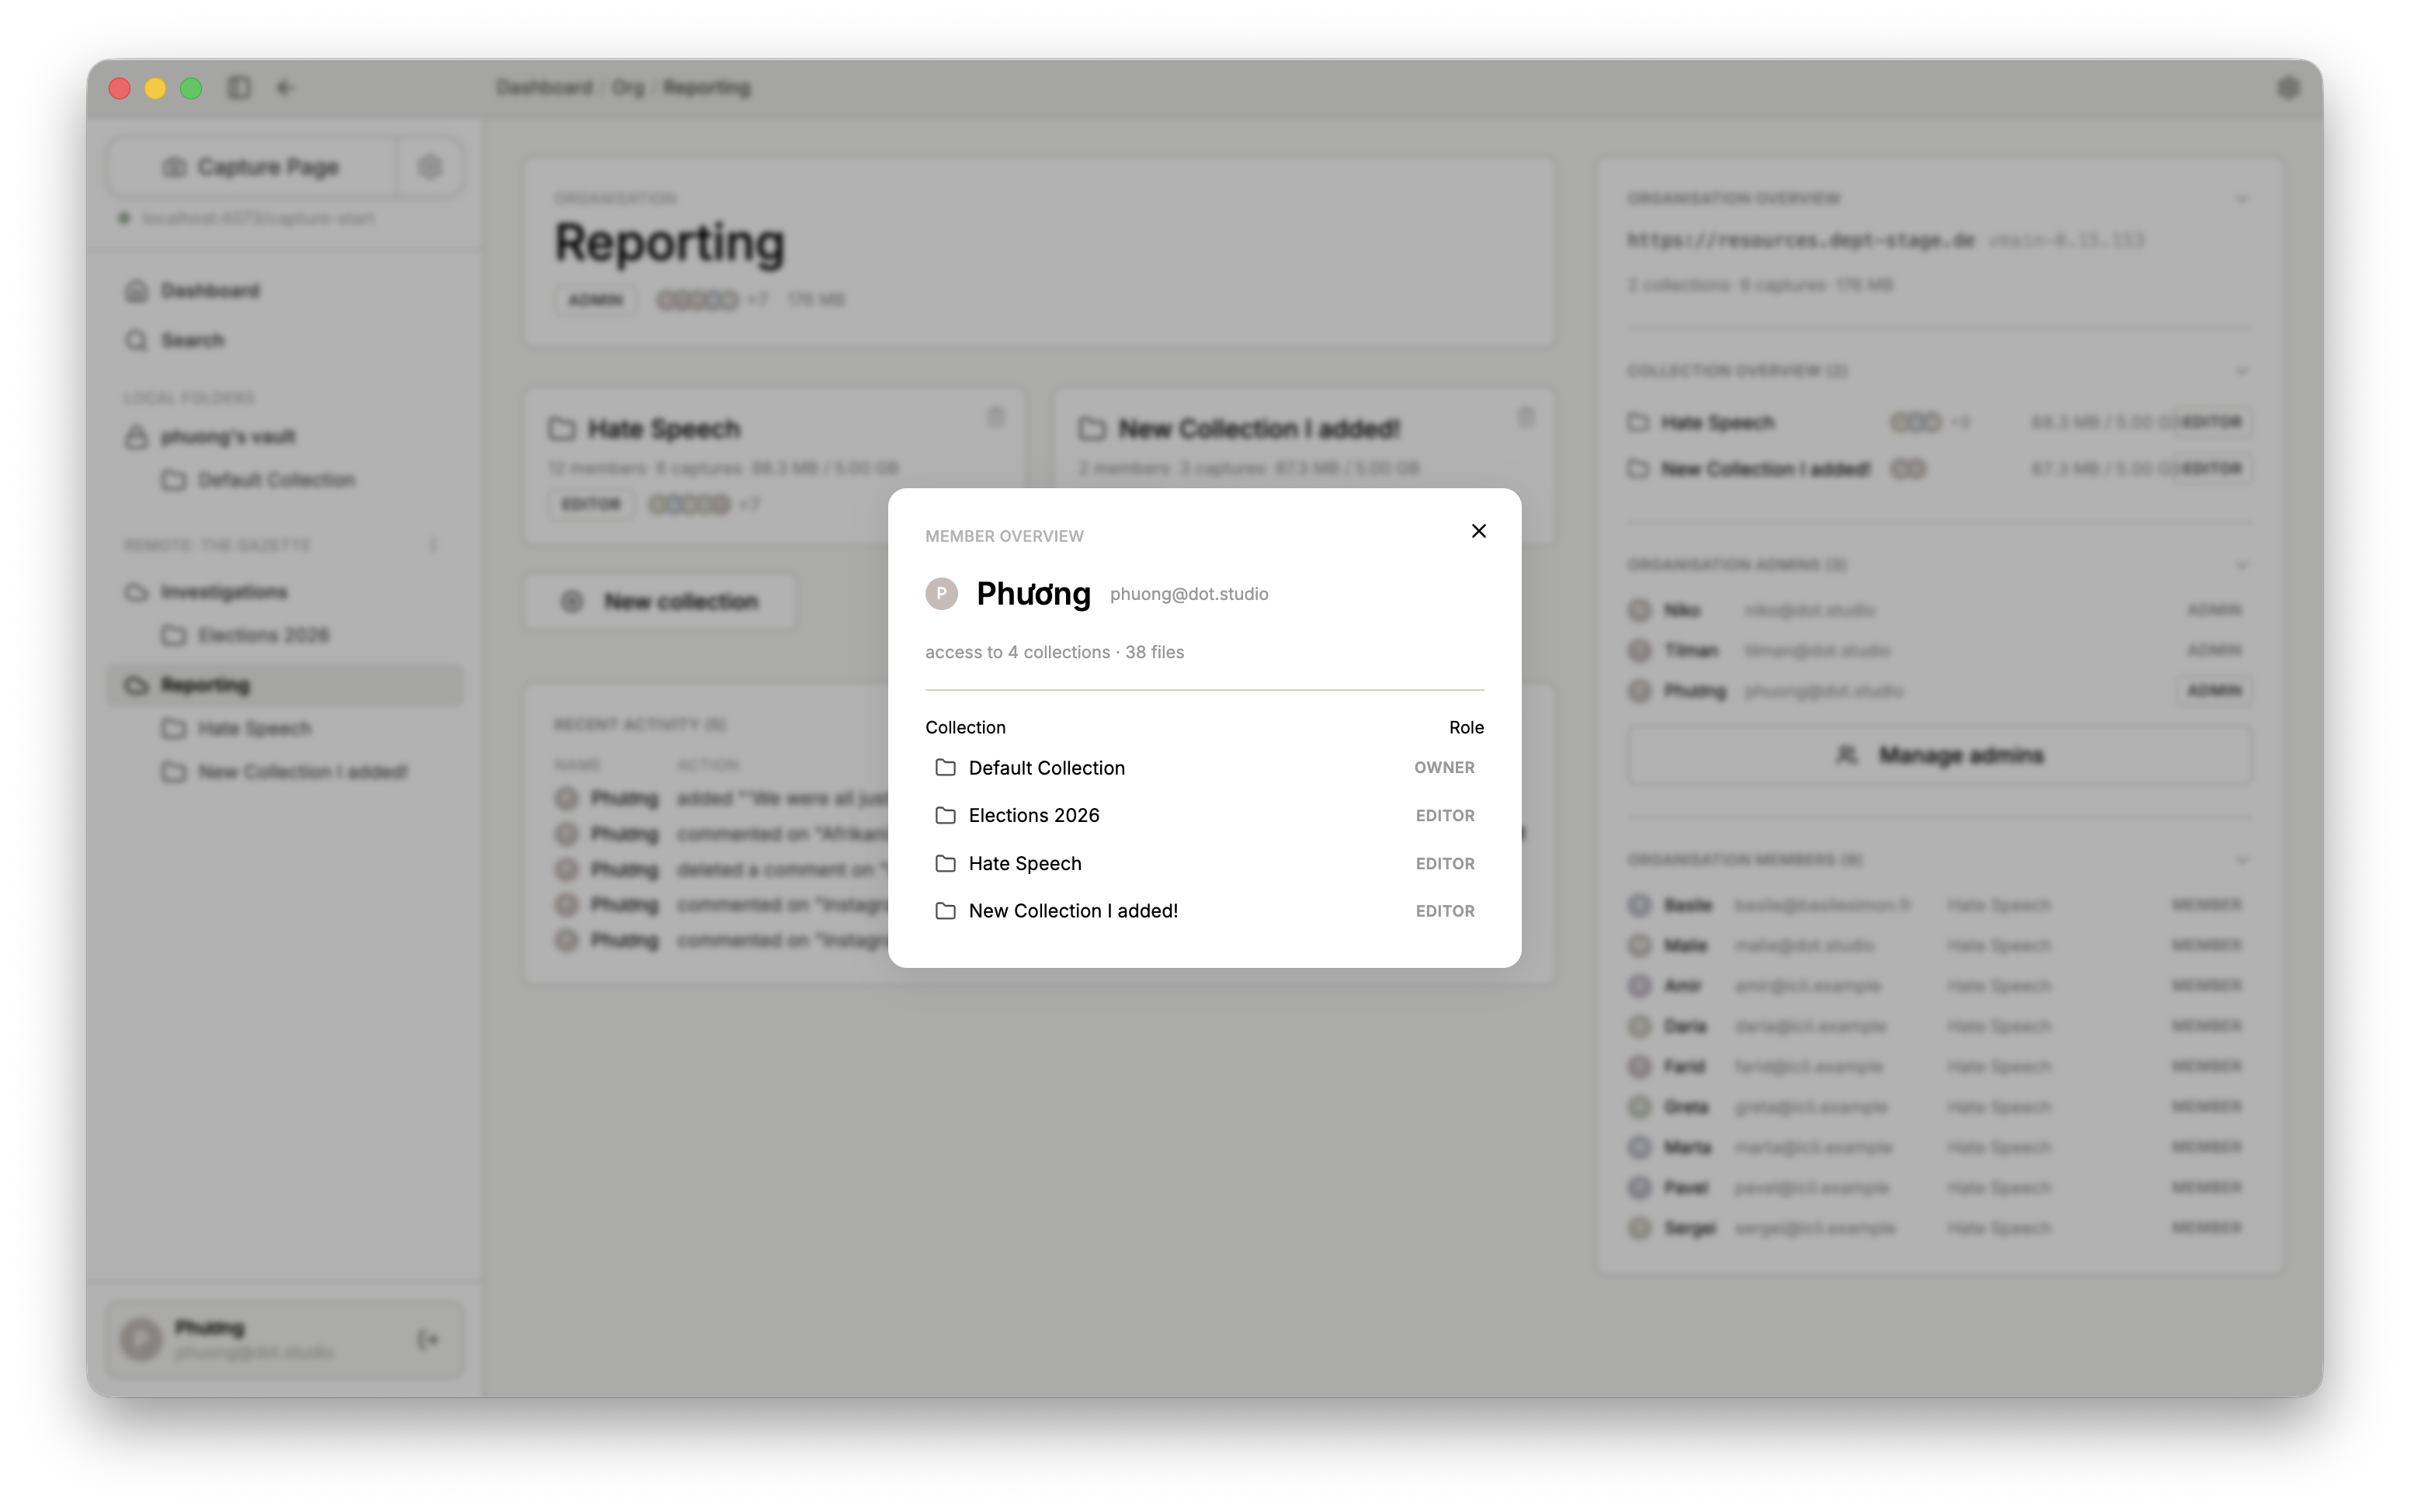
Once you click a profile's icon, an overview of that profile's user data appears. You will also see what this person has access to and their role.
2.4 Upload to server
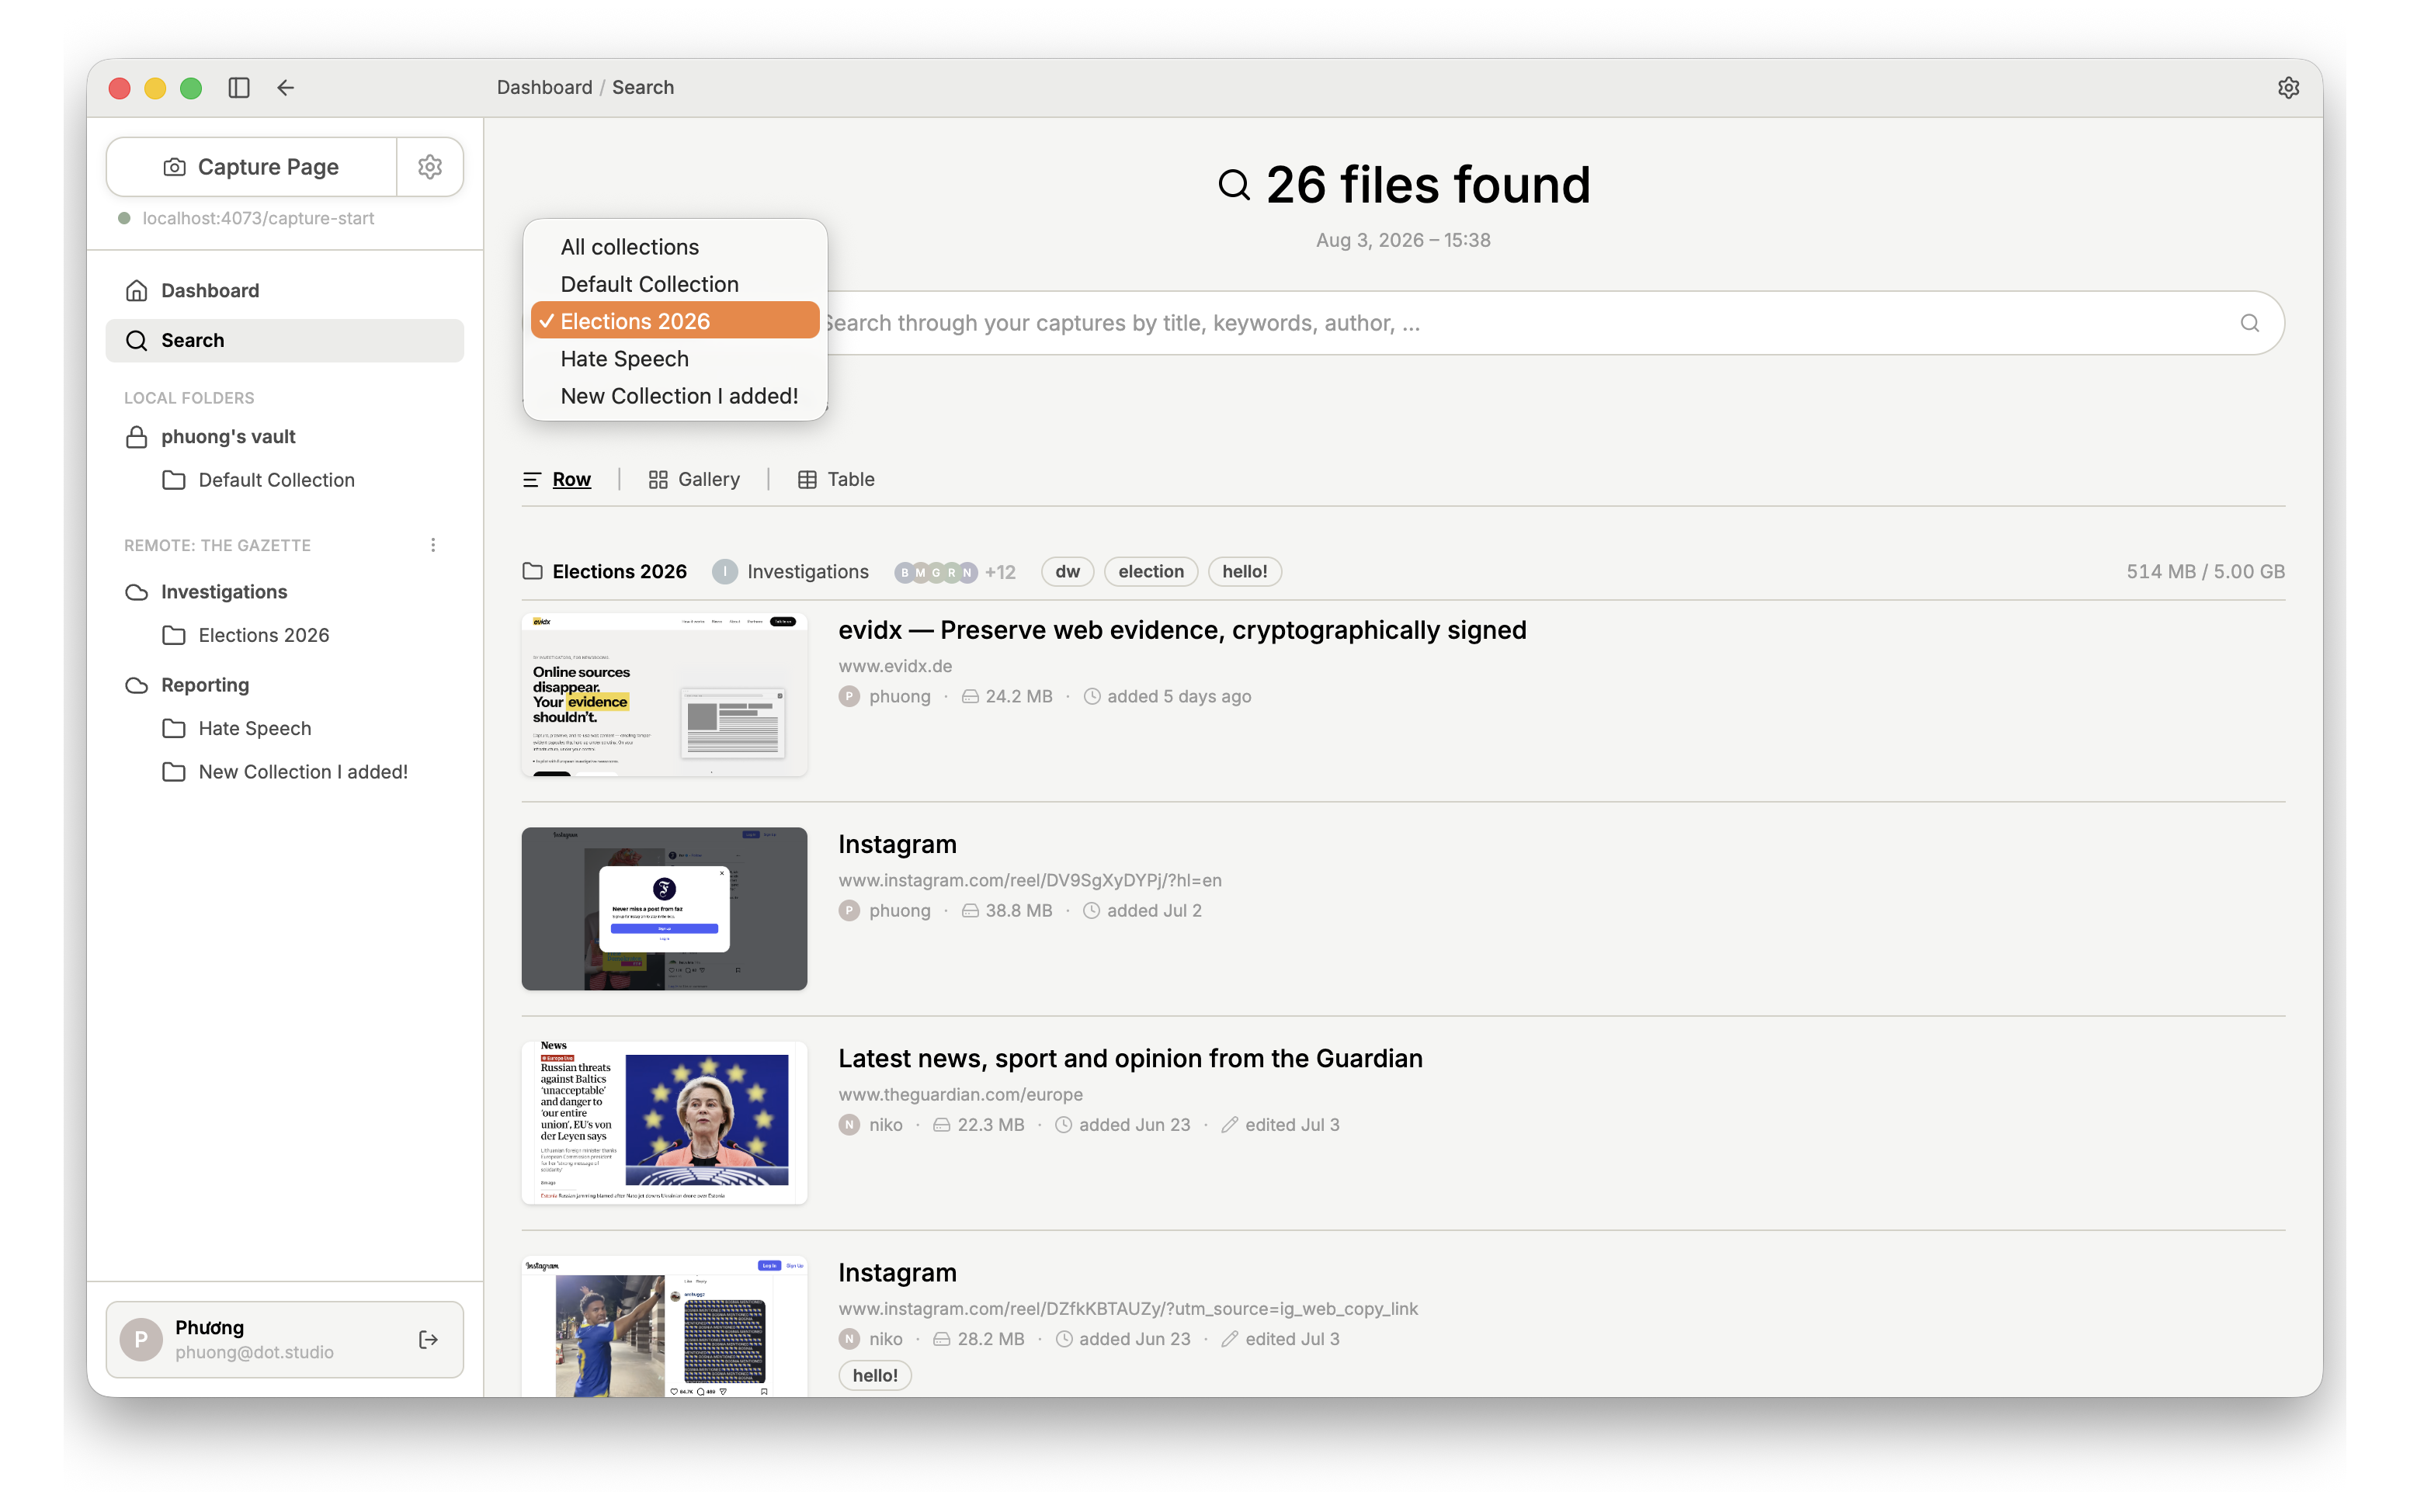
You can upload Captures from your local Collection to the server from any view: in the Dashboard, in the search, or in an individual Collection. The Capture must be displayed in Gallery or Table View.
The example here shows your own local Collection in Gallery View.
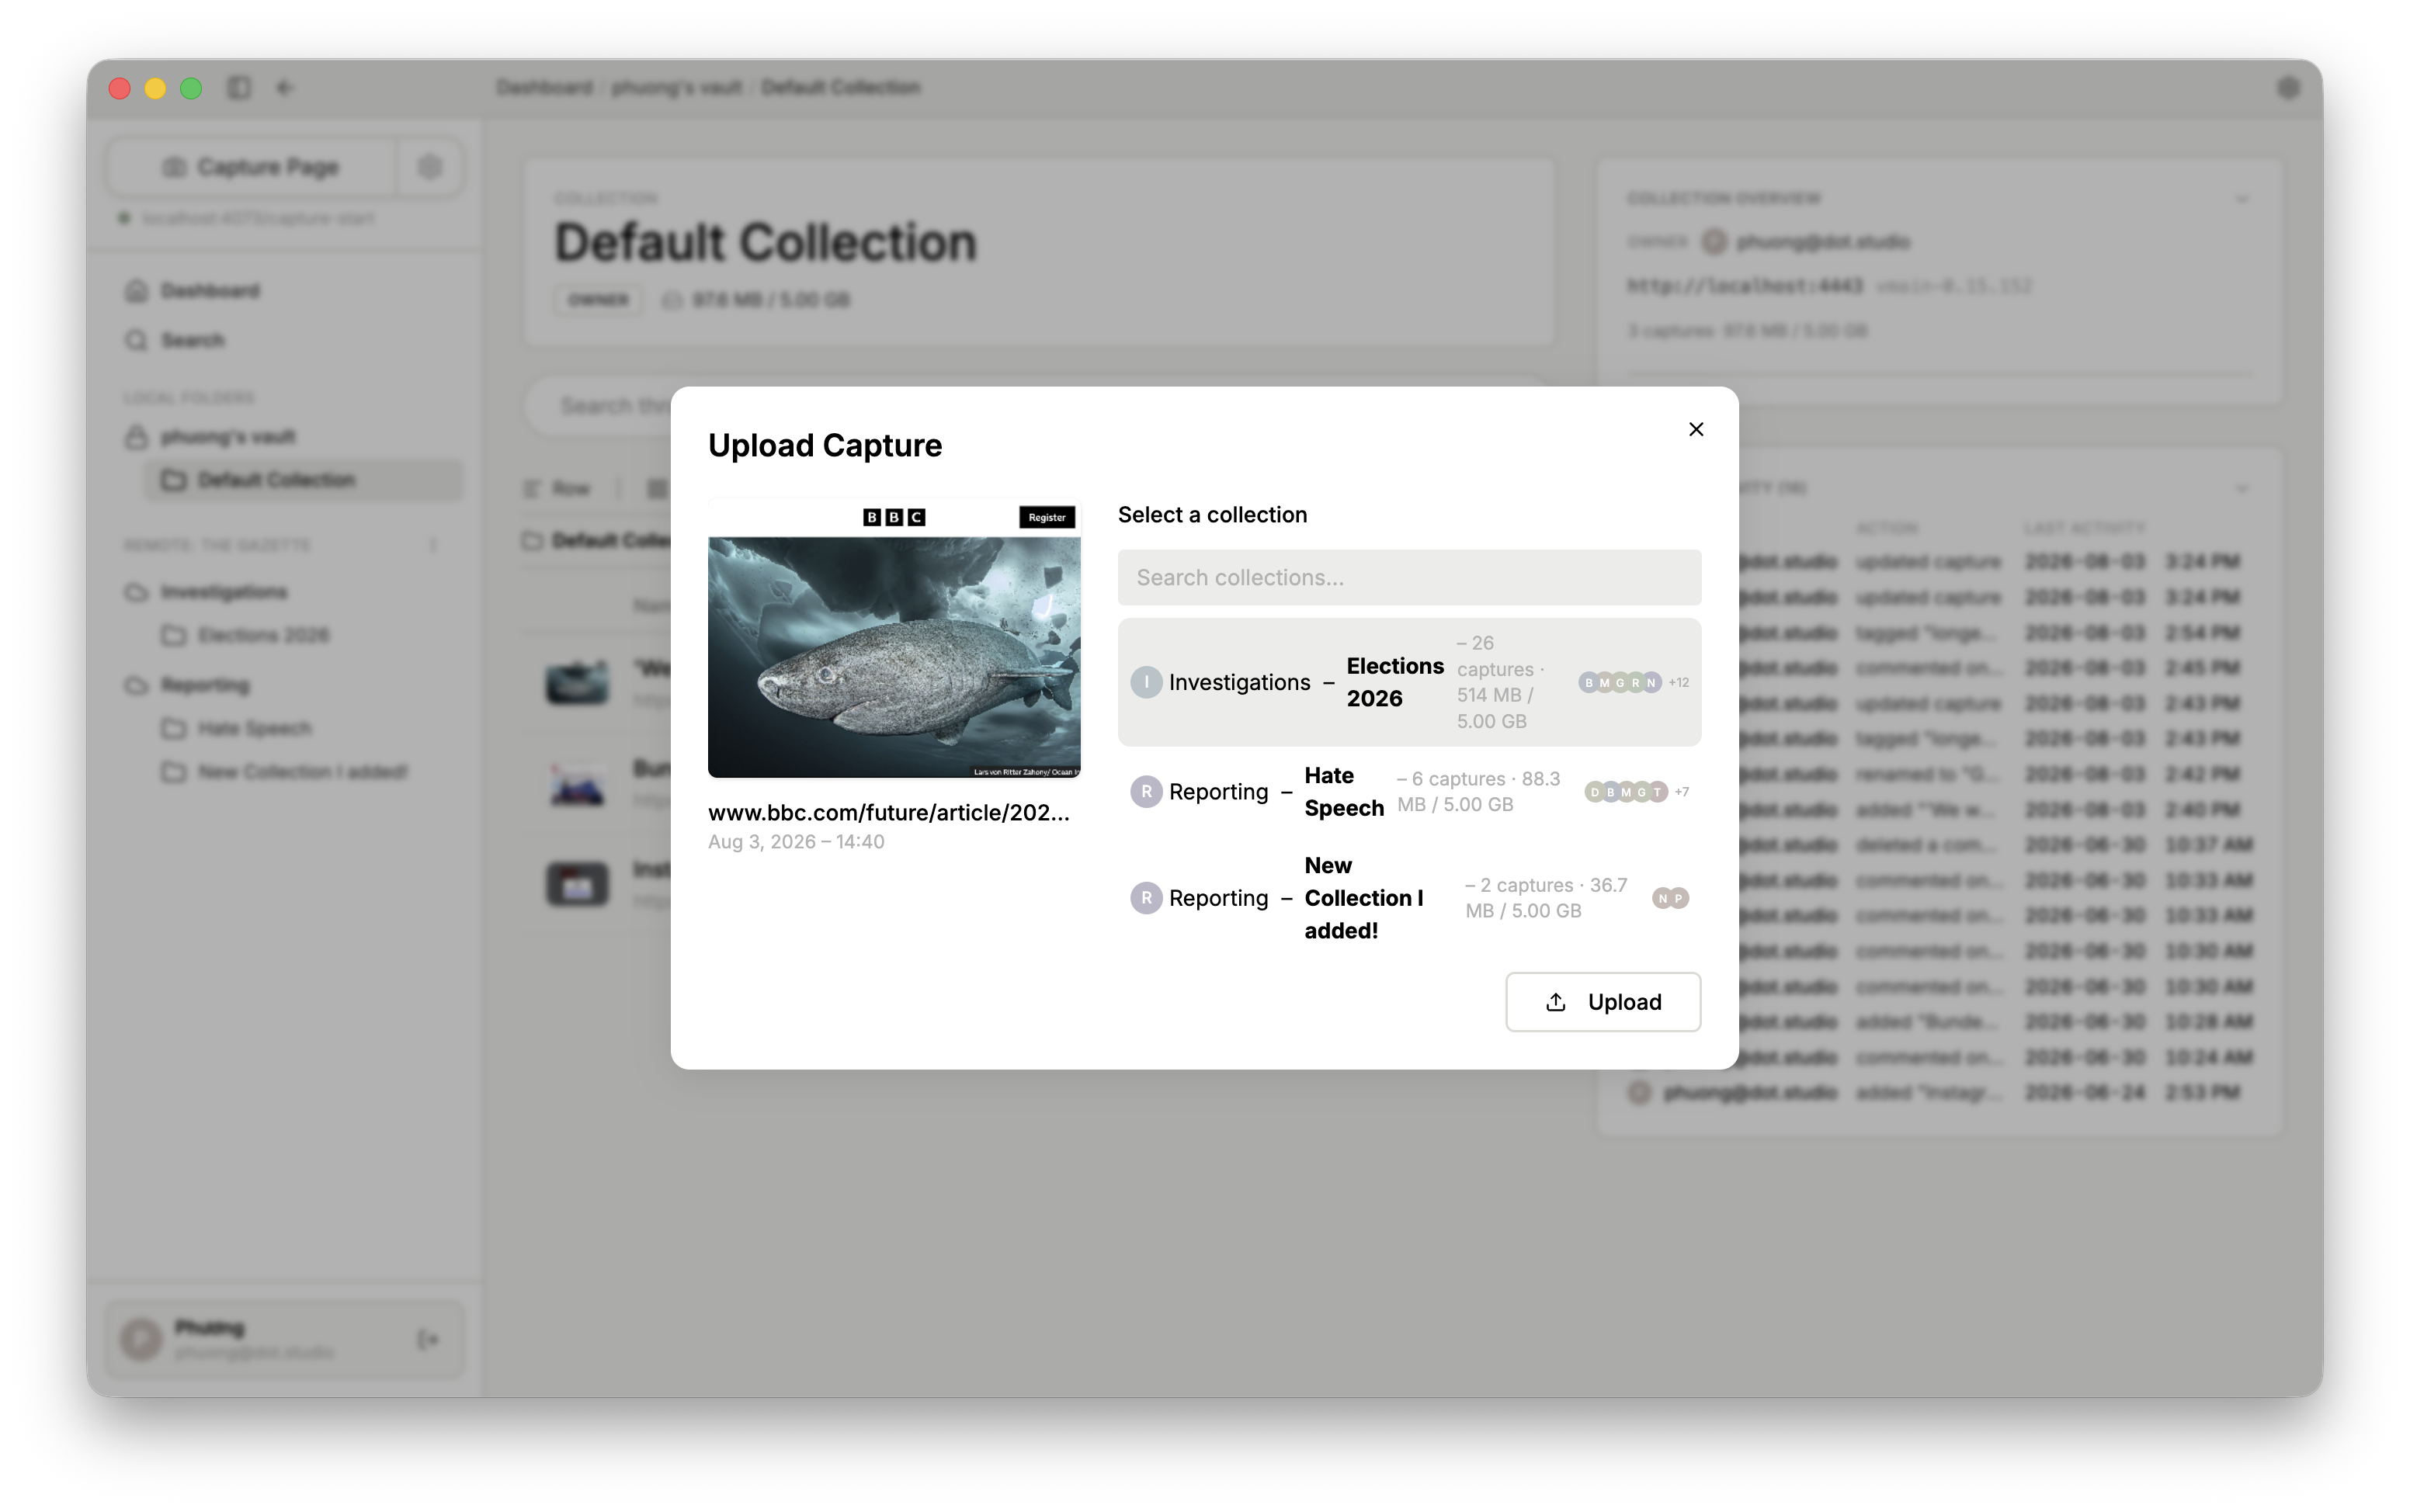
When you hover over a Capture, a three-dot menu appears. Use it to upload the Capture.
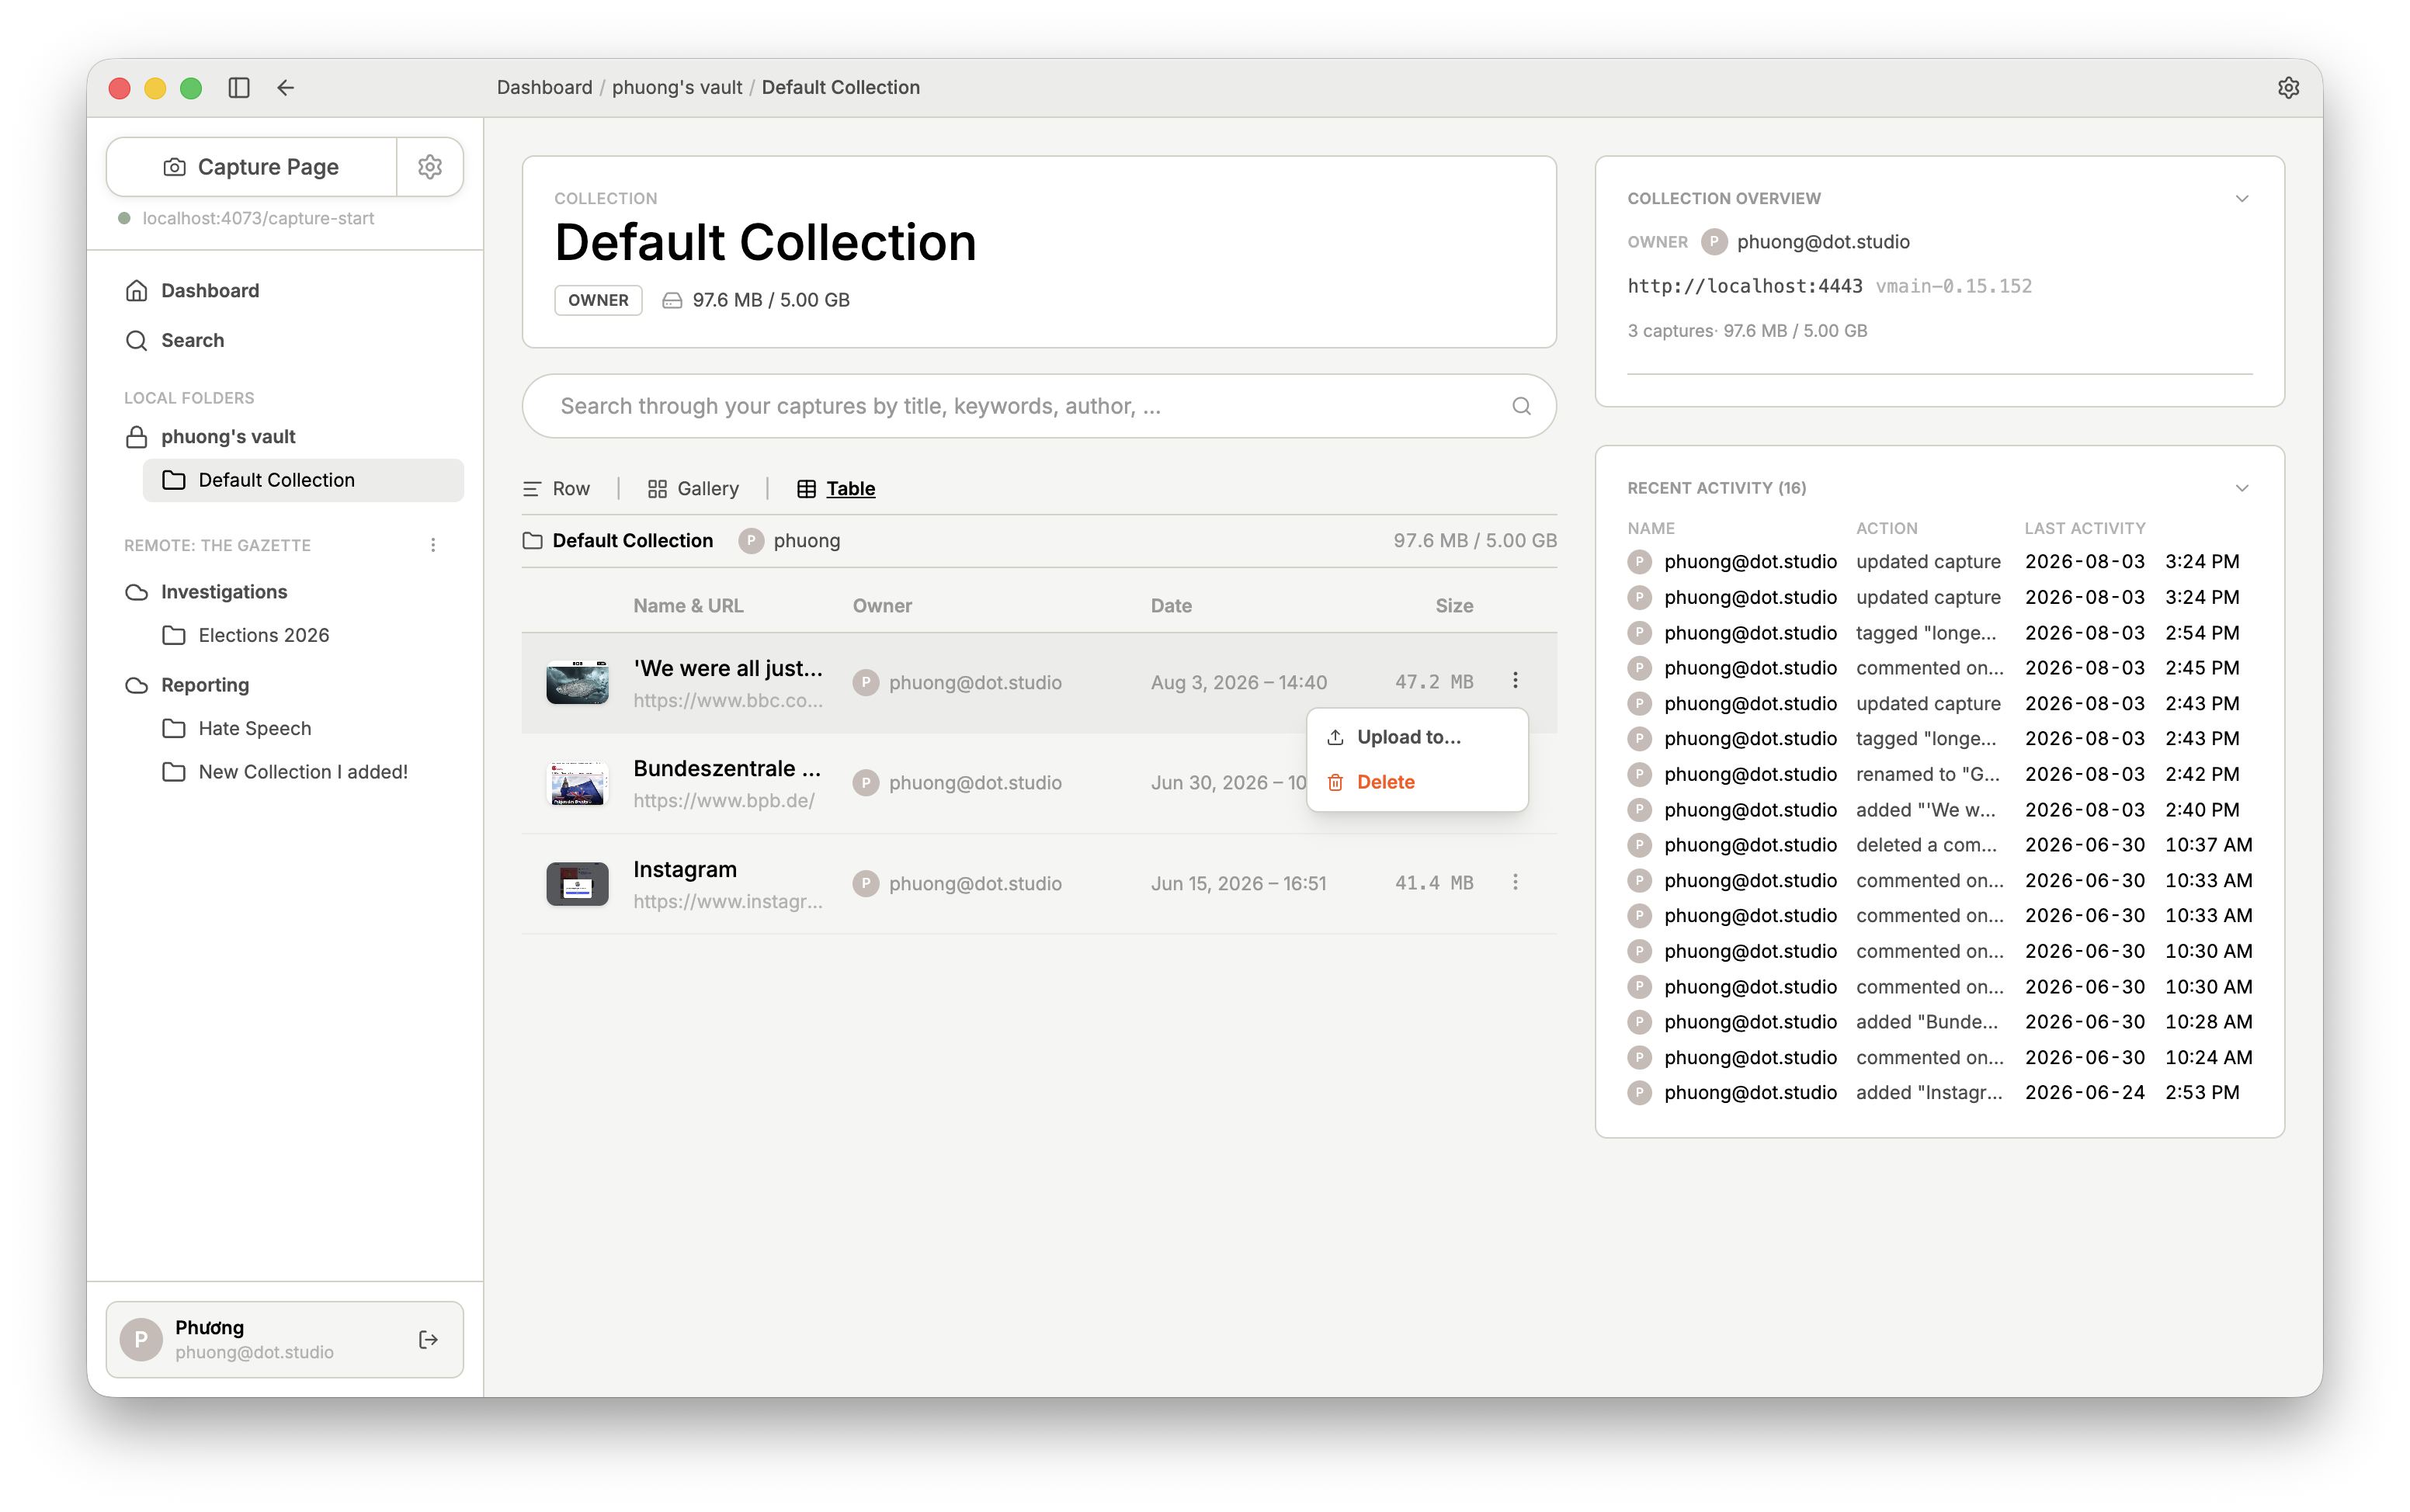
Select the Collection you want to upload the Capture to. Once you confirm, evidx uploads the Capture.
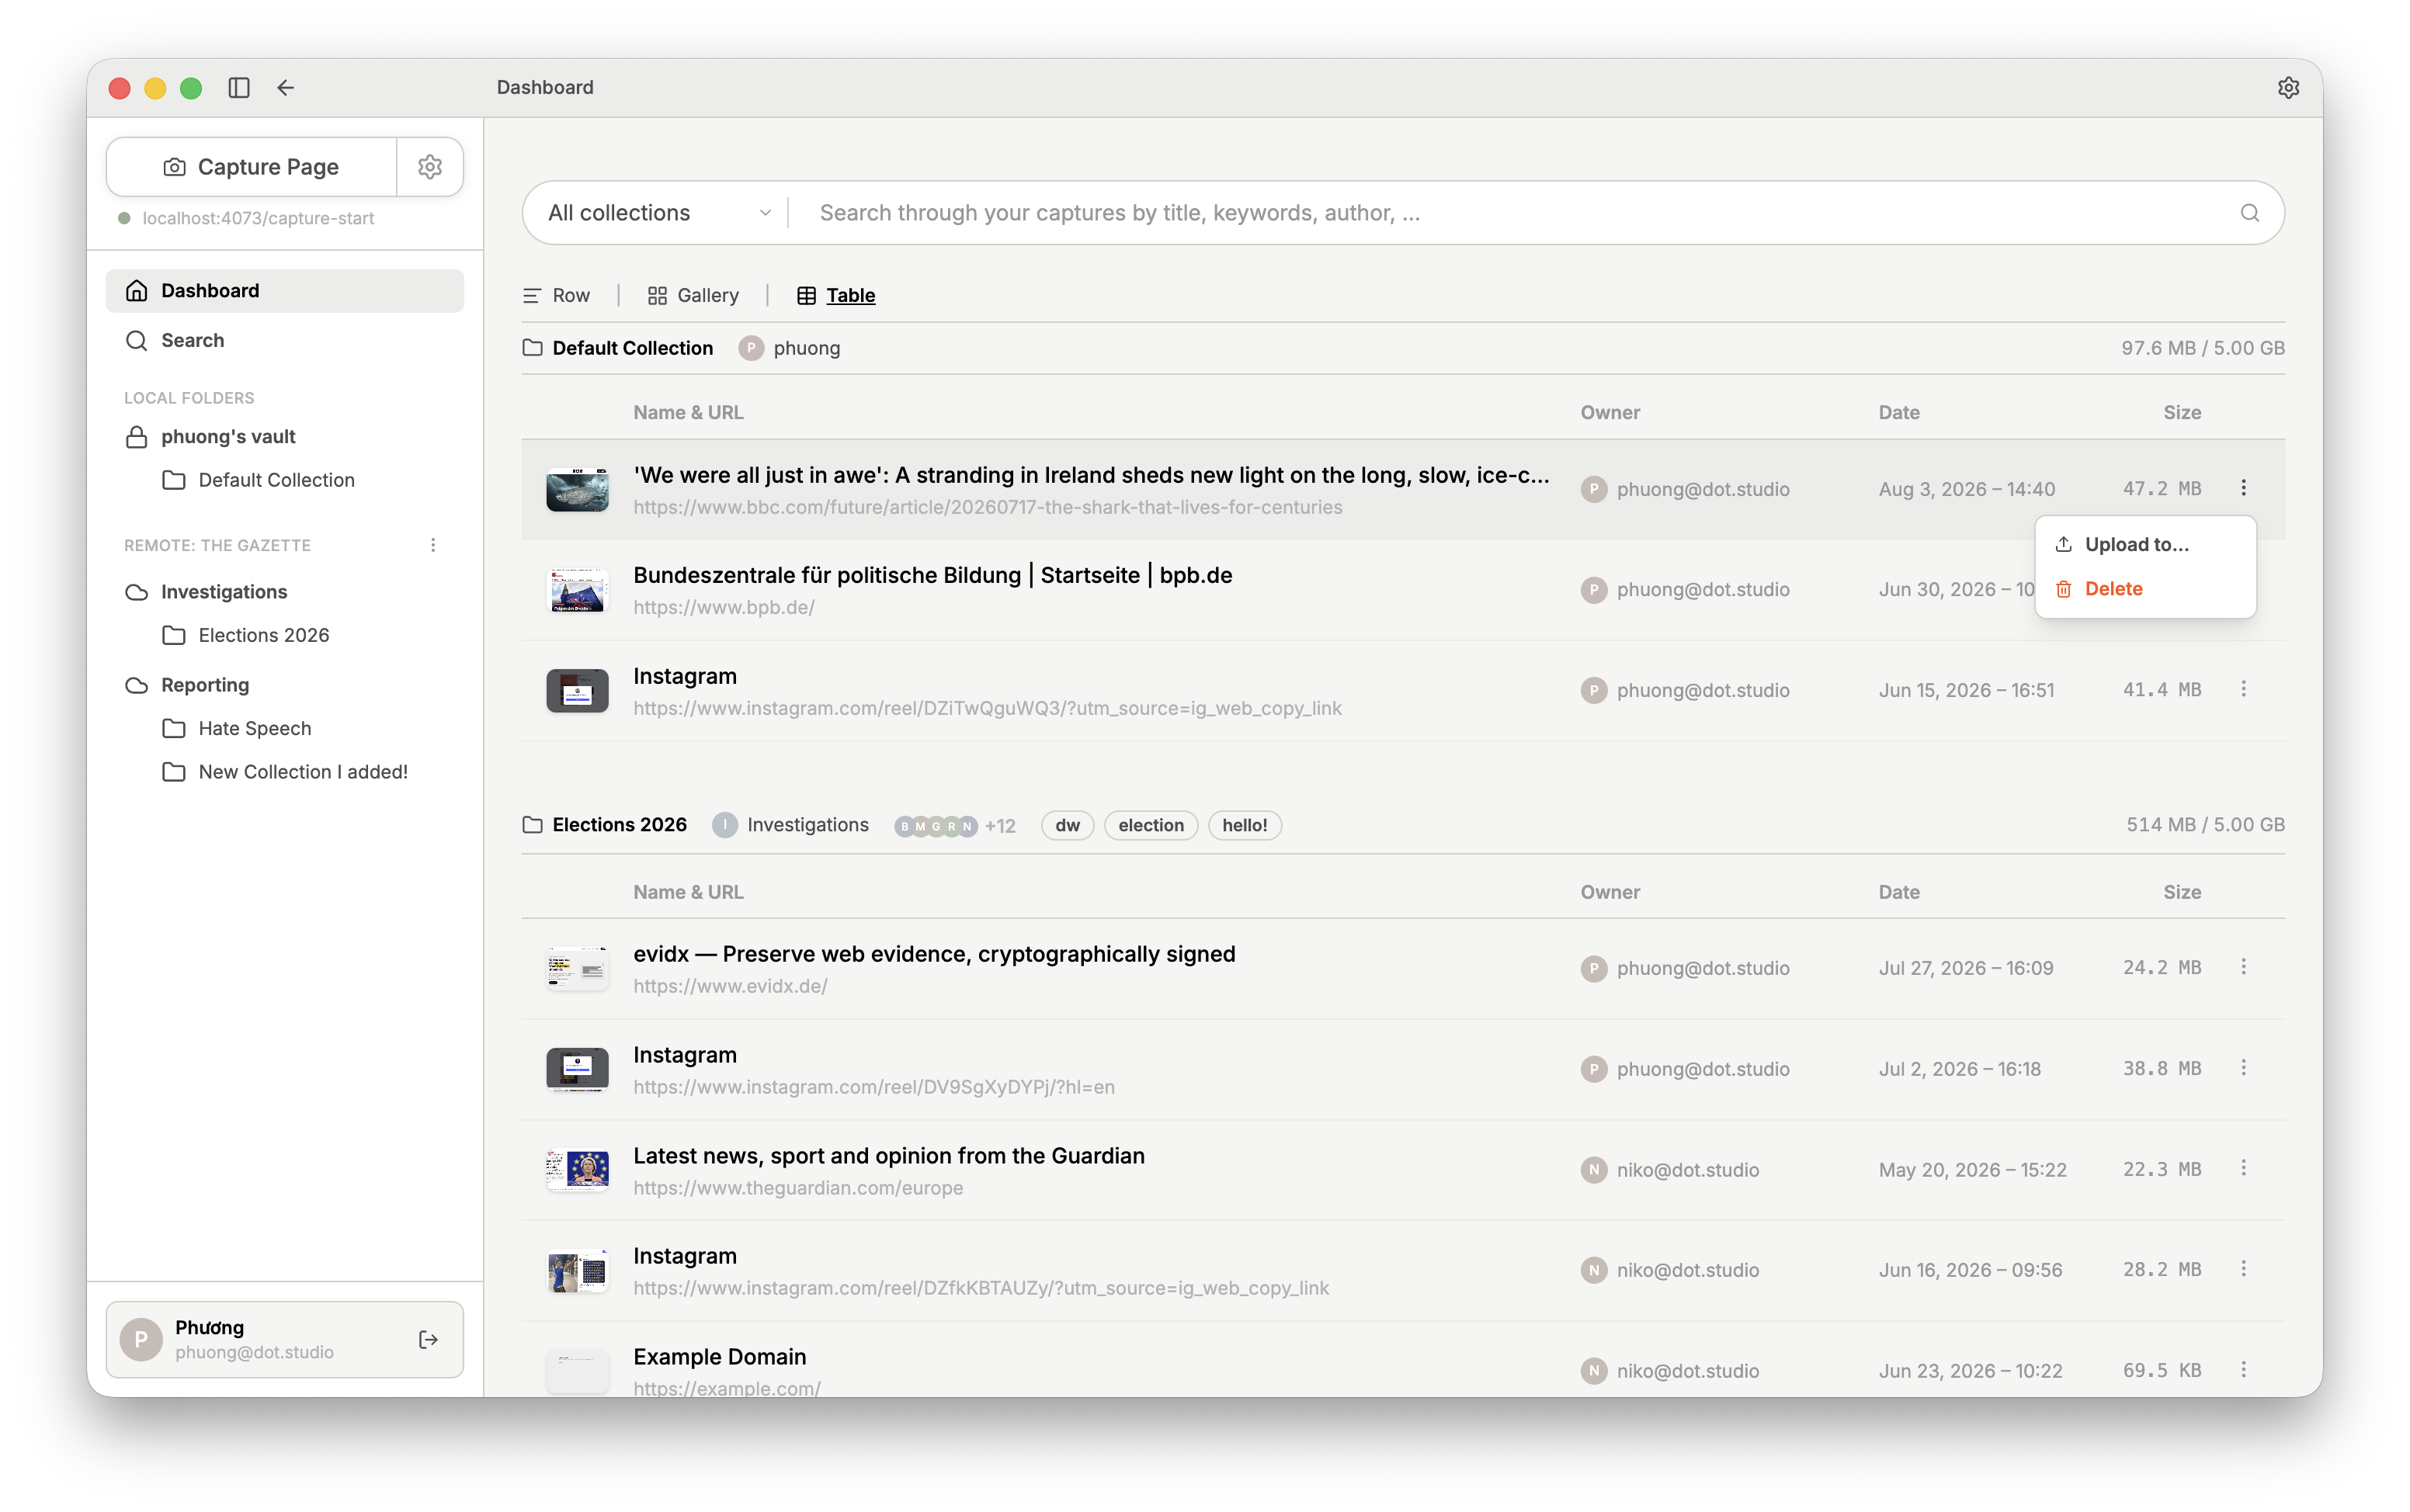
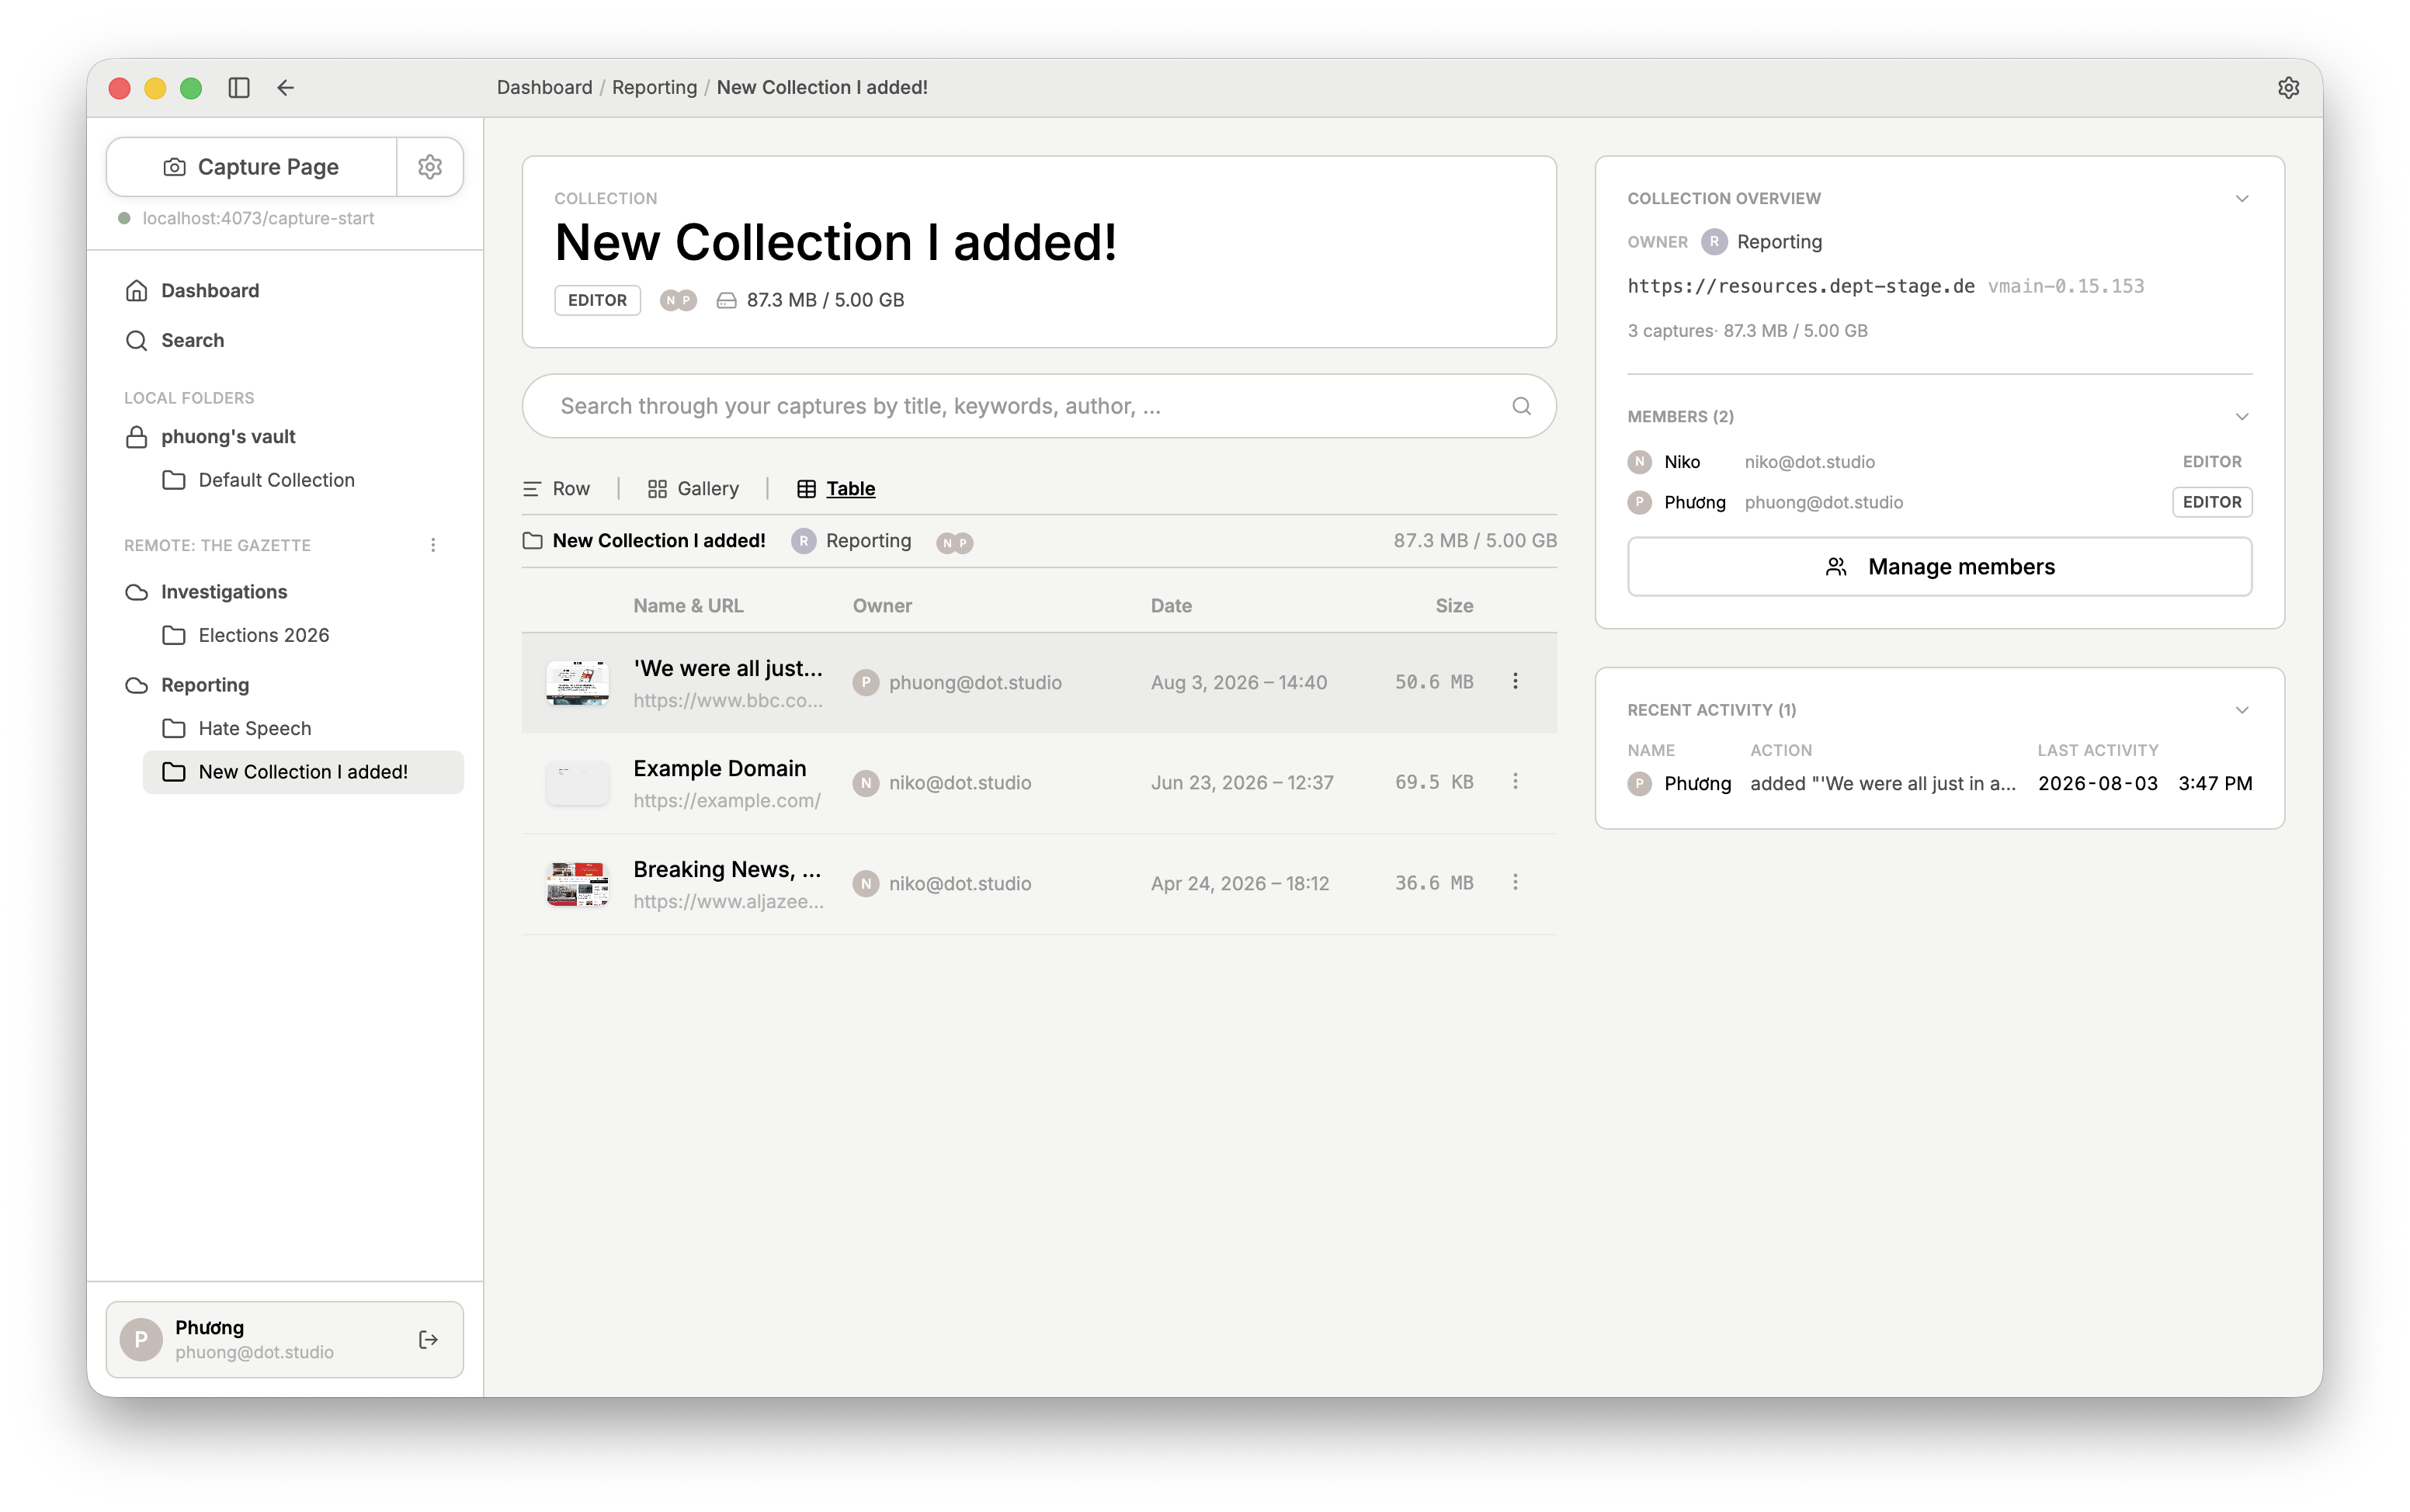
You will now find the uploaded Capture in the Collection you selected.
3. How to annotate
Annotations turn a raw Capture into usable evidence: the context and analysis that explain why a specific part of the page matters to your story.
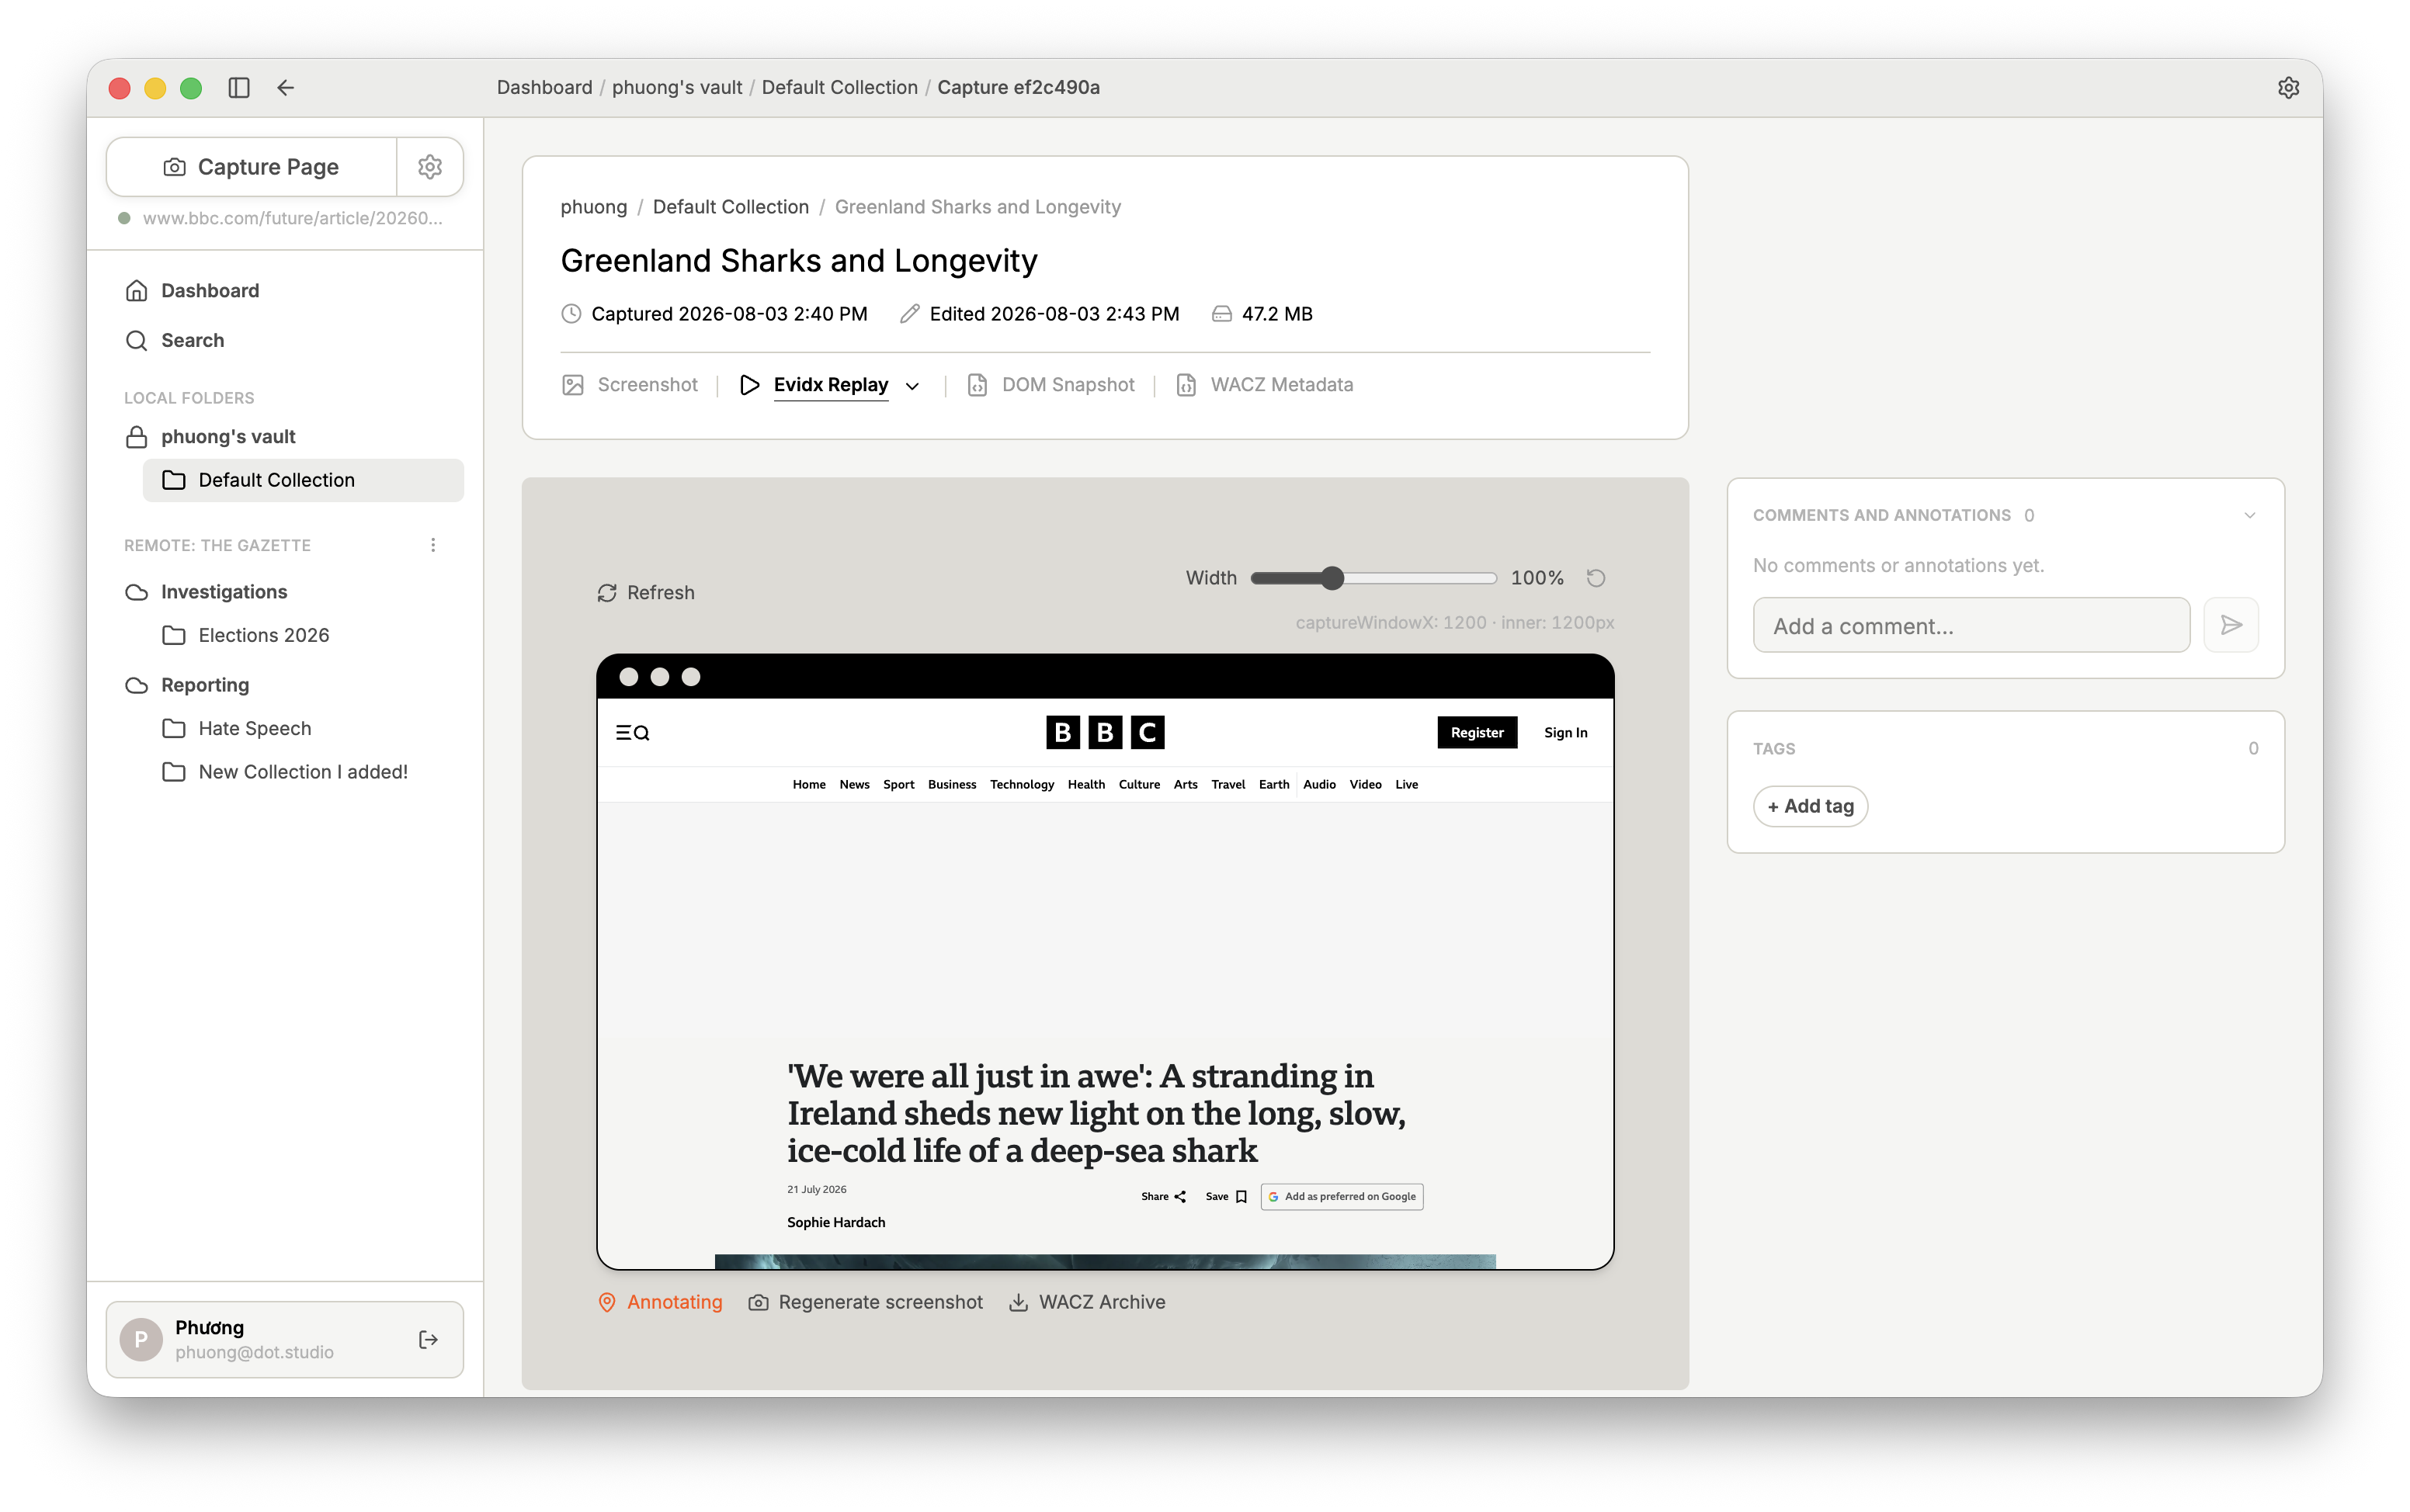
To annotate a Capture, switch to the Evidx Replay view, then set the Annotate mode below to Annotating.
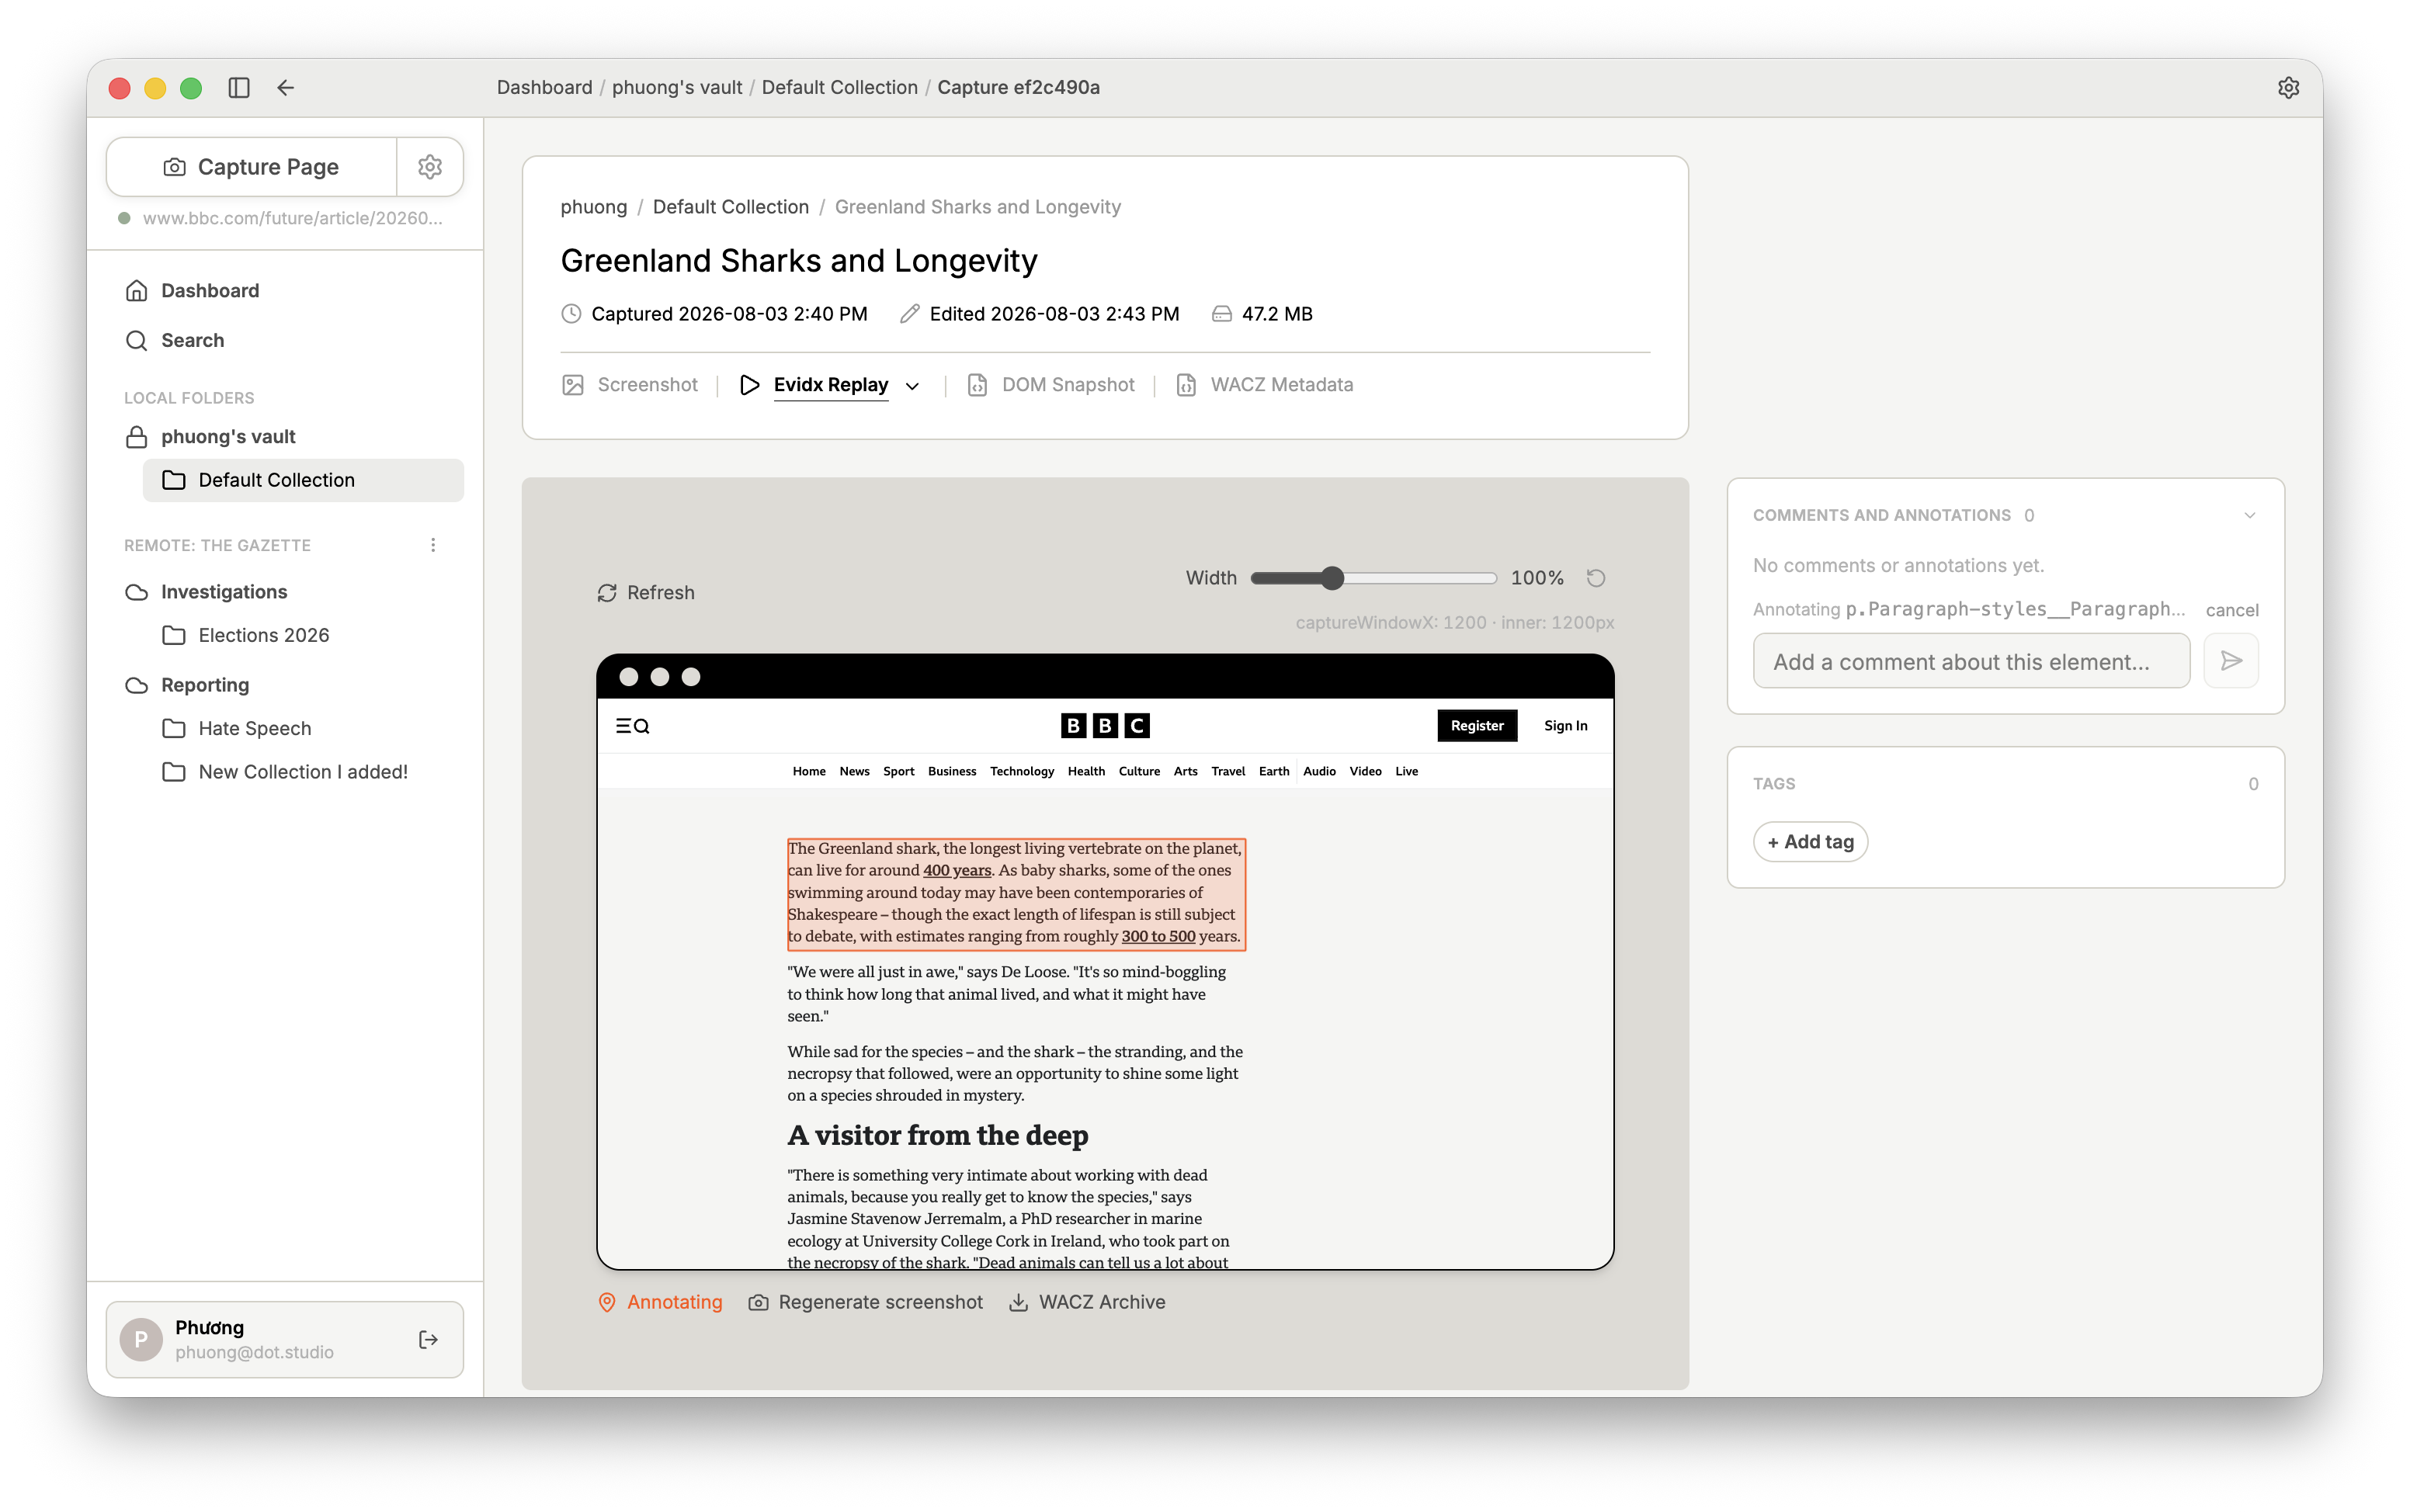
In the Replay section, scroll through the Capture and select the parts you want to annotate. The section Comments and Annotations shows which part is currently selected.
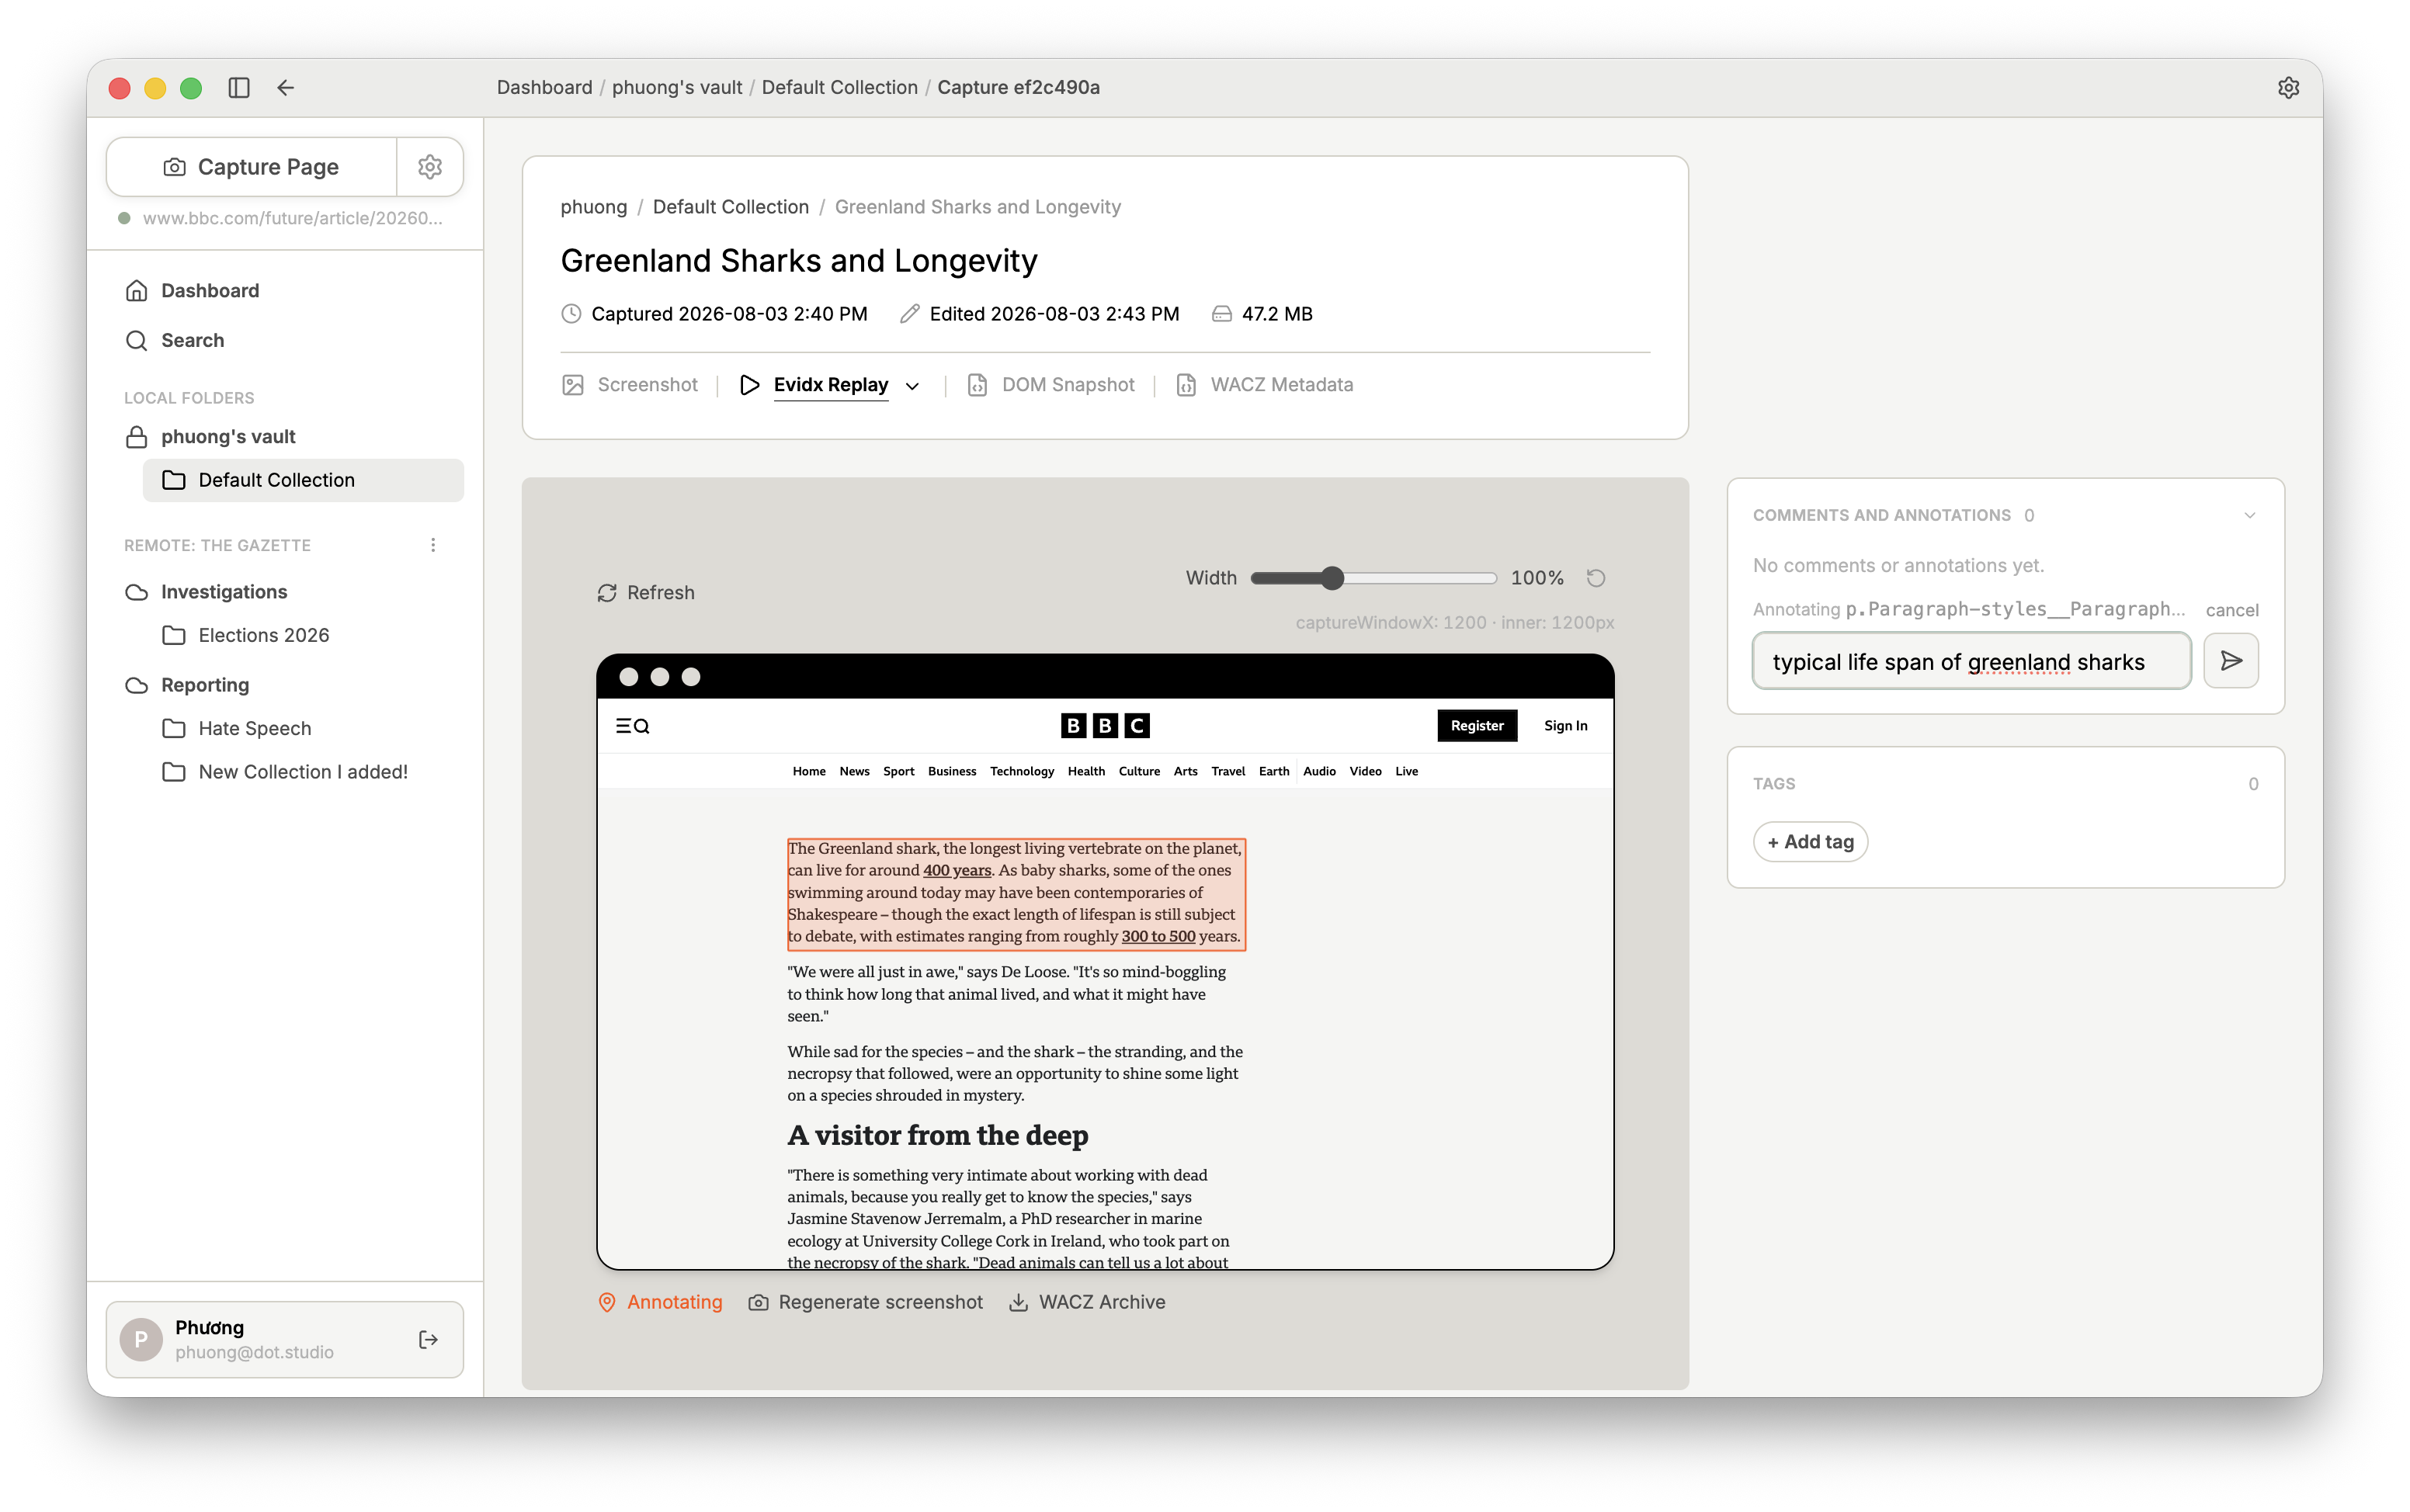
To save the annotation, enter a comment in the comment column.
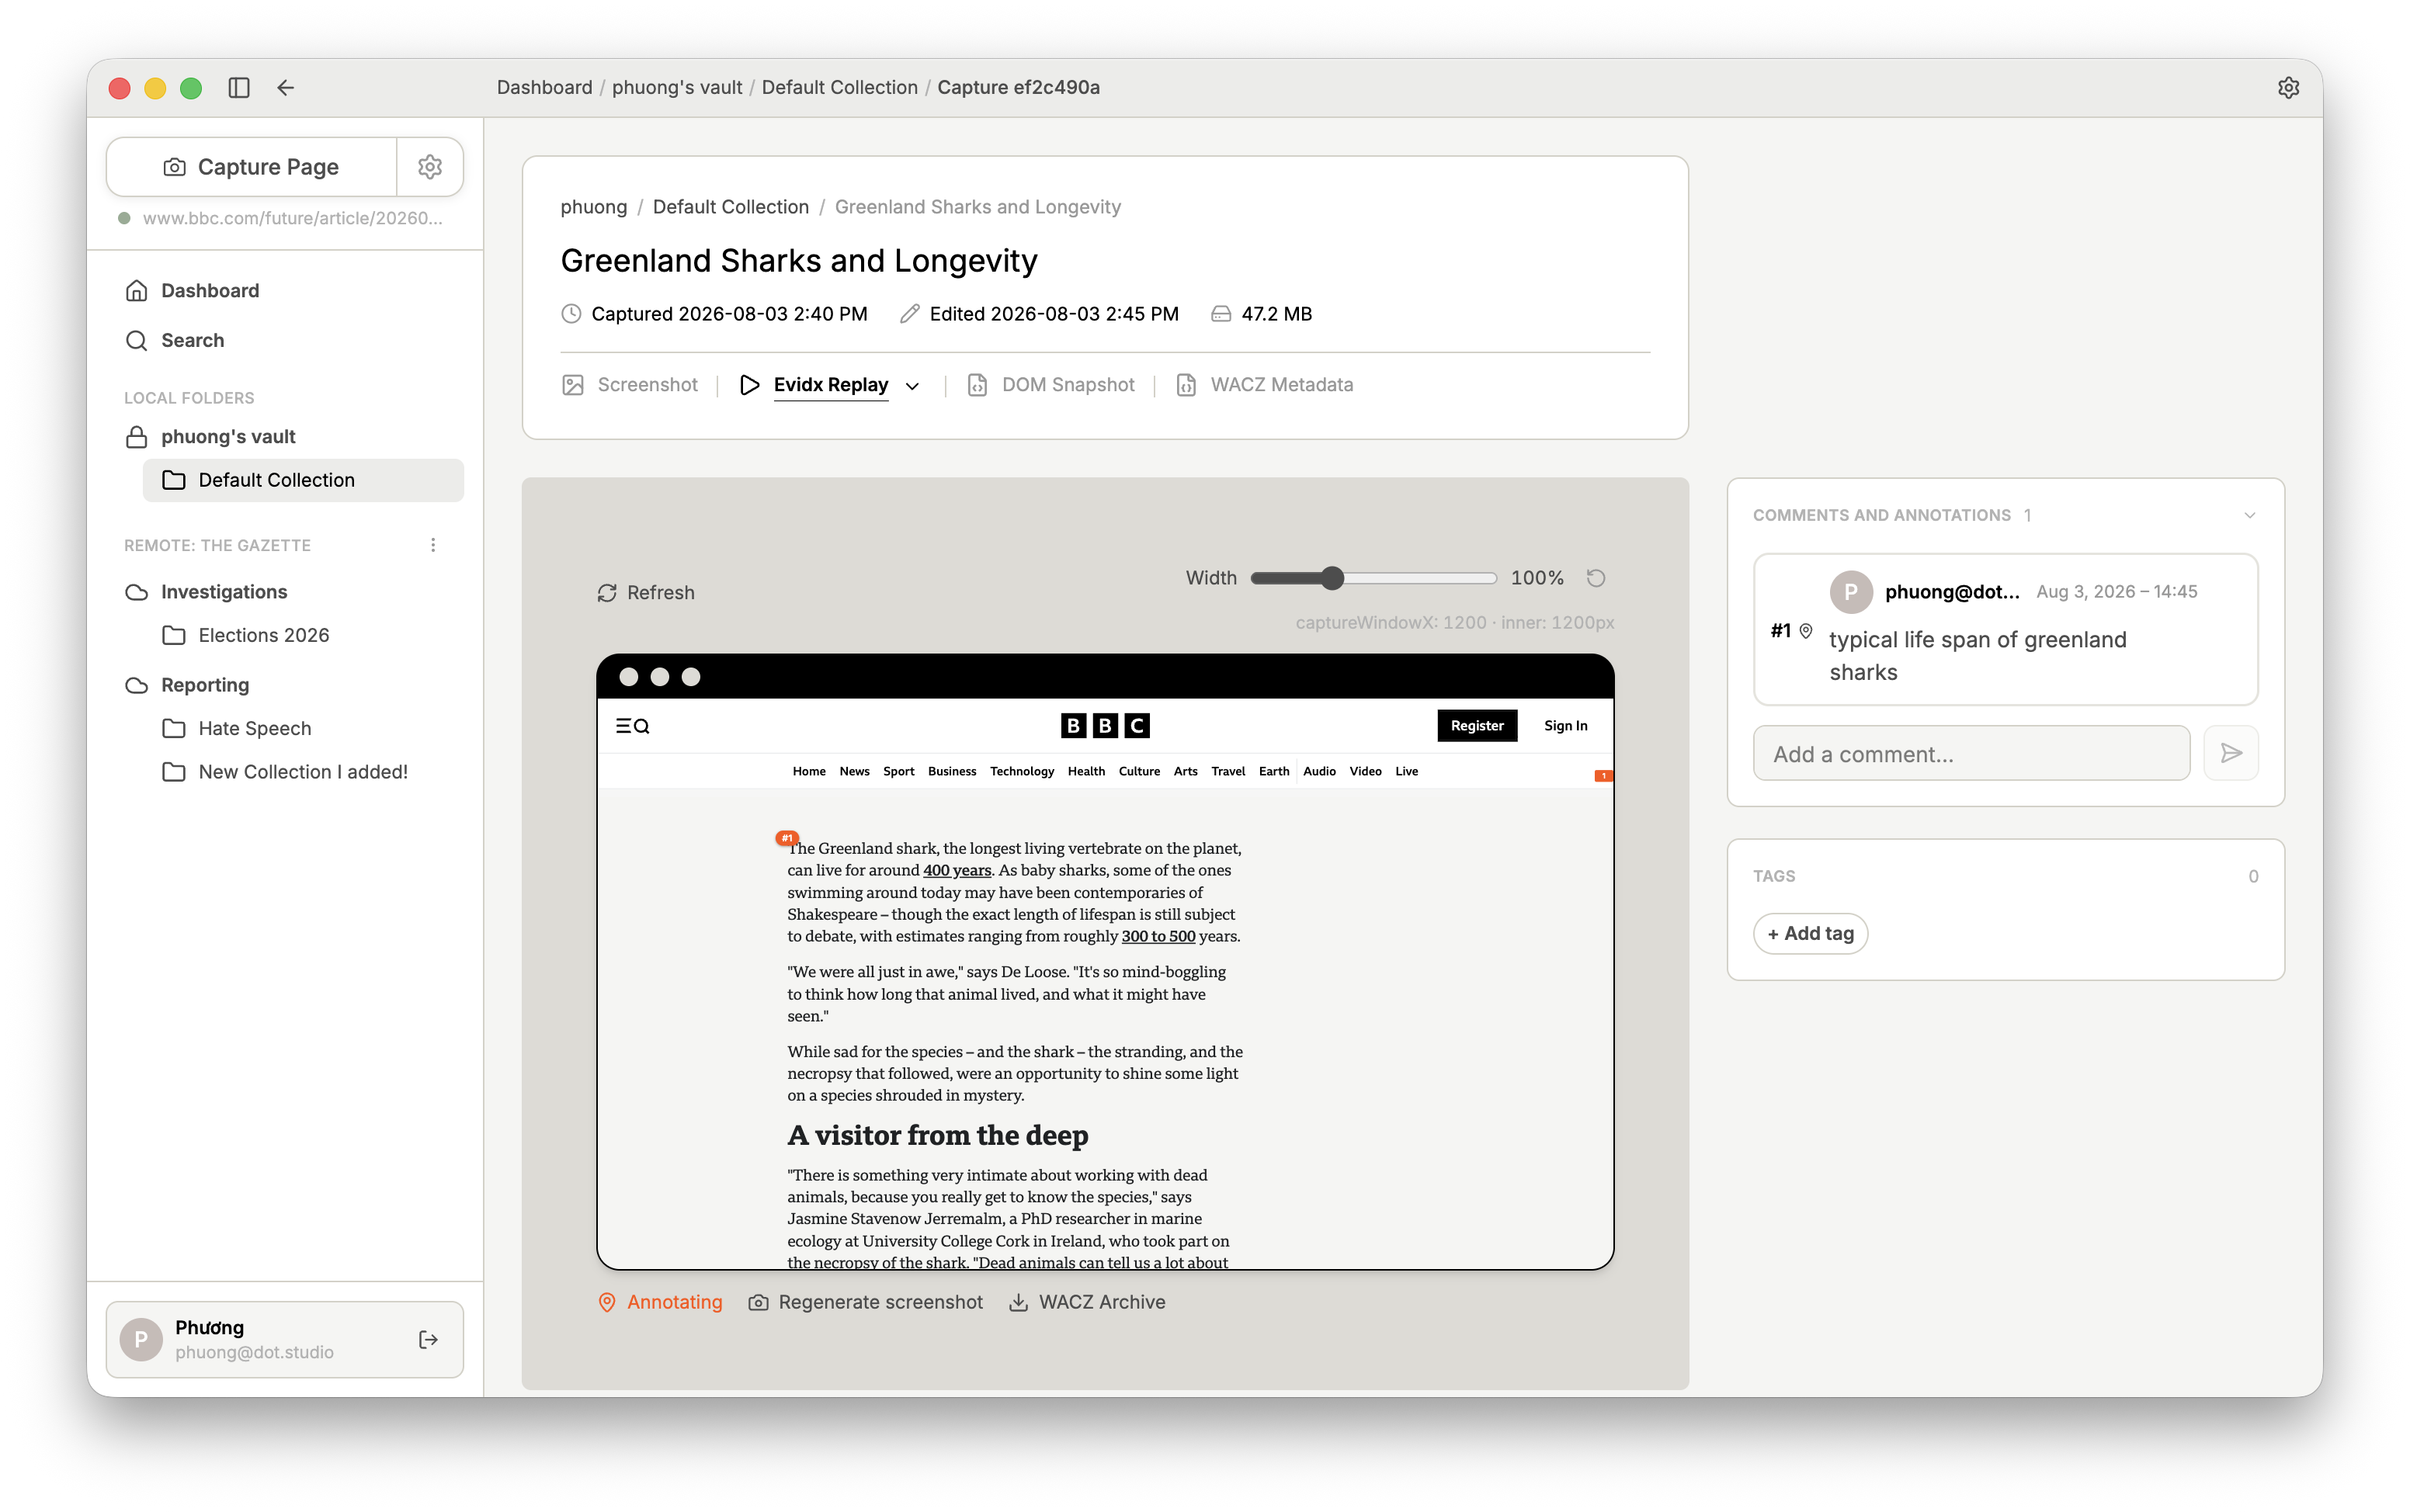
Your annotation is now stored in the Comments and Annotations section. It appears in three places: as its number, as a marker on the scroll bar, and at the marked position itself.